


On the DIY projects blog Mavromatic, Danny Mavromatis writes about a home water tester he just bought:
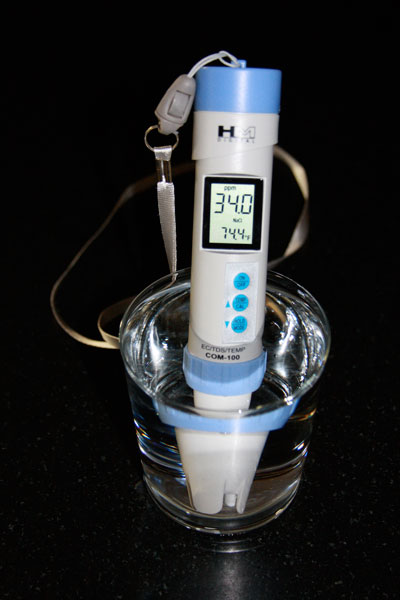
Recently my brother-in-law had a reverse osmosis system installed for their drinking water. The installer left him a water quality meter which is a digital TDS meter that measures the Total Dissolved Solids in the water. What this means is that it measures the total amount of substances in the water other than the pure H2O. He joked that this was the first time ever that he had a gadget that I didn’t… so to keep with my reputation, that night I ordered my very own TDS Meter.
DIY: Checking You Home Drinking Water Quality – Link
8 thoughts on “Testing your own drinking water”
Comments are closed.
ADVERTISEMENT
Support Make:
Join Make: Community Today
Join Make: Community Today


Someone I know made something similar. It was based on the principle that water with ions conducts electricity more. It was a 9 volt battery, LED, and very simple circuit. The LED was brighter when the probes were placed in hard water. I can’t seem to find the plans on the Internet right now, I’ll ask him about it tomorrow.
Keep in mind this does not tell you the water is safe to drink! TDS is only a measurement of the solute, not the solvents. Also, it is not a measurement of bacteriological activity.
TDS is wonderful for comparative measurements of the efficiency of a filter or for checking on the freshness of your hydroponic nutrients. It should never be relied upon as the sole indication of drinking water safety.
To make a simple one of these take a nine volt battery and attach attach a 330 ohm (Orange-Orange-Brown) resistor to one terminal. Then attach a LED to the resistor and the other side to a copper wire probe. Wire another probe to the other terminal of the battery. Tape it all to the battery so each probe is on each side of the battery pointing down, and the LED is pointing up.
If I get around to making one of these myself I will post an instructable.
Good news for all my friends, Now water testing kits available in affordable prices.