


English teachers hate it when you open a paper with expansive declarative statements like “since the dawn of humankind,” but in this case I’m pretty sure it’s accurate: Since the dawn of humankind, lunar and solar eclipses have captured our imaginations. Our understanding of them has changed through the years from messages from the gods to predictable moments of celestial alignment, but experiencing an eclipse (especially as a kid) is a singular experience, and it’s even better if you catch it on film.
And in case you missed Tuesday’s Lunar Eclipse (or have your ticket to Australia for the best look at April 29’s solar eclipse), here’s a quick and easy way to setup a time-lapse session for next time. Make: reader Nathan writes:
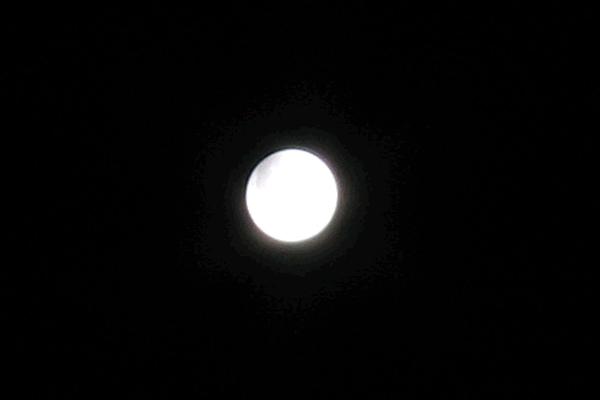
I put my camera on a tripod, and watched the time. I took a photo about every minute, and compiled them into an animated GIF in Photoshop.
Here’s more info: I used a 1/10sec exposure with ISO 50, and f8.0. I could only zoom 3x with the A95 though. I cropped and layered the photos together in Photoshop and used the animation tool to align them. I left a 1sec first and last frames, and gave the rest a 0.1 sec delay.
 But you don’t have to wait for the next eclipse to get some cool shots. Check out these other camera projects, and don’t forget to submit your own awesome photo how-to in our Make: The Shot contest, with great prize packages supplied by Nikon.
Timelapse Night Sky
Learn how to capture the night sky — in motion! — with this complete tutorial covering camera settings, night shooting tips, image editing, and video production.
See the full project.

Near-Space Balloon Cam
Build this battle-tested rig to launch, track, and recover a high-altitude balloon that will carry your hacked Canon camera to the stratosphere. With this setup using APRS ham radio and the Trackuino — an Arduino-based communications board — any hobbyist or science class can photograph (and video) the Earth against the blackness of space, and bring these amazing images home to share.
See the full project.

Rocket Launched Camcorder
Hack a $30, single-use camcorder to make it reusable, then launch it up in a model rocket and capture thrilling astronaut’s-view footage of high-speed neighborhood escape and re-entry.
See the full project.

Balloon Imaging “Satellite”
Snap aerial photos from 300′ up by suspending a hacked camera from 3 helium balloons.
See the full project.
ADVERTISEMENT
Join Make: Community Today


