YouTube player

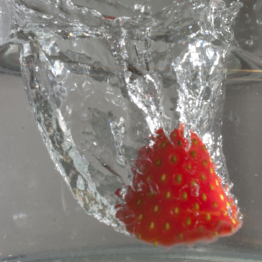
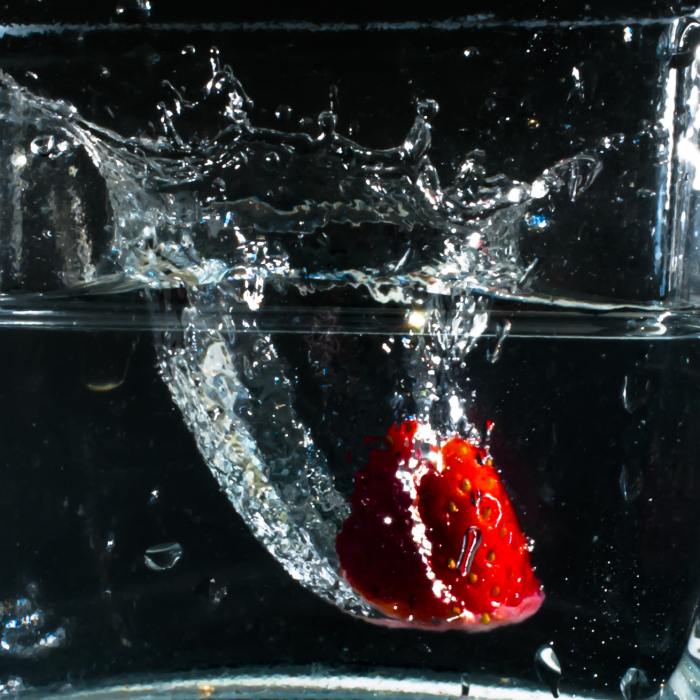
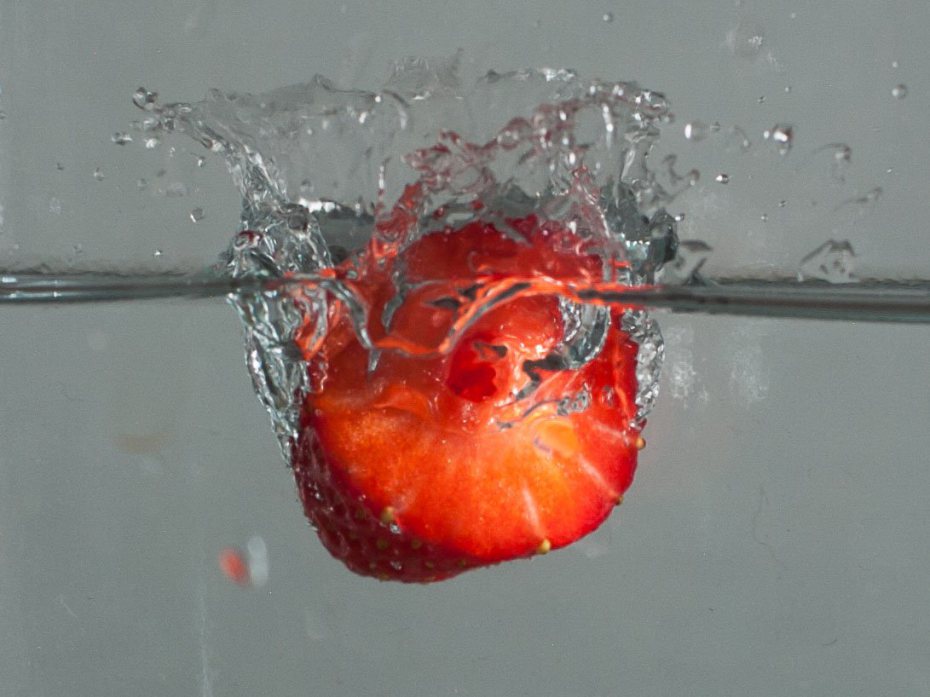
Photos of items dropping into water (or other liquids) always have the potential to fascinate — the dramatic splashdown, the explosion of flying droplets frozen in time. They’re also increasingly seen in commercial images — look in your local supermarket and there’s a high probability you’ll find an image of a strawberry, chili pepper, or banana hitting the water, captured by a high-speed flash.

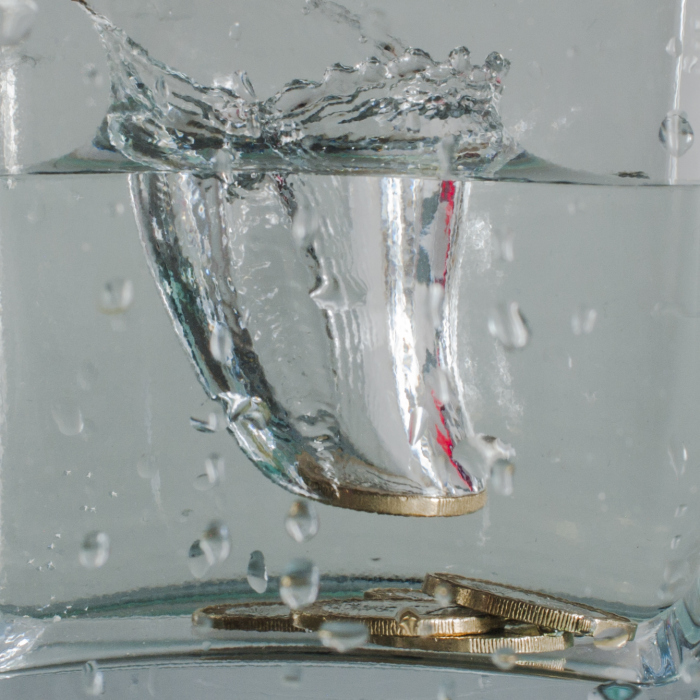
Together with a photographer buddy of mine (like me, a physicist by training), I spent several long evenings trying to take great ‘”water action” photos. We had some success, but we were doing it the hard way. This photo was one among hundreds we took in a single night — the vast majority of them showed the cube not in the water yet, or too deep in the water.

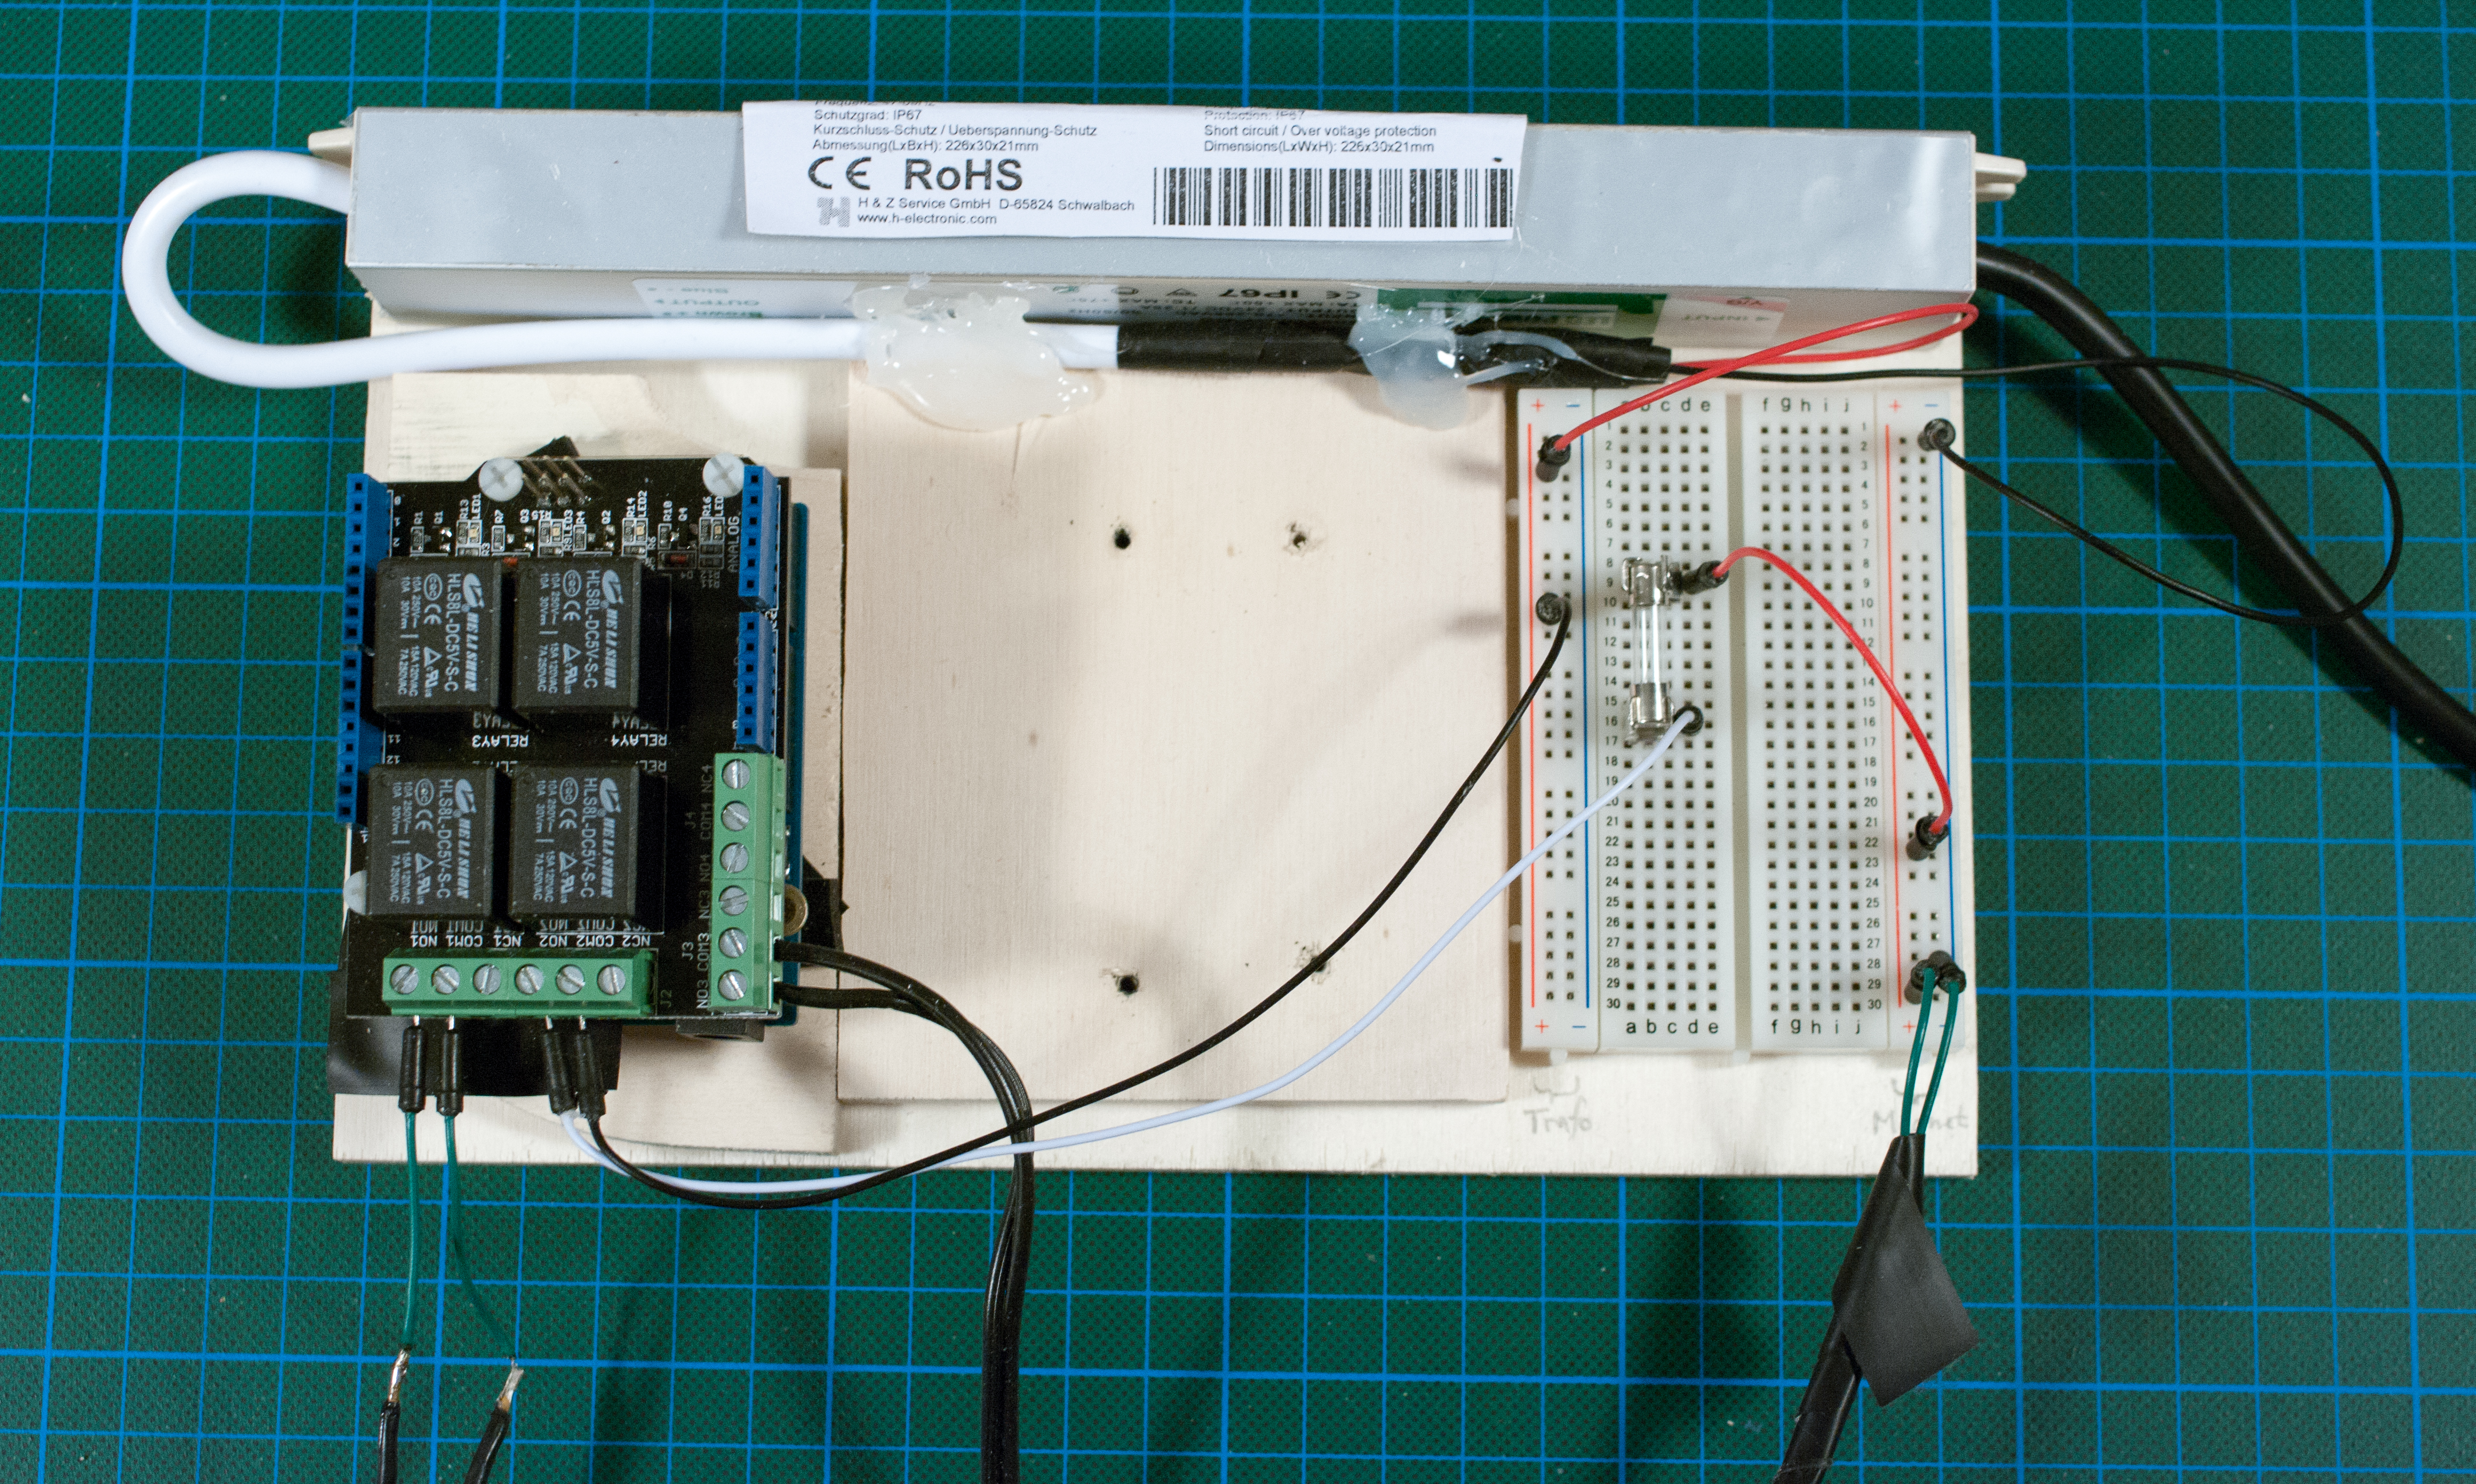
In this project we’ll show you how to take perfect splash photos, the easy way—by precisely timing the dropping of the object and the triggering of the flash, using an Arduino microcontroller board.

Getting the Moment Right

There are three elements in getting high-speed splash pictures right:

  • Using a flash to “freeze the action” Modern electronic flashes emit light for only a very small fraction of a second (less than 1 millisecond). If the room is otherwise dark, this will freeze the action.
  • Planning the shot What happens, where’s the camera, how does the lighting work, in detail?
  • Getting the moment right This is the real trick. Before building this project, we relied on trial and error, somewhat along the lines of:
    a. Drop object
    b. Do a mental count of how long it’ll take for the object to hit the surface
    c. Manually release the flash
    d. Pray for a “hit”

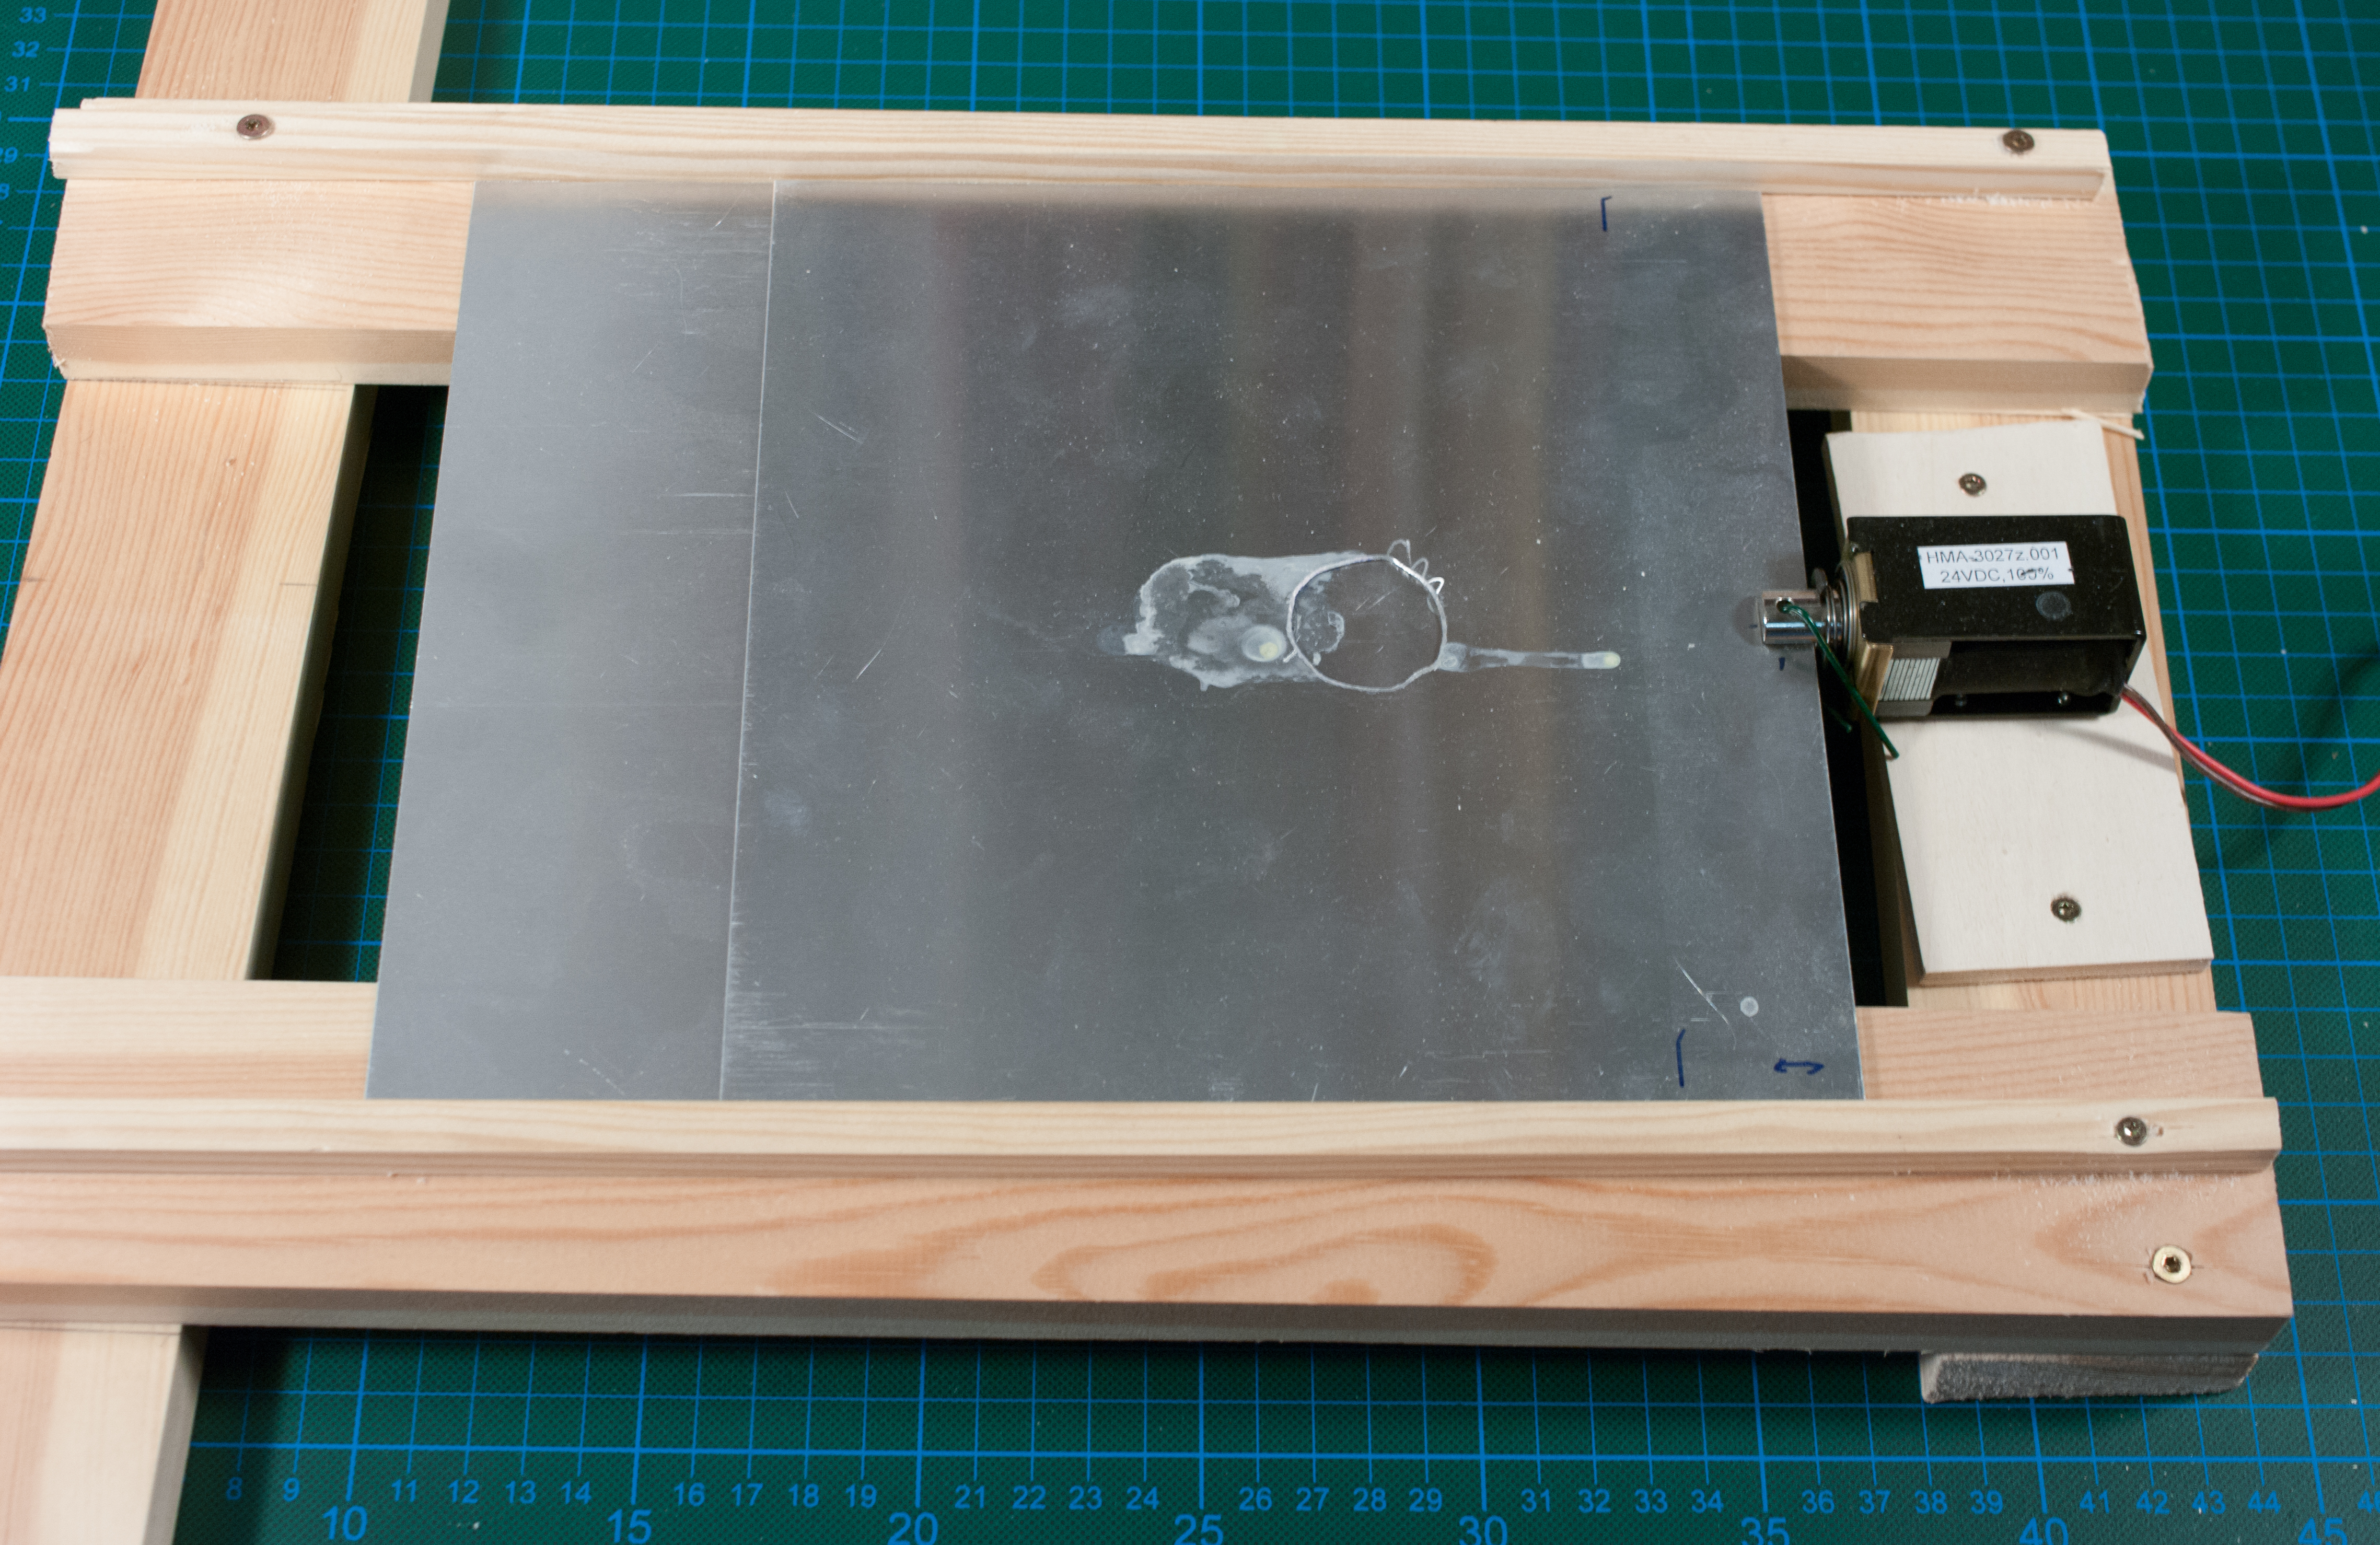
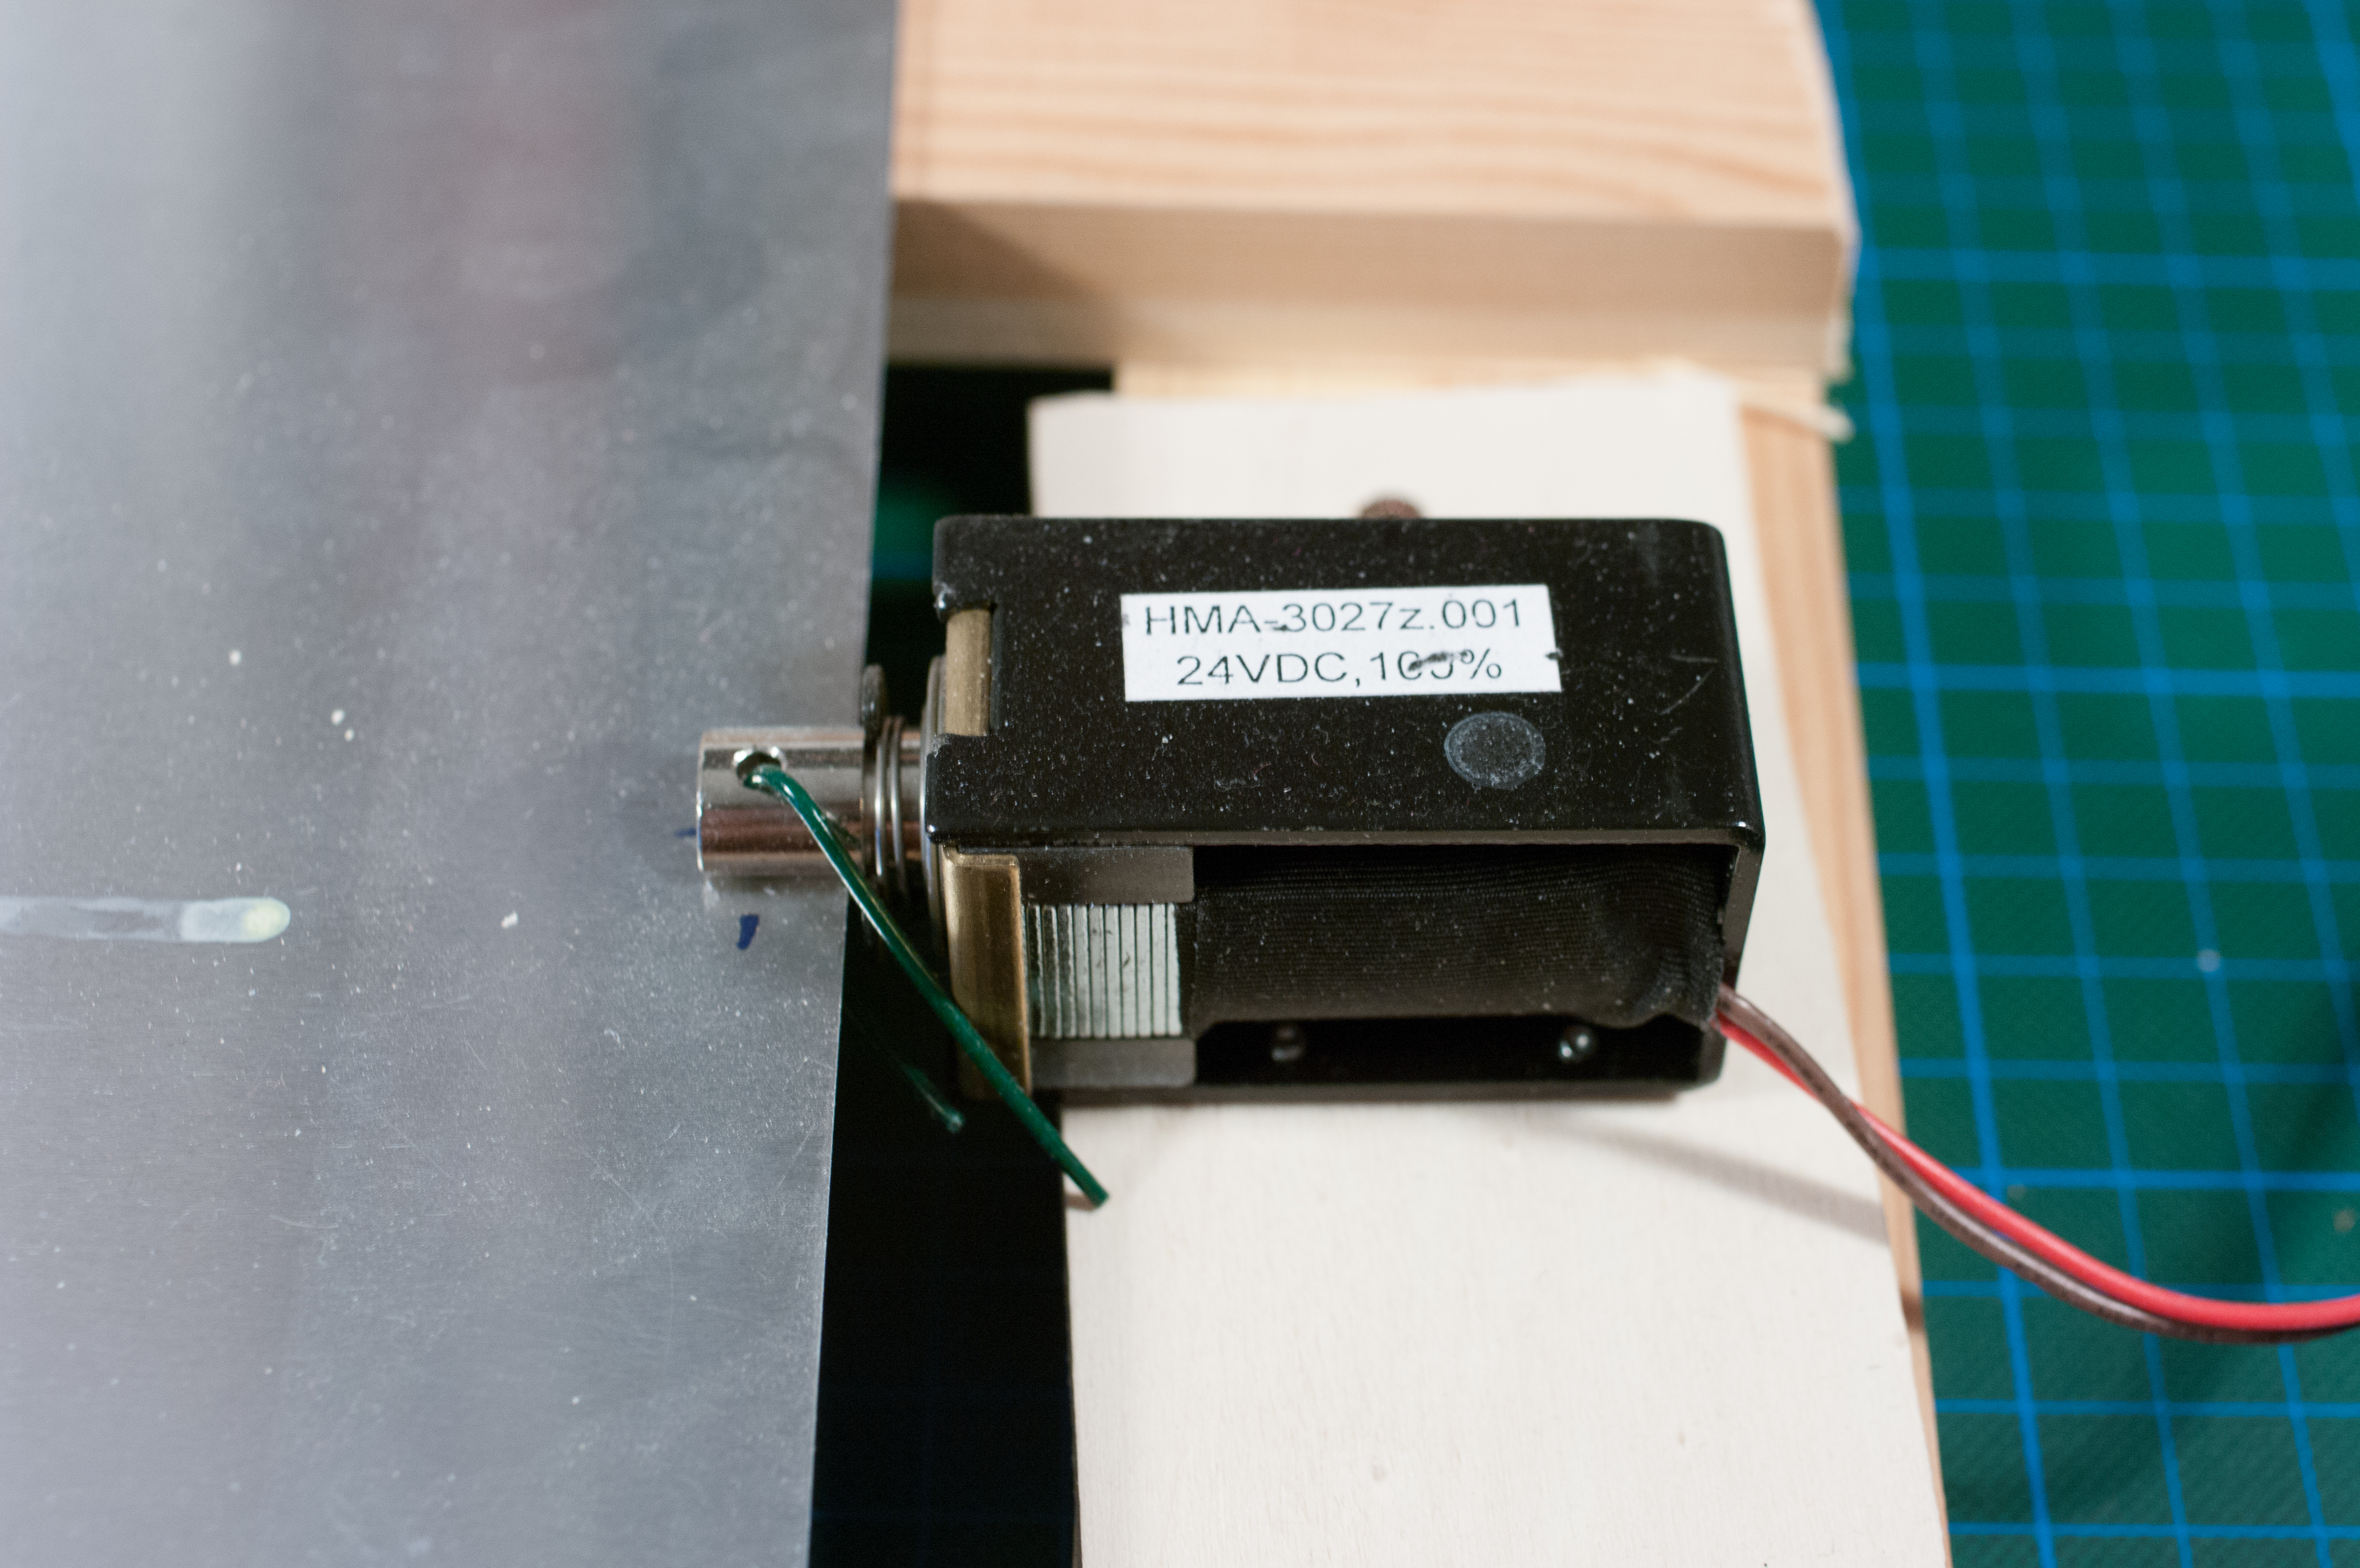
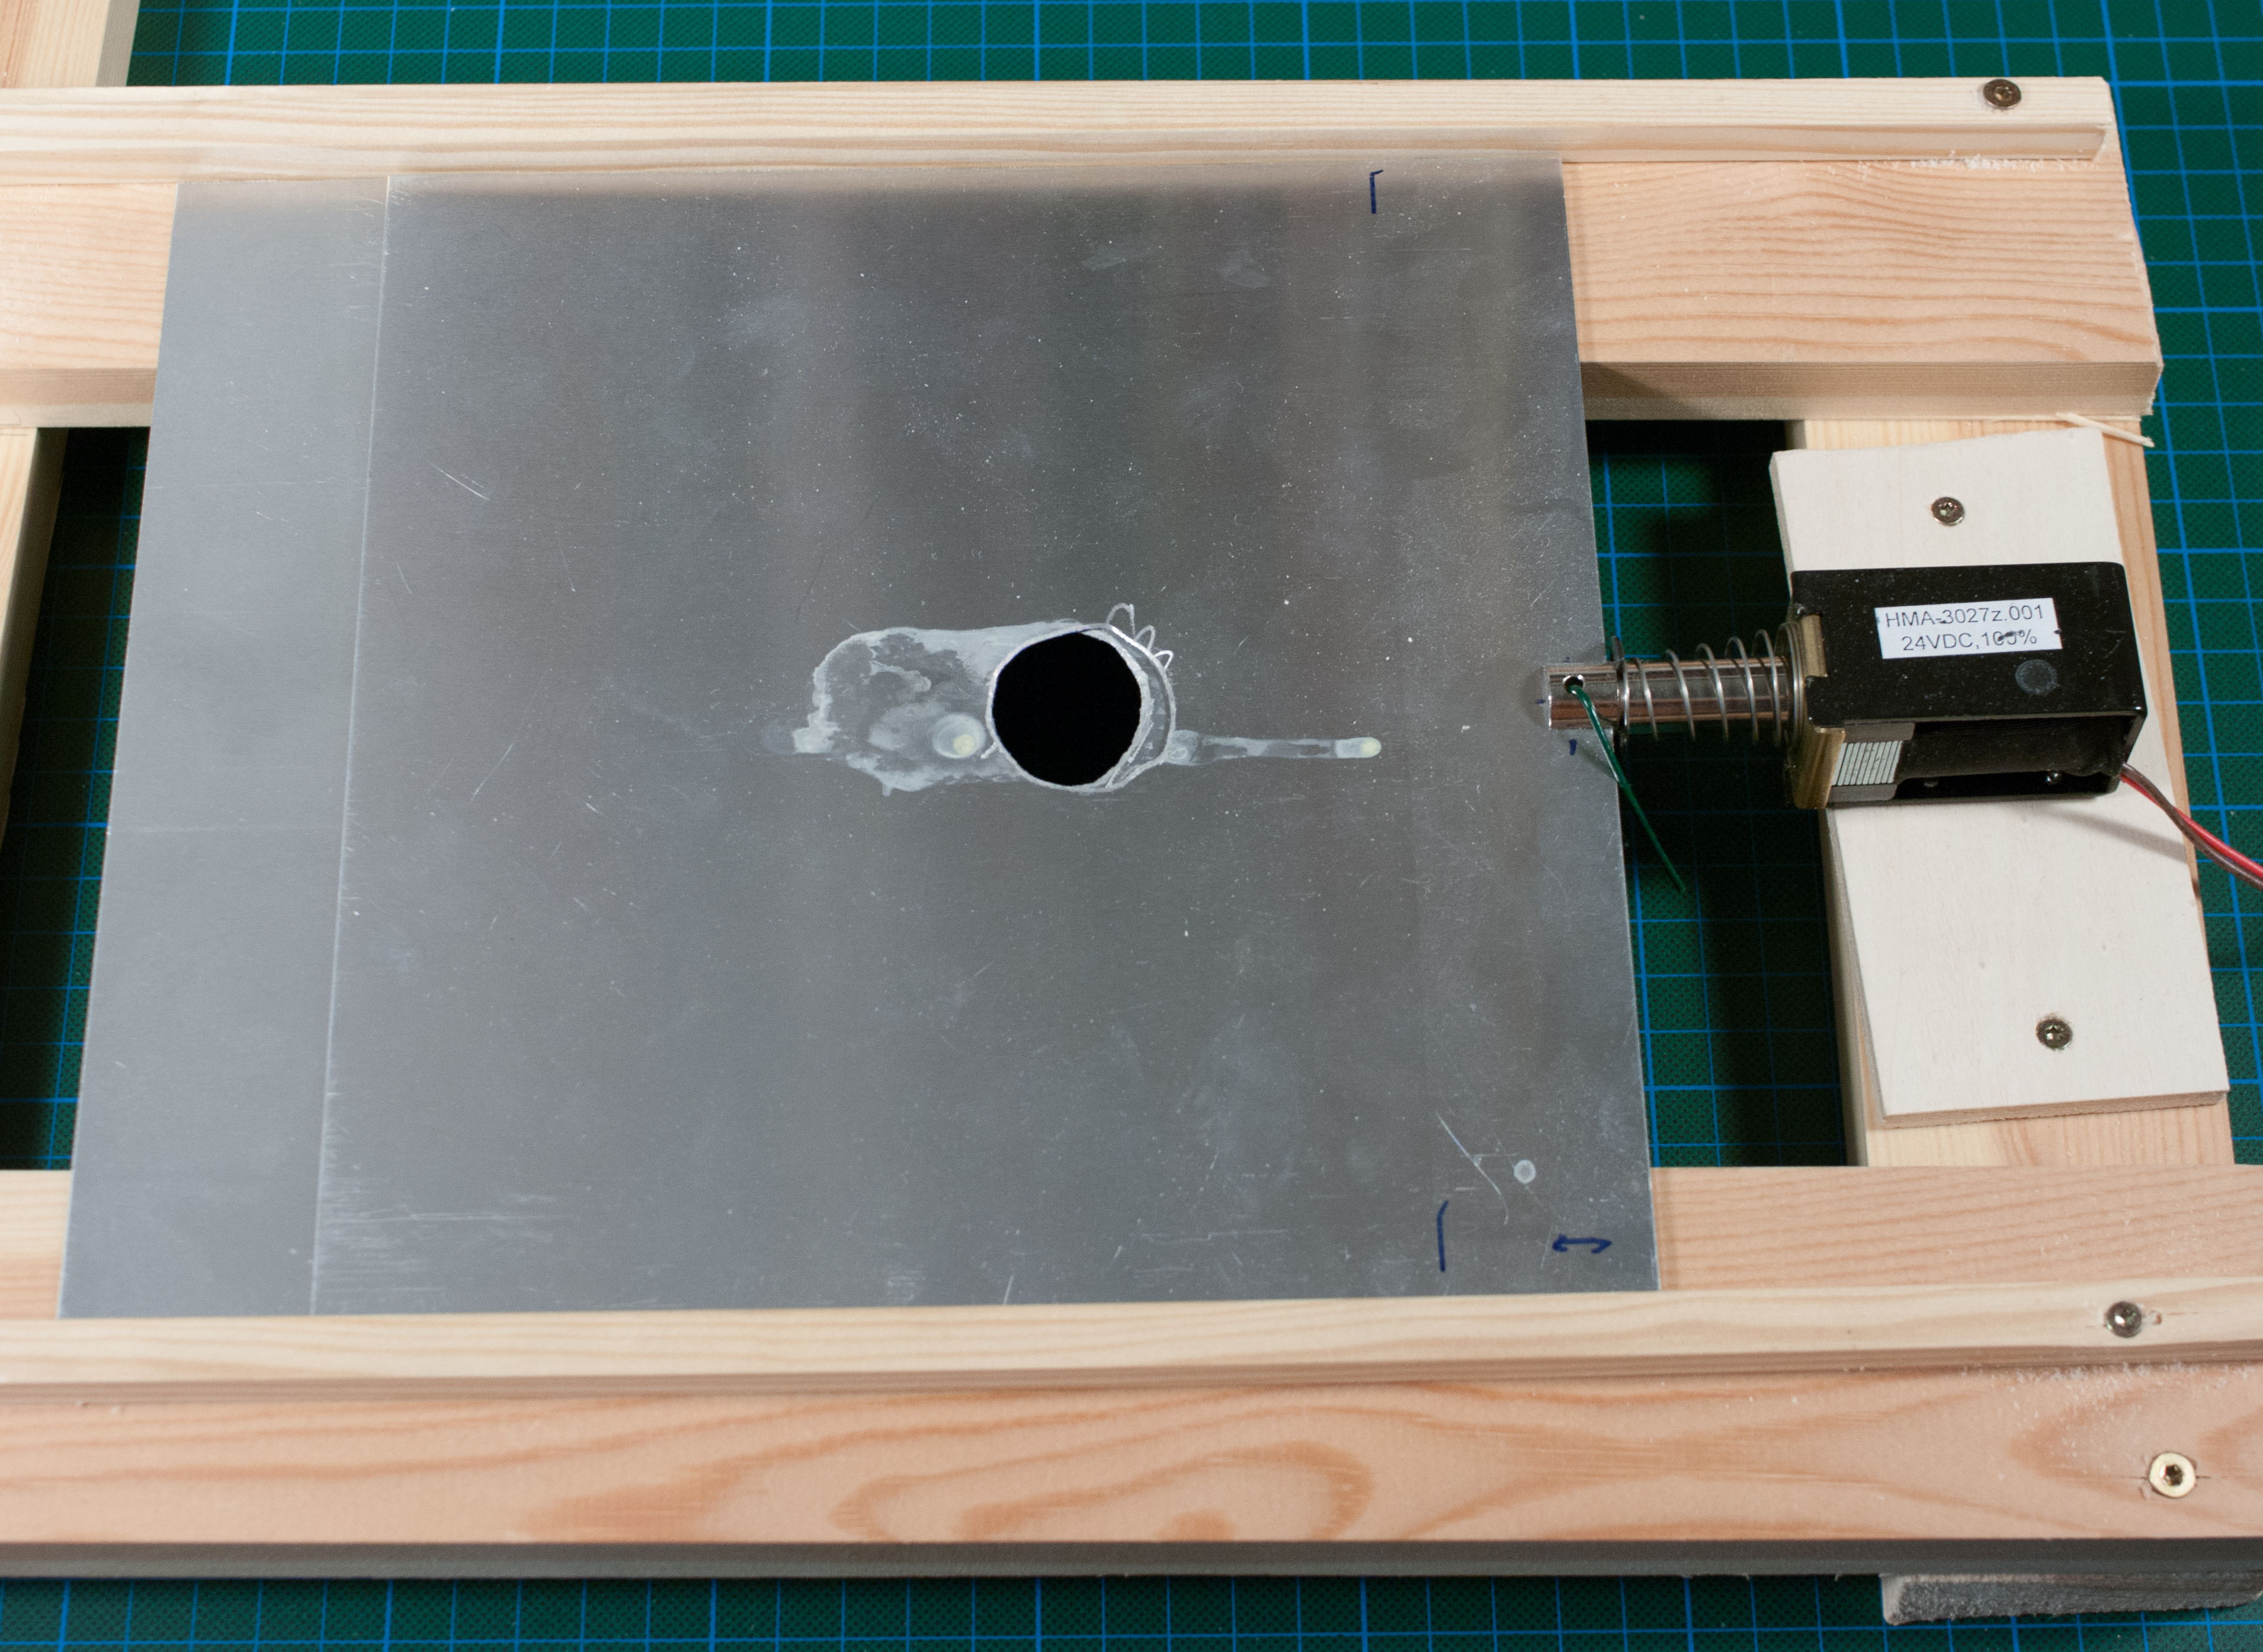
Having played with Arduino a bit, we wondered whether we could take the guesswork out of getting the moment right, and after a lot of tinkering we came up with the rig explained here. We’re now able to get the moment right in a repeatable fashion, thanks to an electromagnetic solenoid controlled by an Arduino Uno.

It’s not hard to build, but you’ll need to scrounge the parts from various sources and do some experimenting to get the rig configured right (more trial and error). Our description here is not very precise (by design) as your parts and photography needs may vary. But hopefully it’s good enough that you get the idea and start making!

Project Steps

Build the dropper rig

From the aluminum sheet, cut 2 plates the same size. Then cut matching holes in each plate, as shown here. The holes should be big enough to clear whatever objects you intend to drop into the water. Note that the background grid shows centimeters (1″ = 2.54cm).

Build a simple wooden frame for the plates to lie on horizontally. One plate will be stationary and the other will glide on top, moved back and forth by the solenoid. The second image shows an overview of how the main parts are positioned.

Build the dropper rig (cont'd)

Here’s our completed frame, with small side rails to guide the plates. Here they’re shown in the “loaded” position, ready for the solenoid to “fire.”

The solenoid is mounted at one end; its plunger has a slot that accepts the edge of the top aluminum plate.

Test the dropper rig

To test the rig, connect the power supply to fire the solenoid. Polarity will determine whether the magnet pulls the plunger or pushes it; you want it to push. We recommend you do this via a simple breadboard setup using a pushbutton switch together with a fuse.

Adjust the position of the 2 plates and the solenoid until the 2 holes align when you fire the solenoid. This allows you to precisely control when your object will start to fall. This picture shows our rig after firing.

Build the electronics

Here’s our circuit. At lower left is the Arduino Uno board with the Relay Shield plugged into the top of it. Relay #1 (shown with green jumper wires) is optional — it will drive the shutter of the camera in a future version of this project. Relay #2 (black and white jumpers) connects to the breadboard to control the solenoid. Relay #3 (black cables) triggers the flash.

At the top is the power supply for the solenoid, its AC input coming from the right (thick black cable), and its DC output on the left (thick white cable split into thin red and black wires going into the breadboard).

And on the right is the breadboard, which provides fuse protection for the solenoid and power supply. Power comes from the power supply, is driven through Relay #2 and the fuse, and finally connects to the solenoid (green jumpers in lower right).

Program the Arduino and test the electronics

Now you’ll program the Arduino and it will all magically come together. Download the project code file, PhotoMagnet.ino, from this website. This simple program makes use of the Arduino’s serial interface with your computer, to let you control a set of timing variables (in milliseconds) for your splash shots:

int delay_before_magnet=1000,delay_after_magnet=300;

int flash_duration=10;

int magnet_duration=50;

int camera_duration=0;

In a nutshell, you want to fire the flash about 300 milliseconds after the relay has fired the solenoid (electromagnet) and your object has started falling, for a fall distance of 20″ (0.5m). But you’ll adjust these variables until they’re set correctly for your particular setup.

Connect the Arduino to your computer and upload the code to the Arduino. You’ll be prompted to enter the variables. With the Arduino program running, hit the Enter key to start the sequence. Make sure that the various actions (“fire flash,” “fire magnet”) indeed happen as you execute the program. If not, you need to check your wiring.

Shoot splash photos!

Put your camera and flash in position, set them both to manual operation, then select your f-stop, exposure time, and flash intensity. Take a couple of test shots of a static object to make sure the exposure is right.

Now work on getting the timing right. Here’s the suggested sequence:

  • Start the Arduino program. It will prompt you for the first value to be entered.
  • “Load” the dropper rig by pushing the top aluminum plate into the slot on the solenoid’s plunger.
  • Put the object in the “drop zone” (the hole in the top plate).
  • Finish your selection of values.
  • Darken the room and hit your camera shutter button — we use a 3-second exposure — and then quickly …
  • Hit Enter to start the sequence of events.

Watch events unfold closely: Is the flash fired too early (the dropped object is not in the water yet)? Or too late (the splash event is already over)? Adjust the timing variables until your flash is capturing your splash.

Going Further

Once you’ve got the timing variables dialed in, you’ll start getting great splash photos like these. You can see more of our results on our site.

For the next version of this project, we want to control the camera shutter from the Arduino as well. And ideally, both the camera and the flash should be fully de-coupled from the Arduino by using an optoelectric coupler rather than a relay (though a relay has worked fine for us for both the camera and flash).

Other ideas for project extensions:

  • Use multiple holes in both aluminum plates to drop multiple objects in parallel
  • Use larger holes and objects
  • Use tubes for objects to fall through in order to have them drop at angles

Share

Share your build and your splash photos in the comments section below!