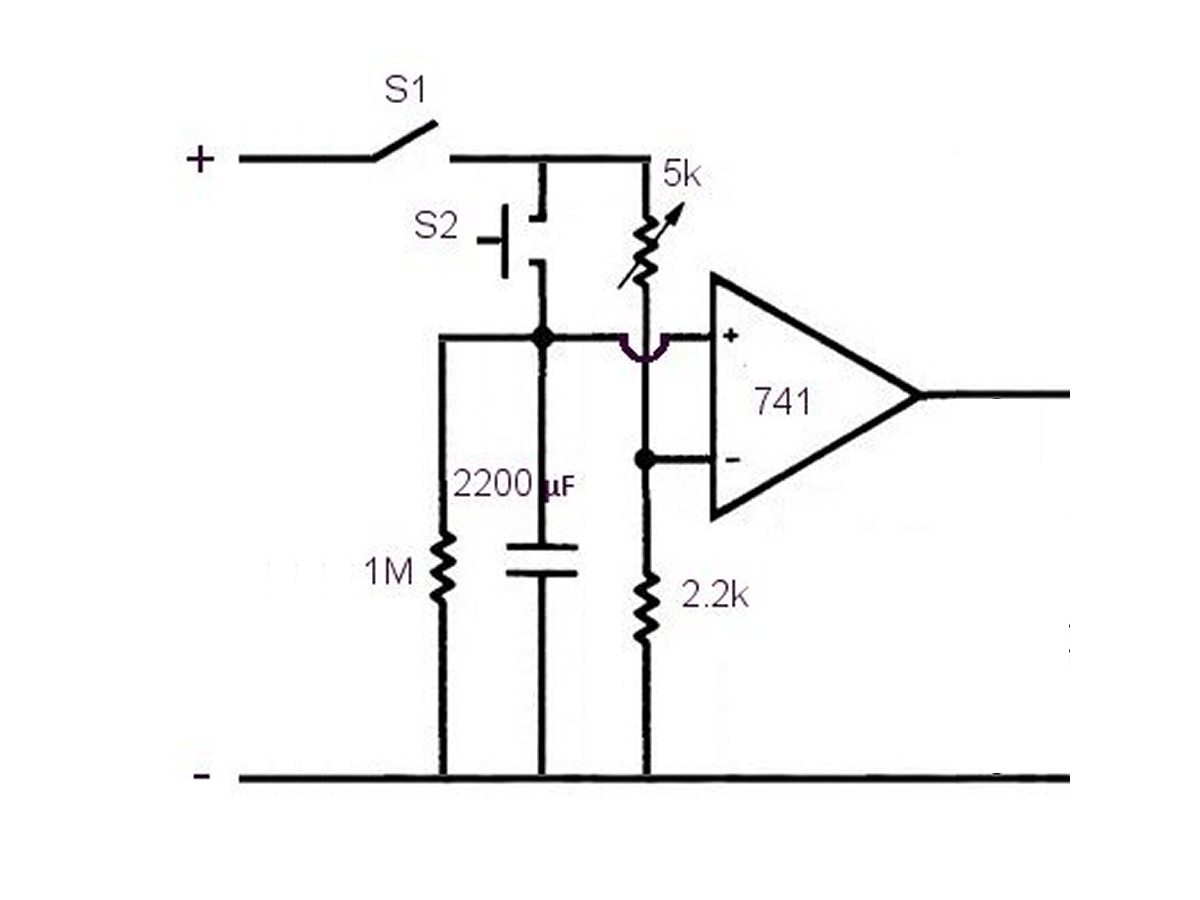
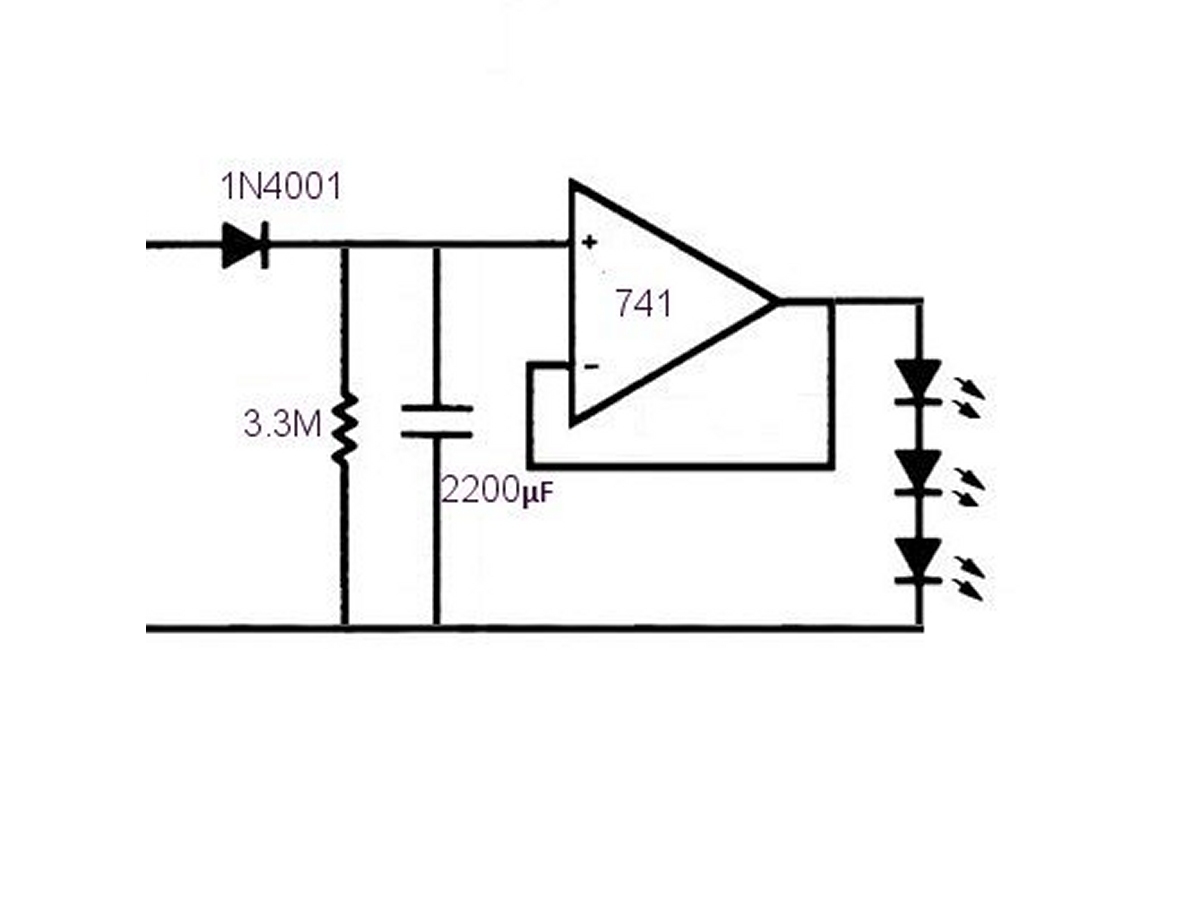
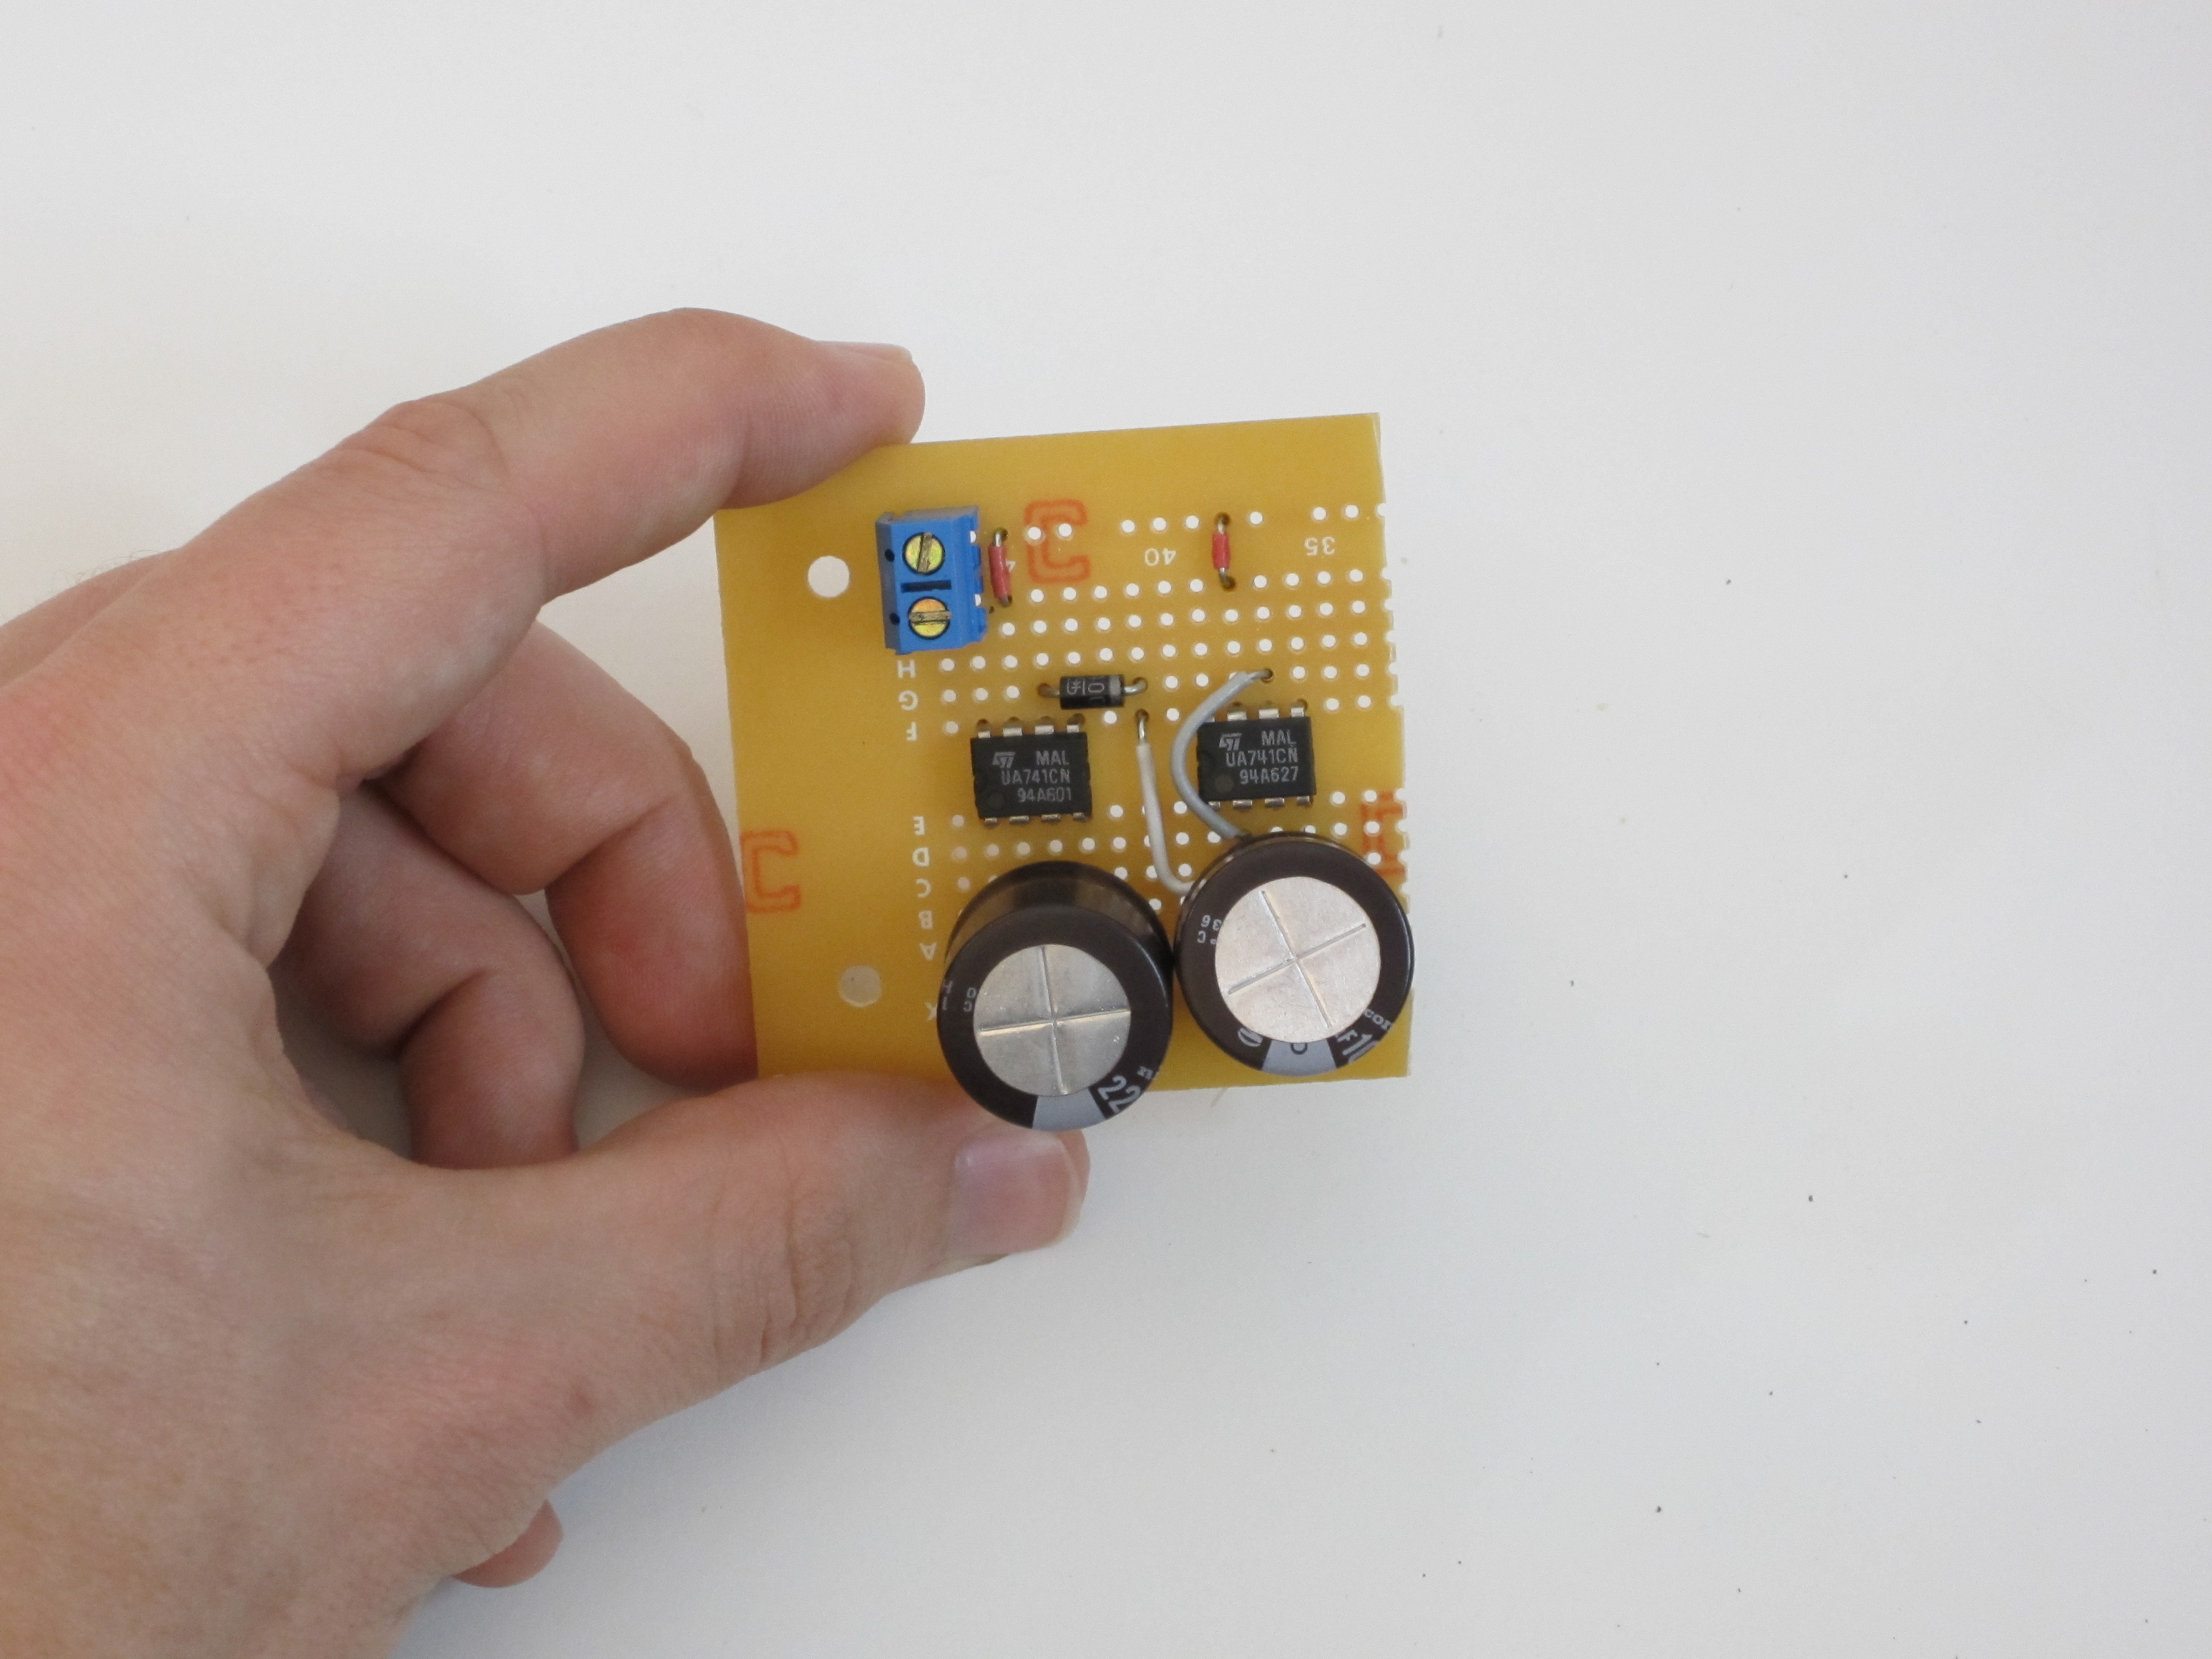
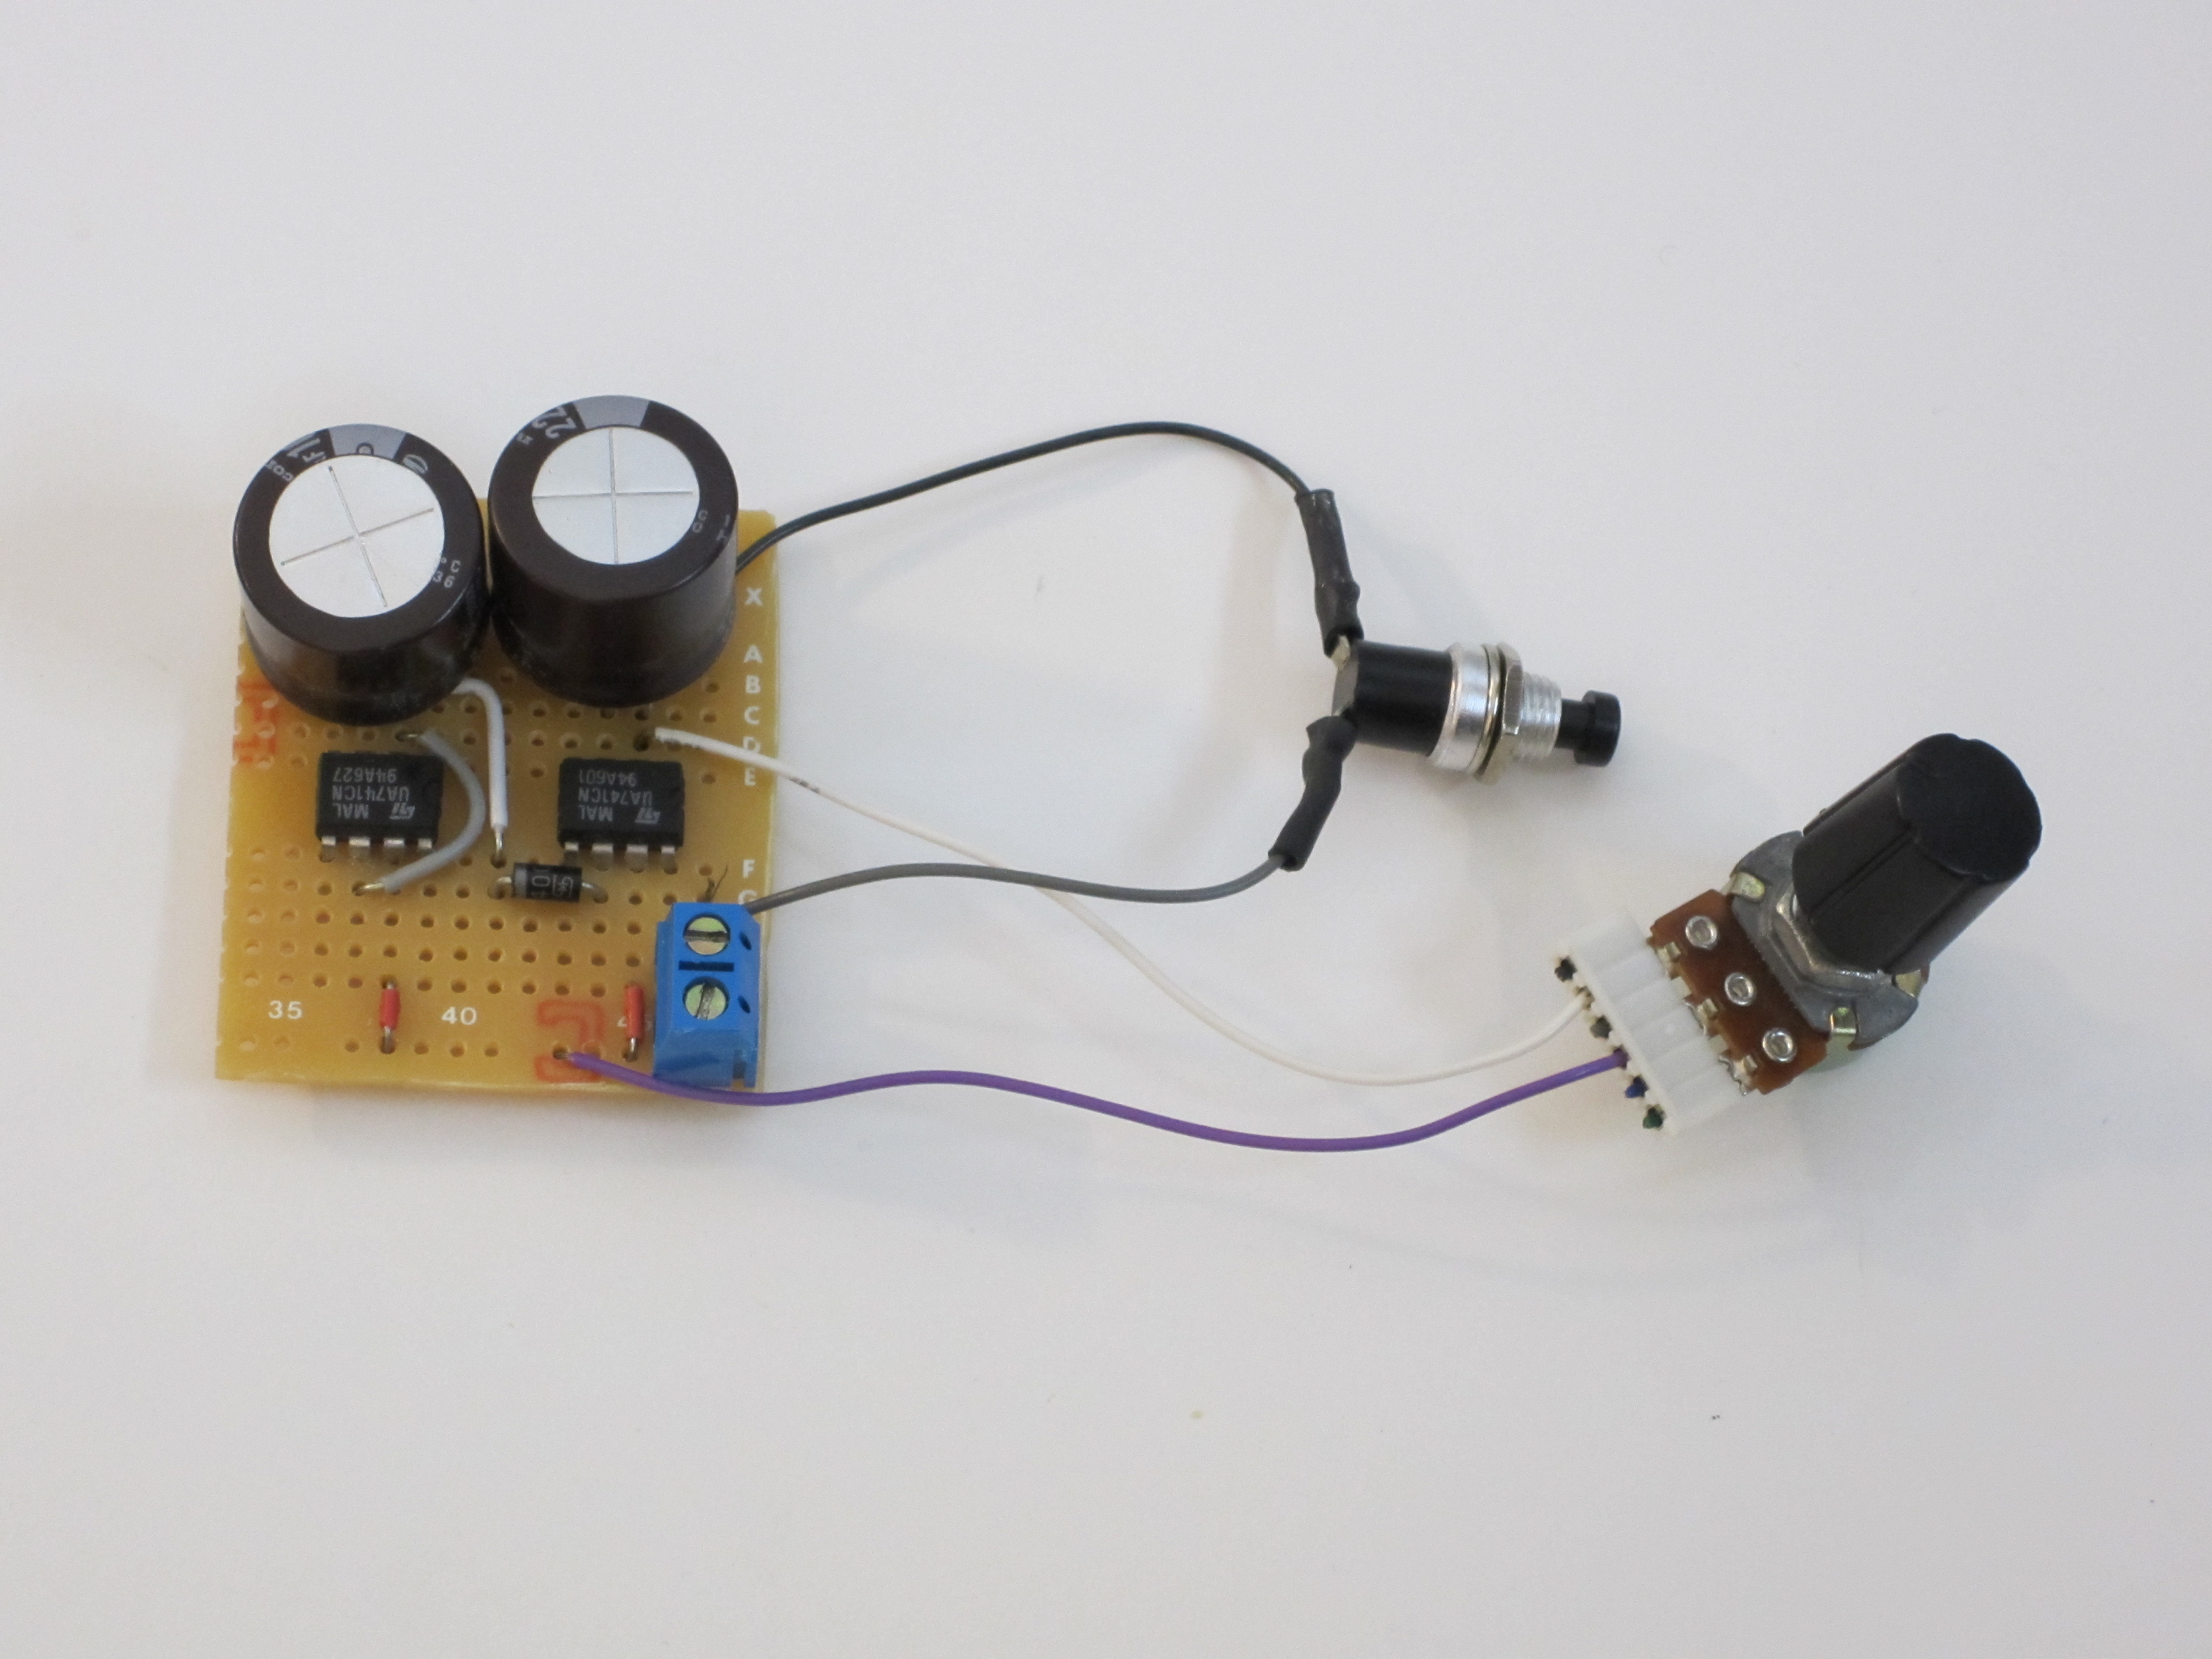
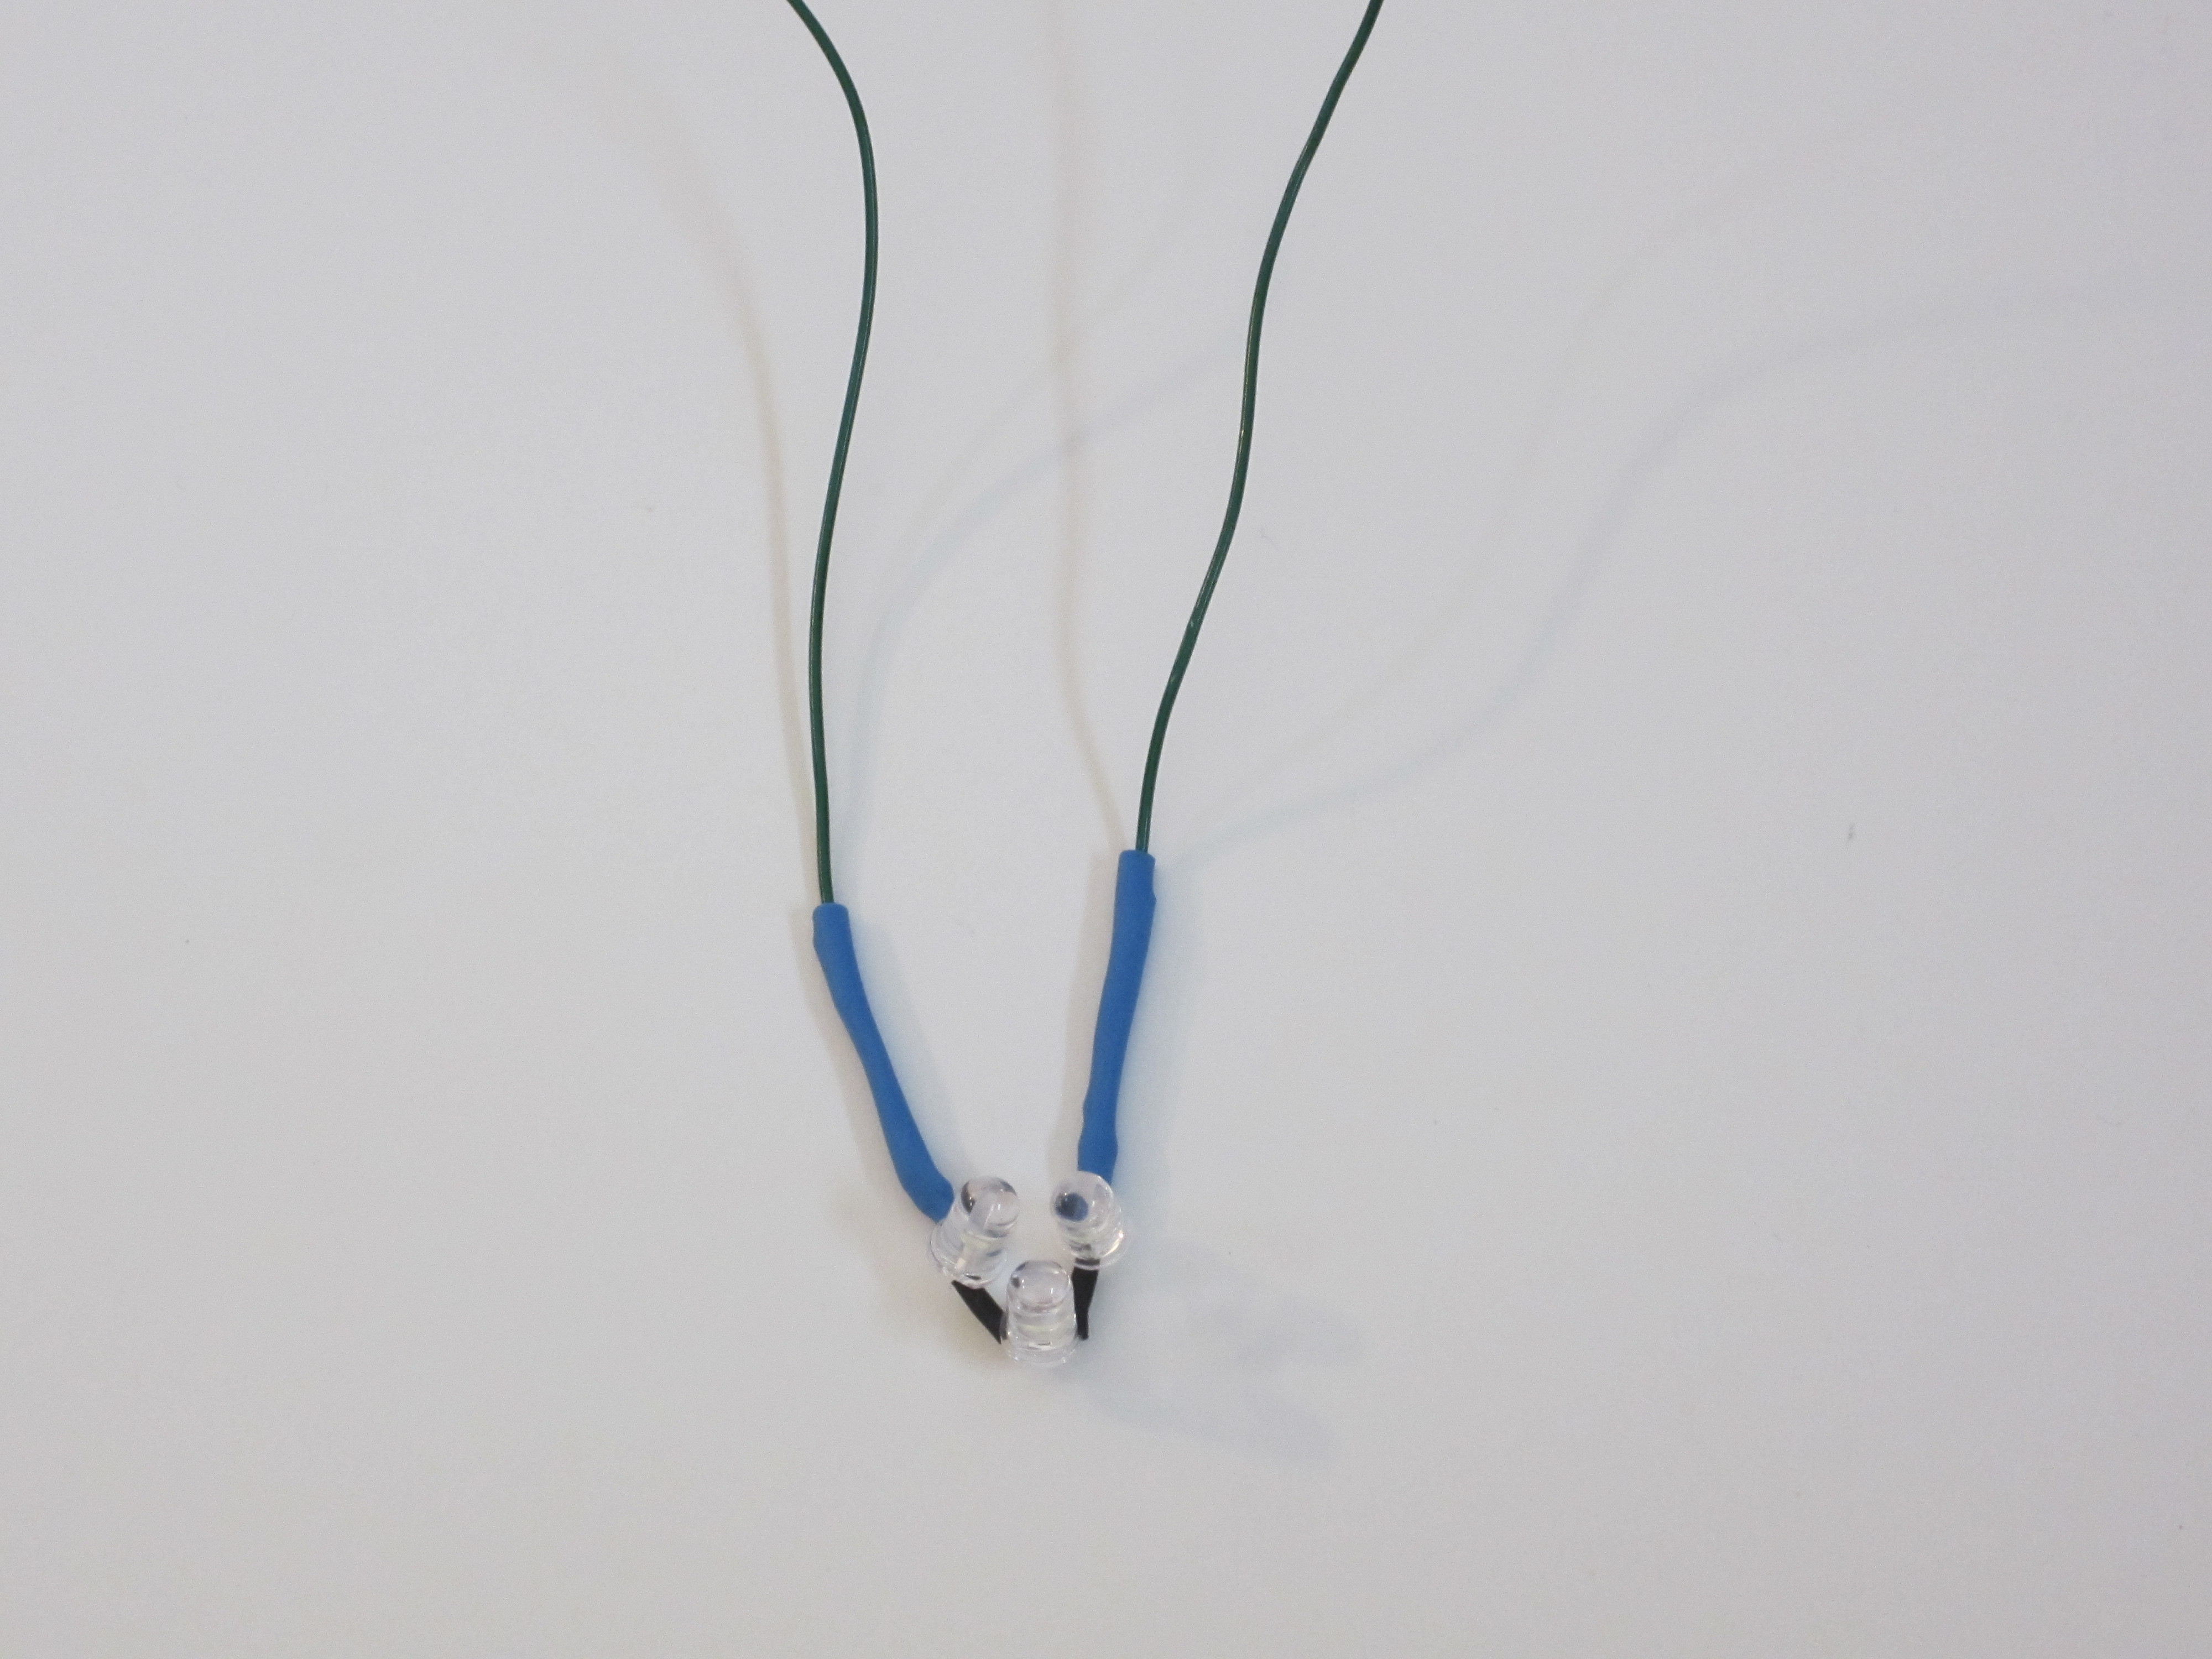
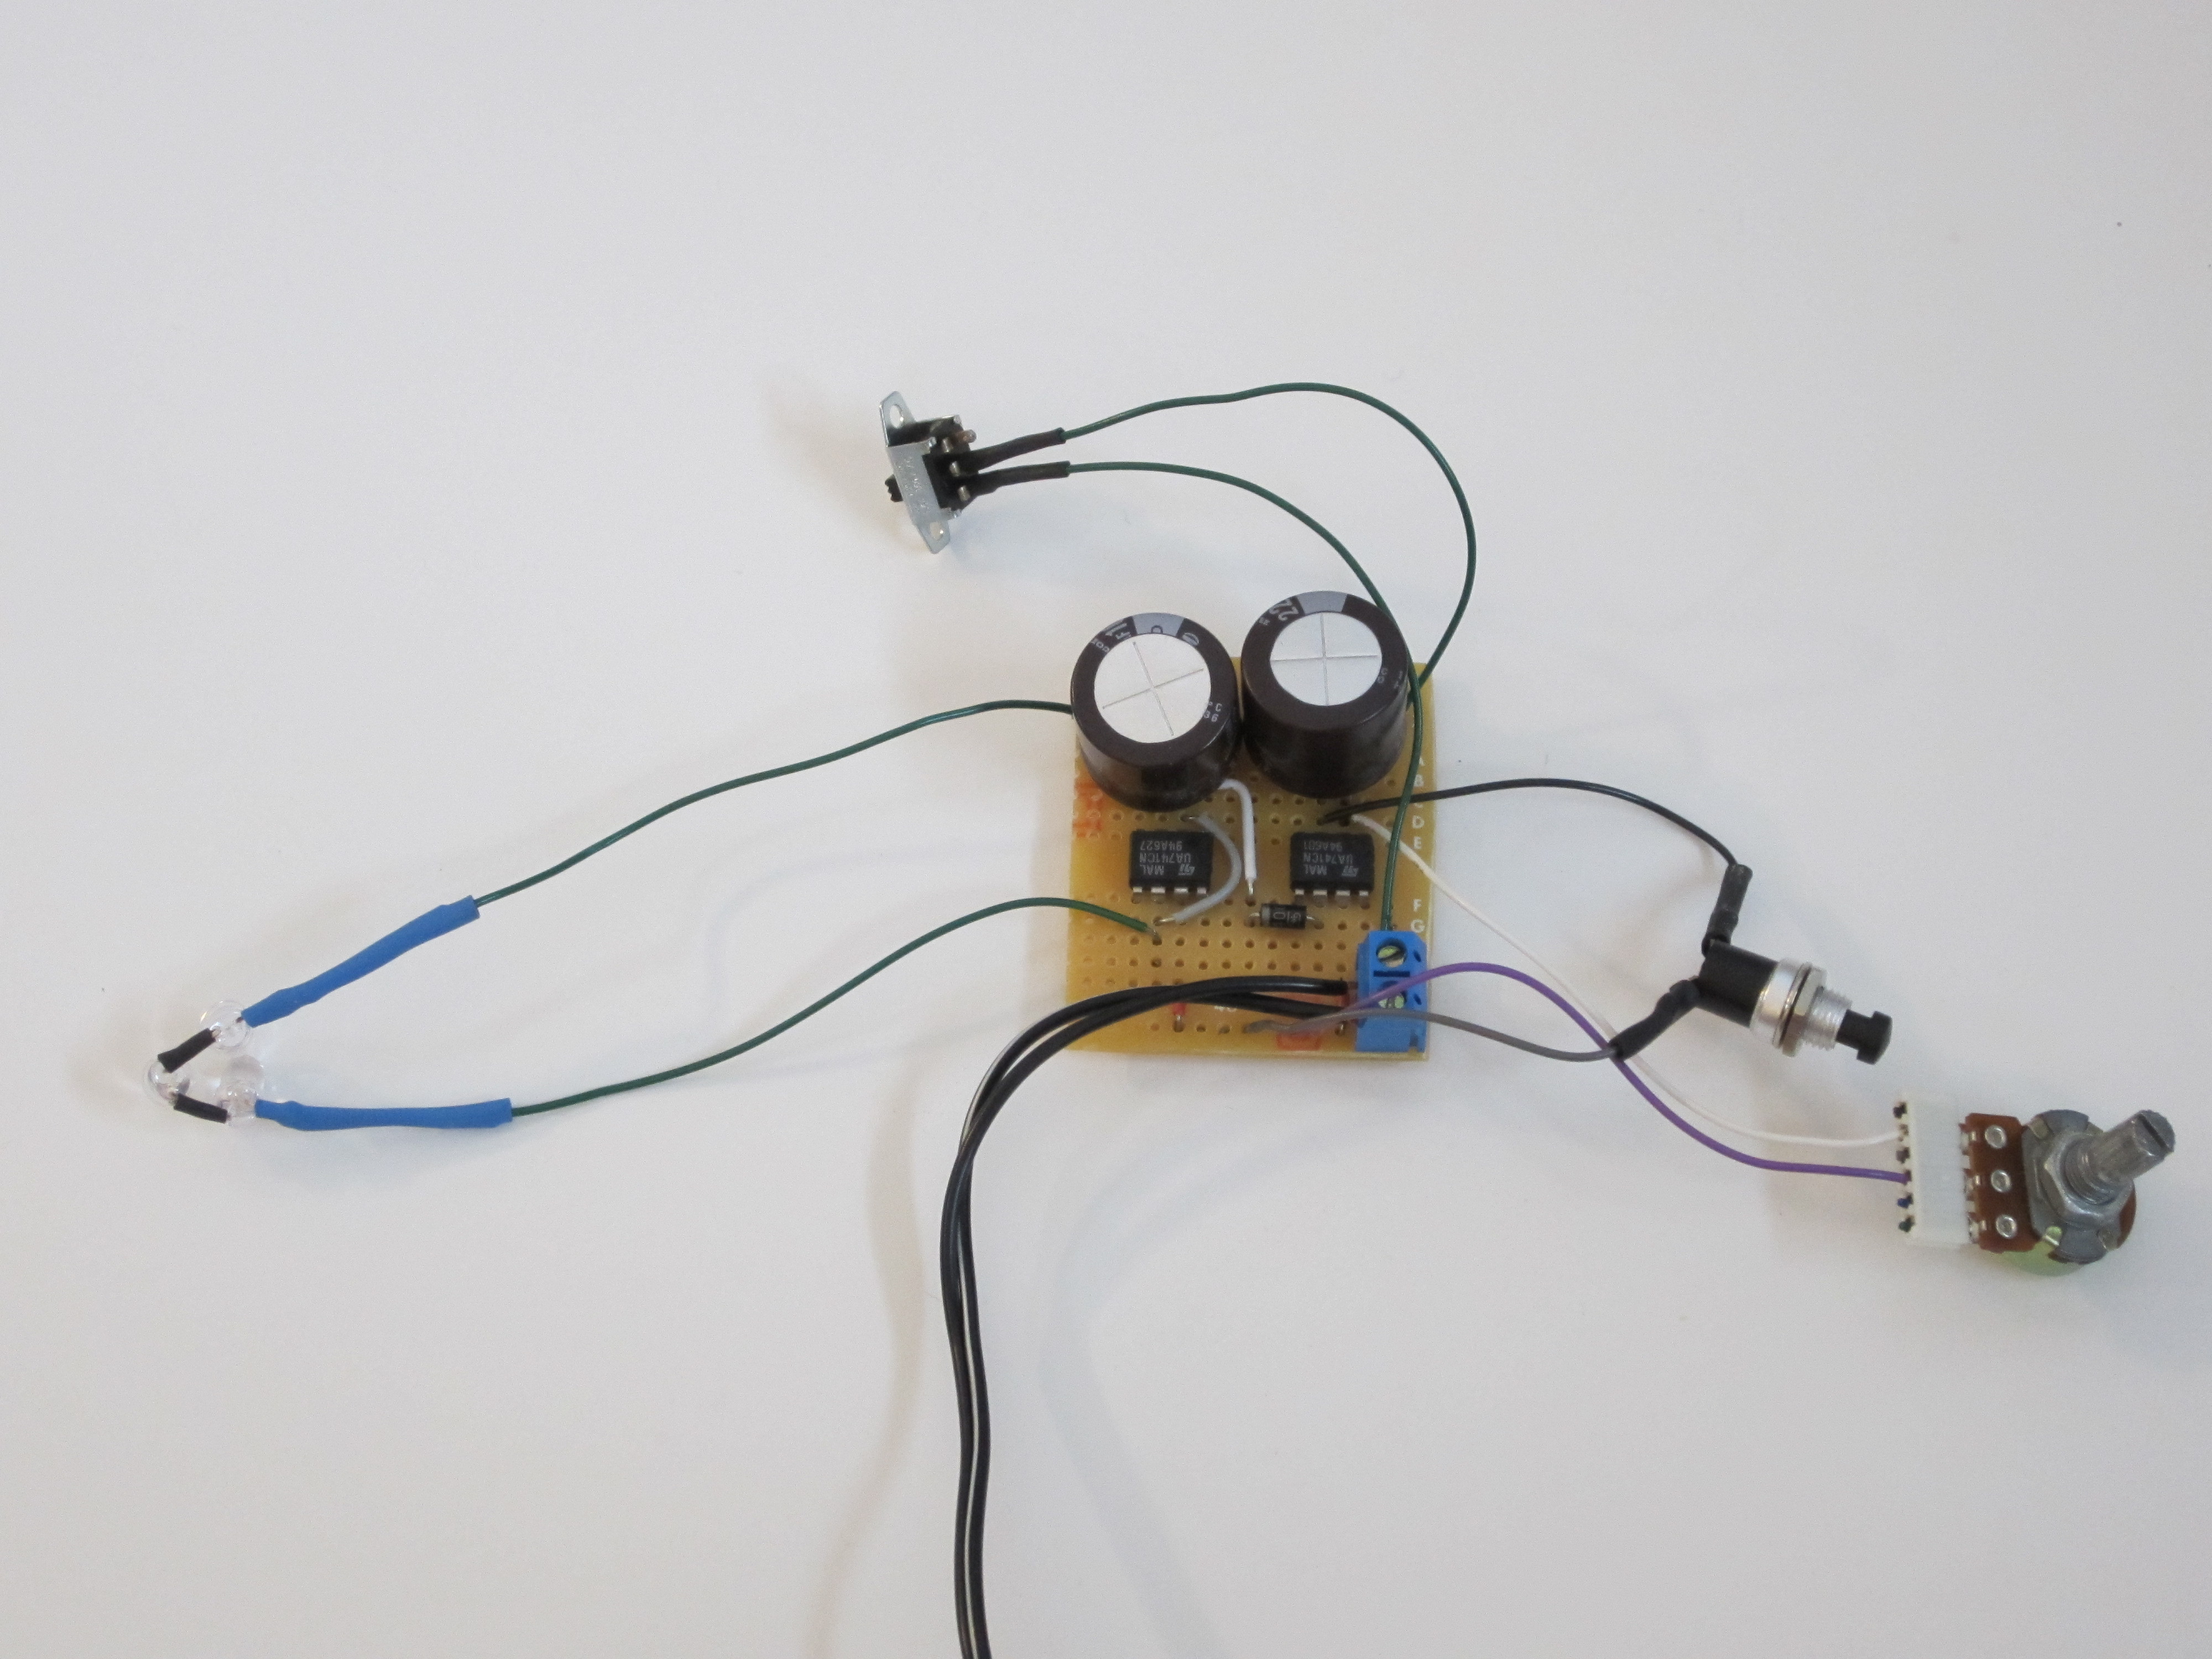
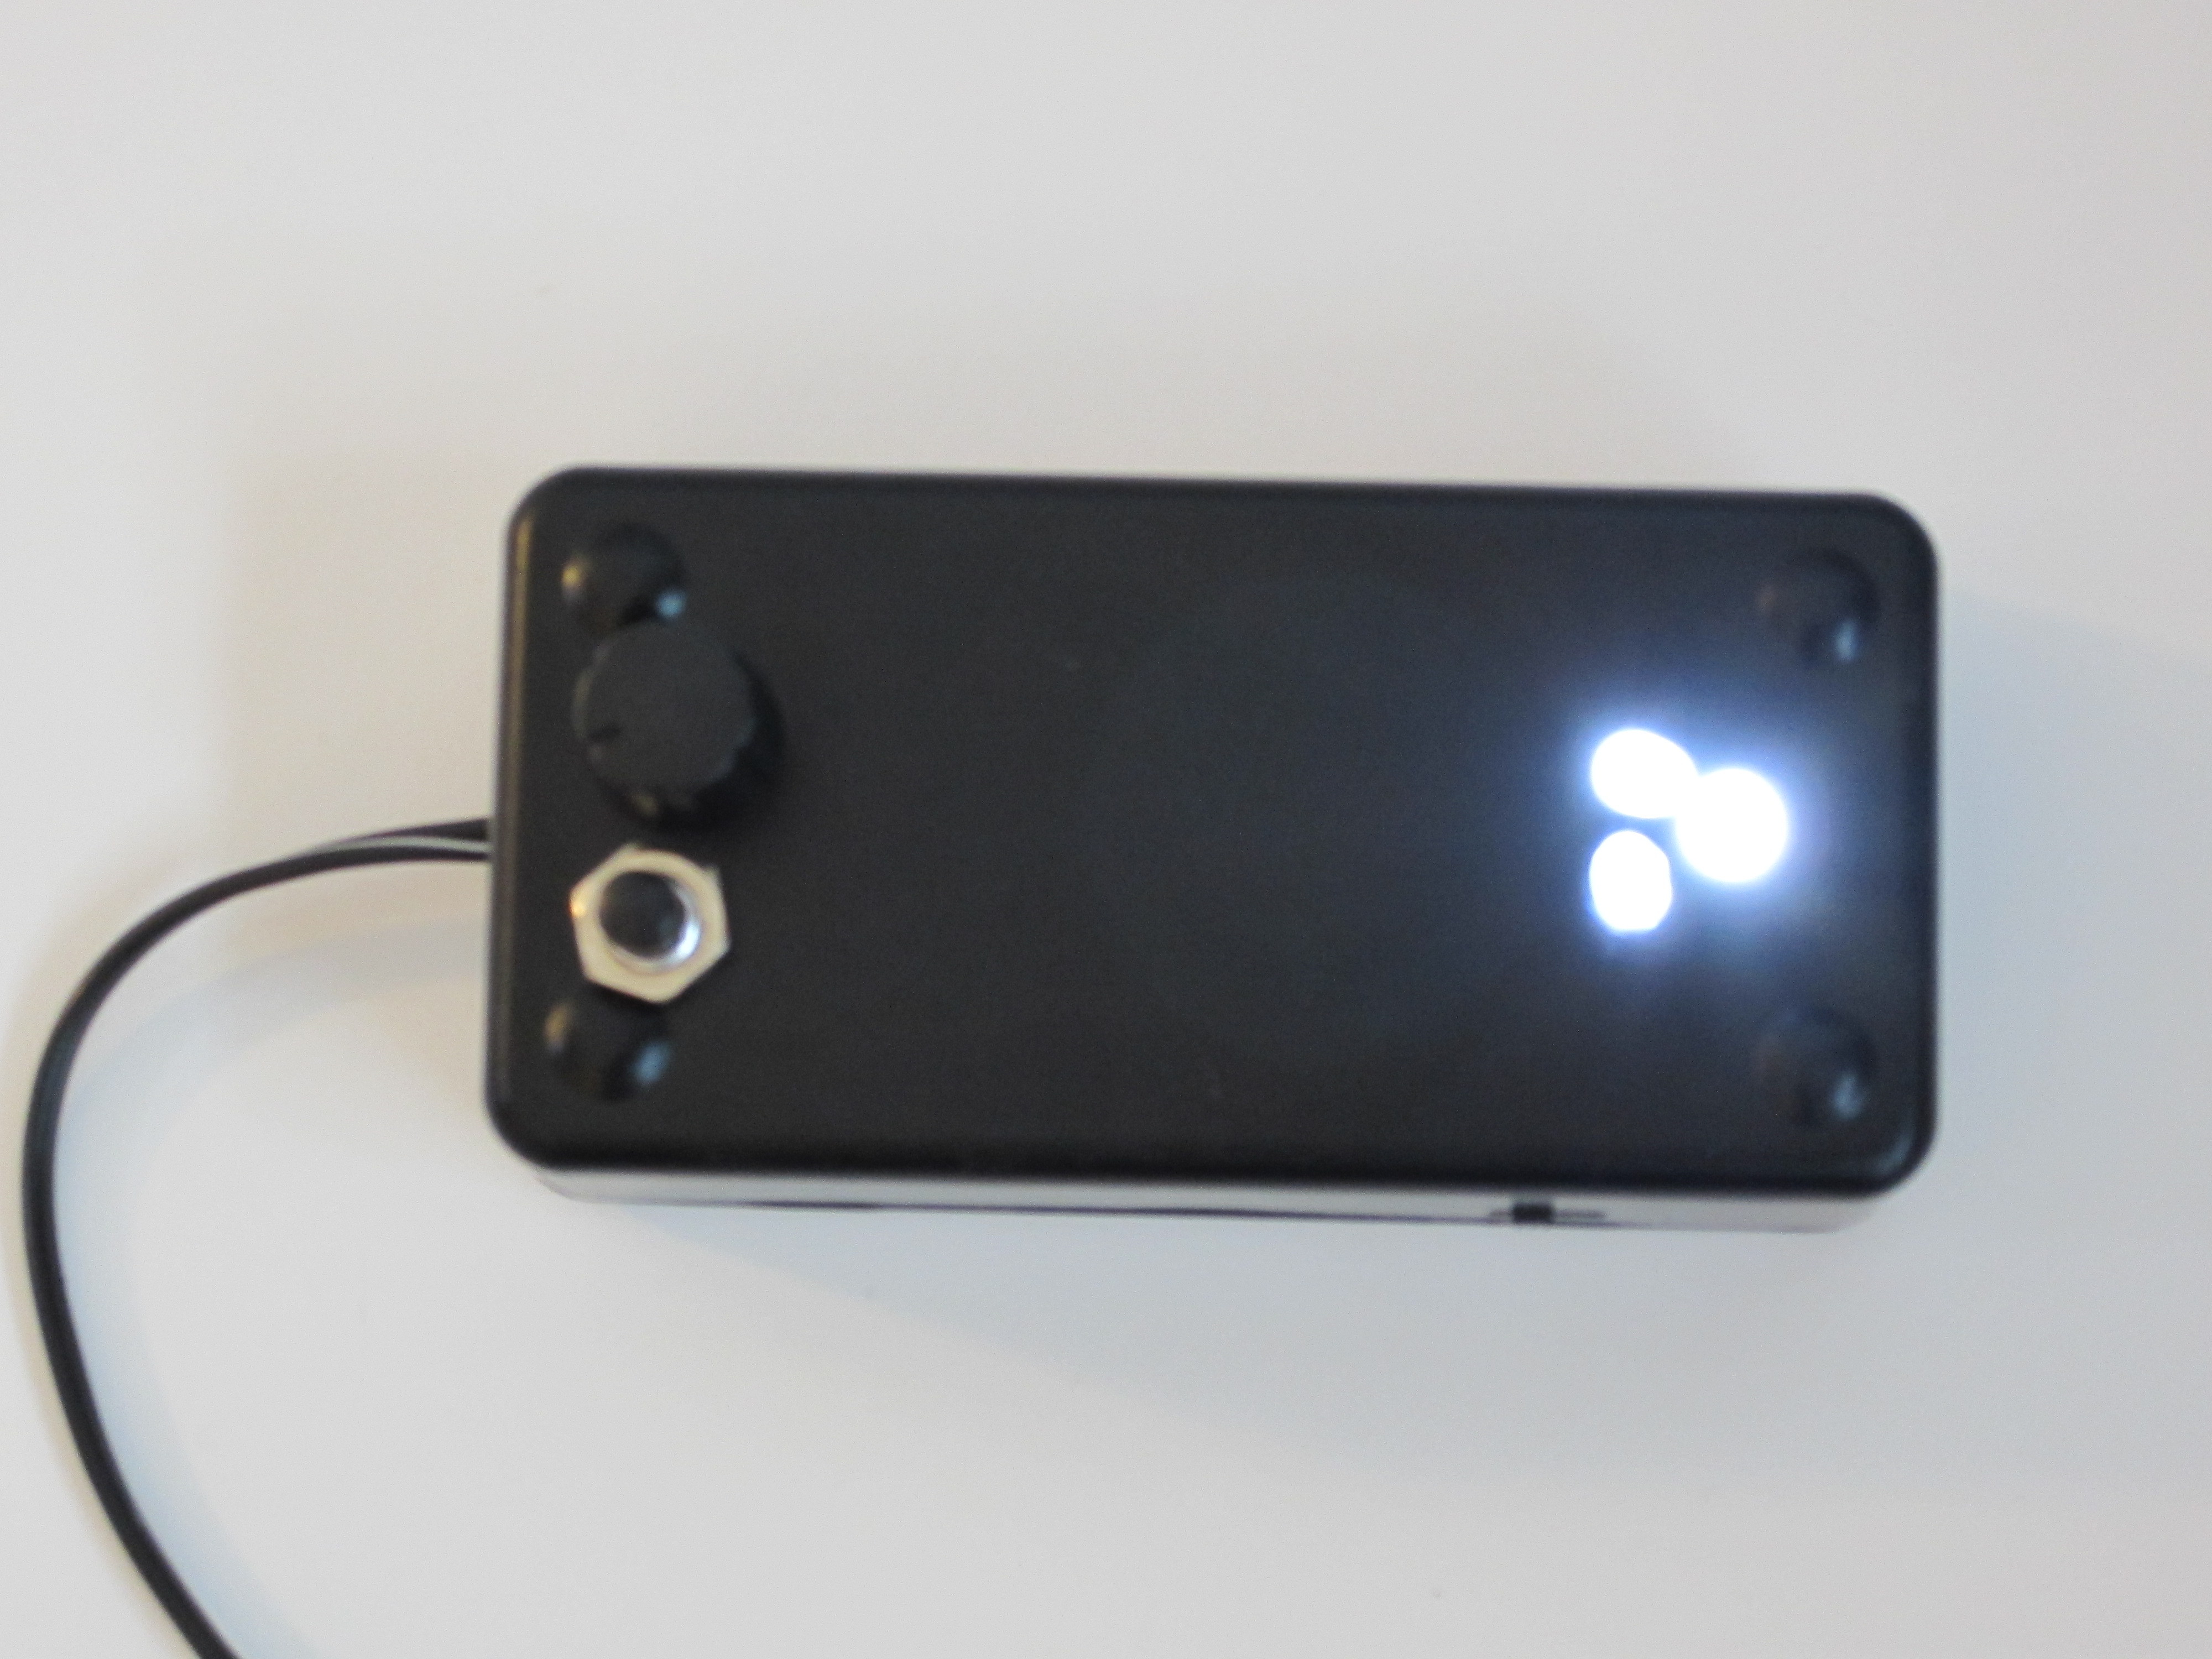
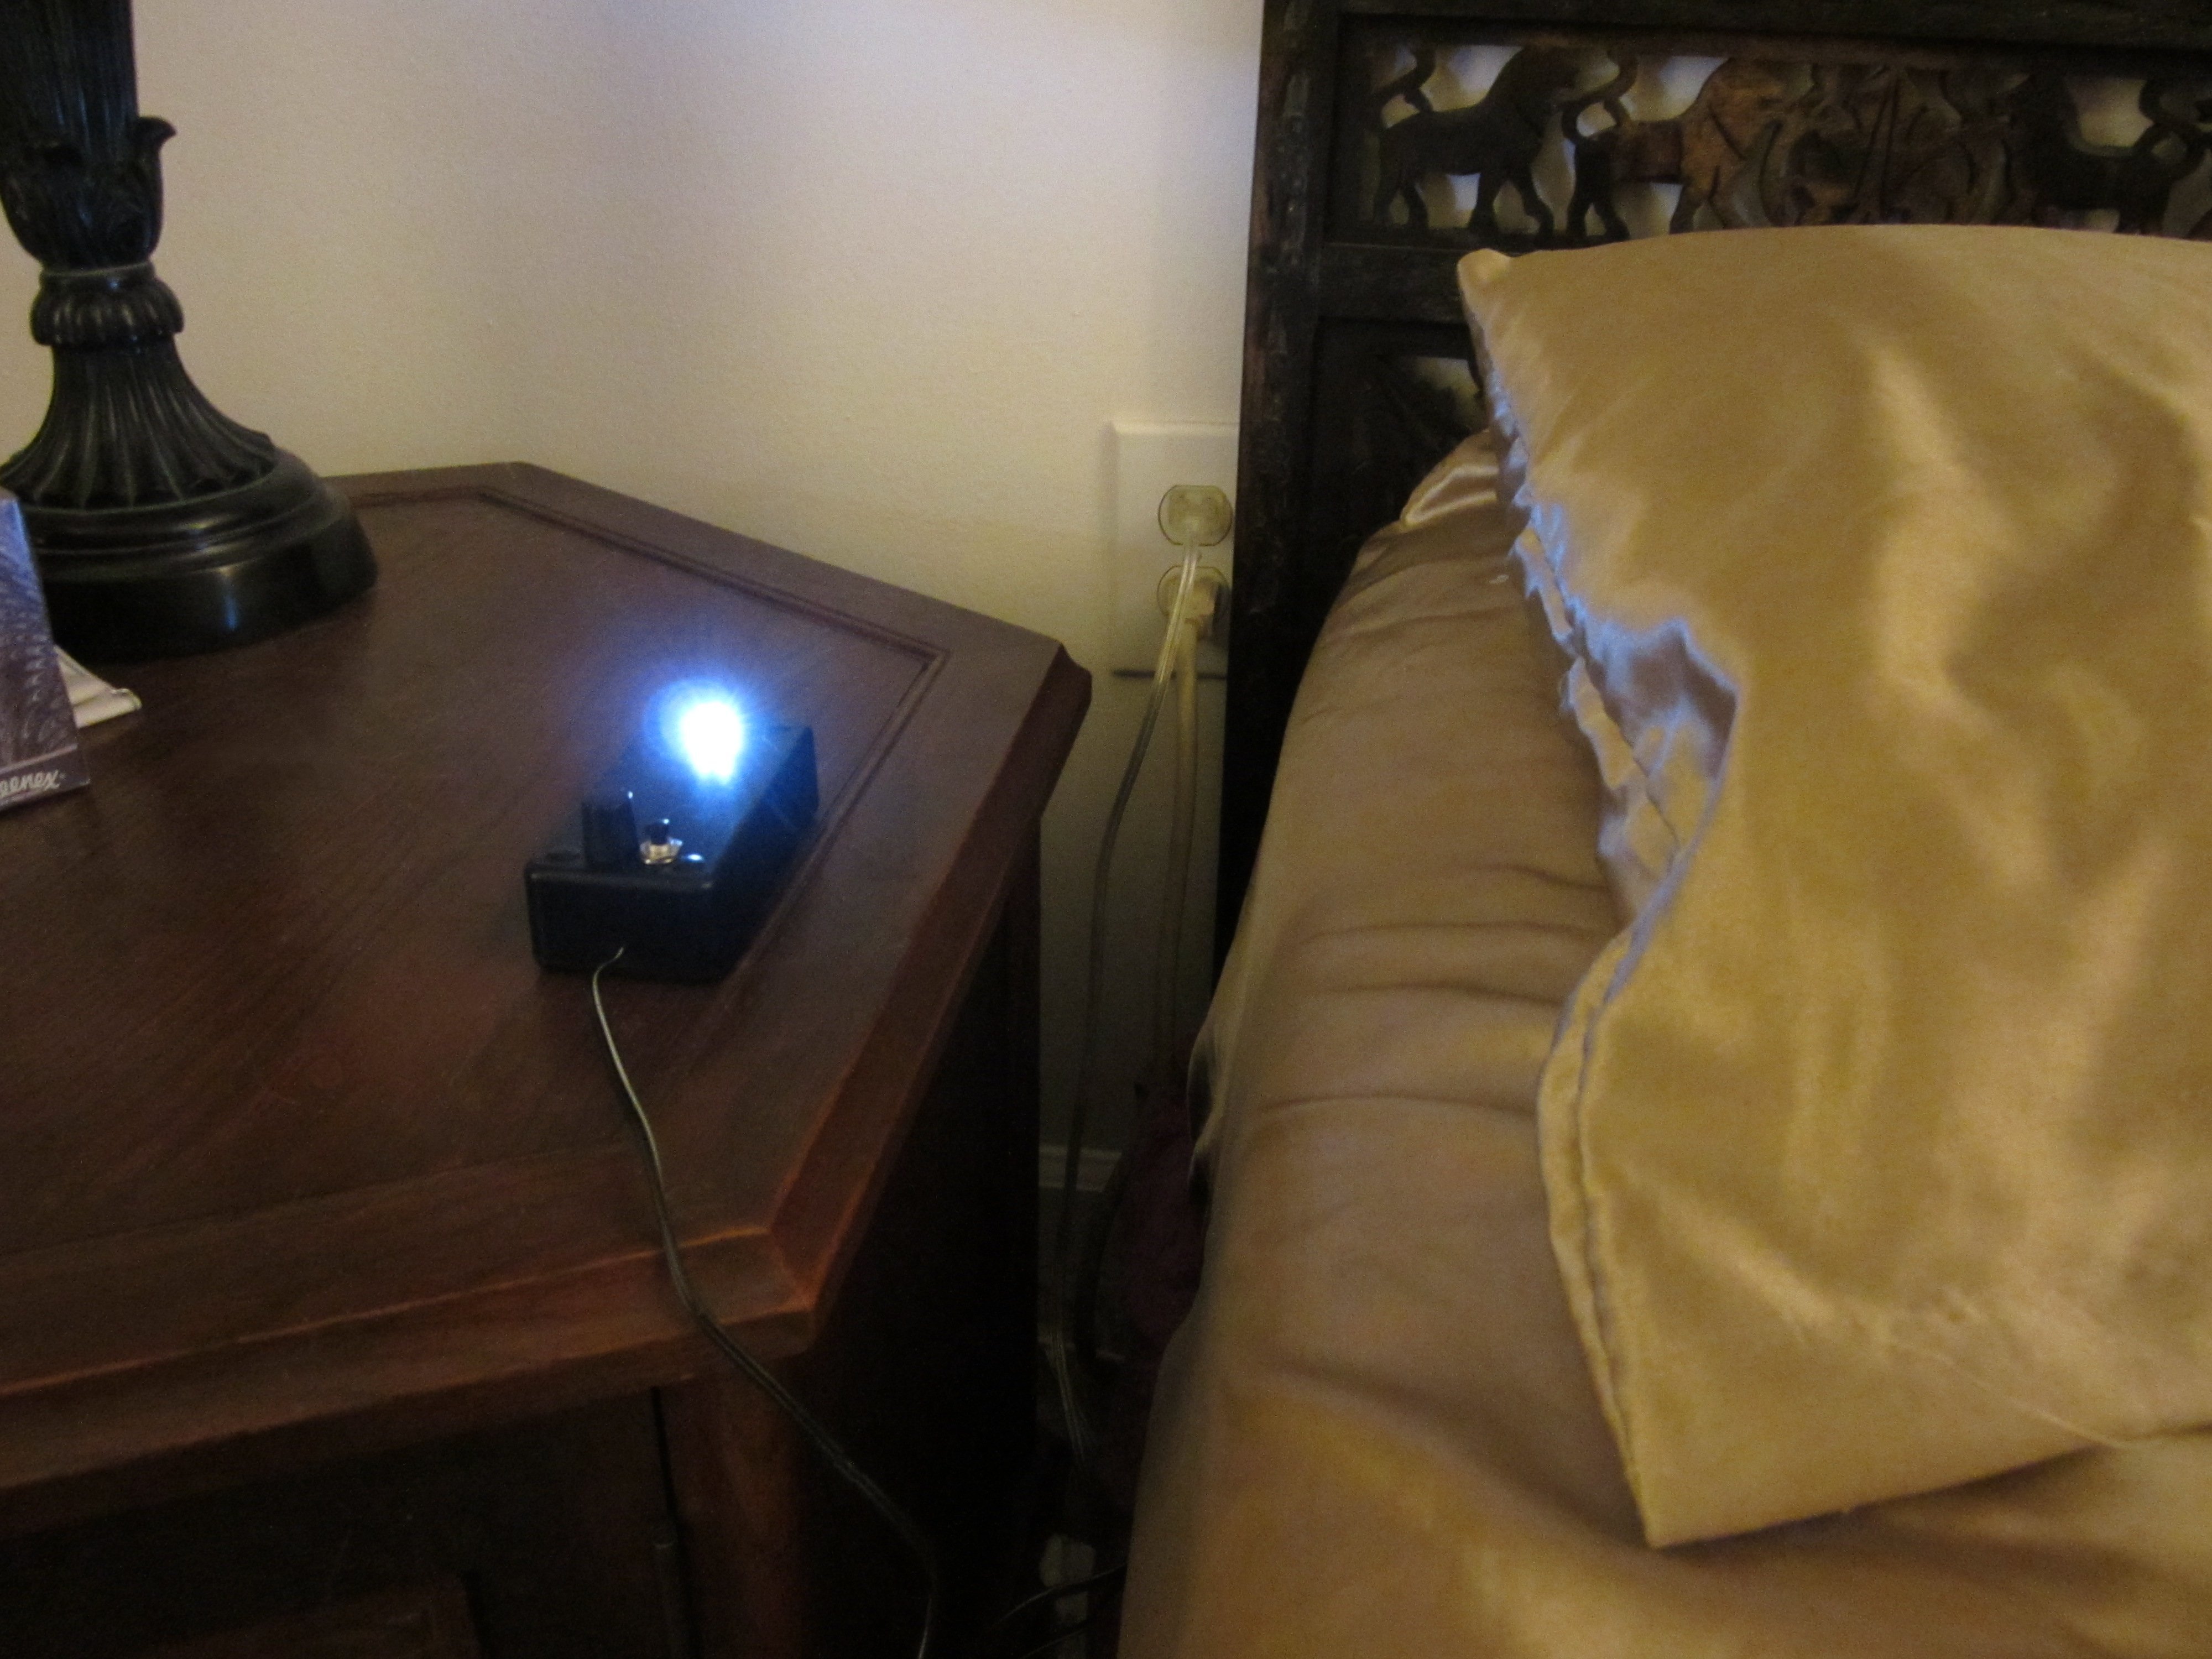
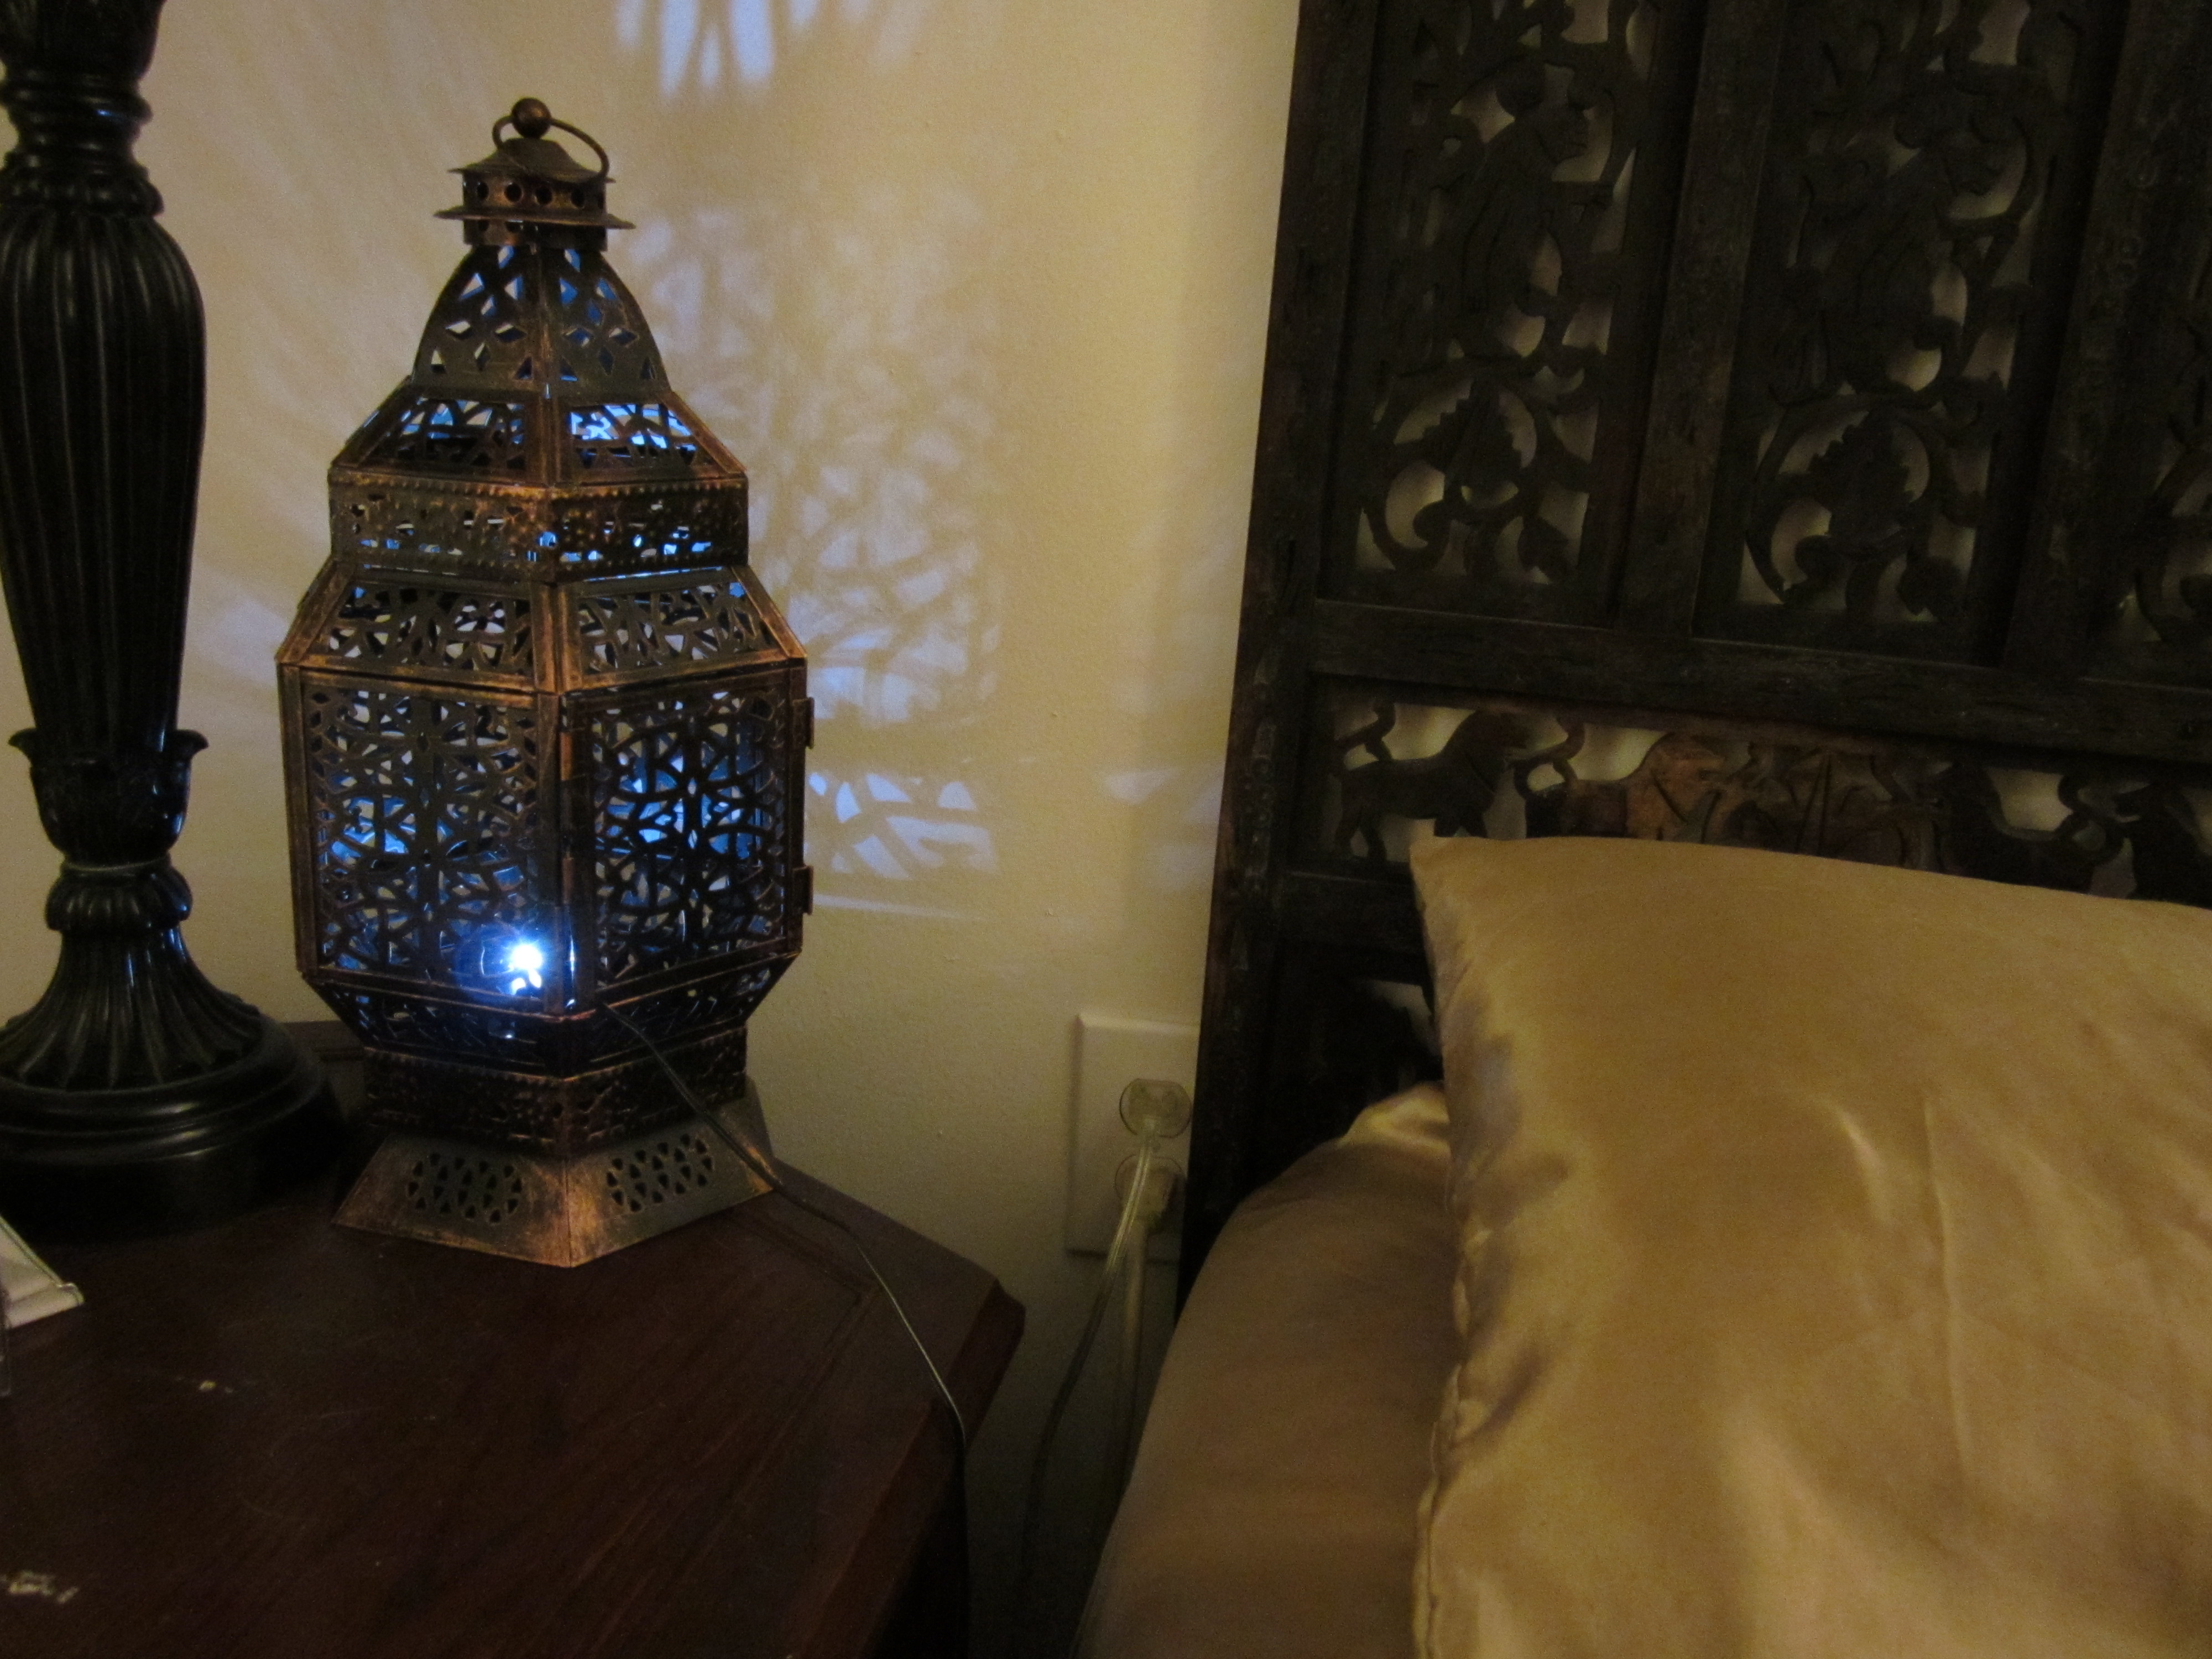
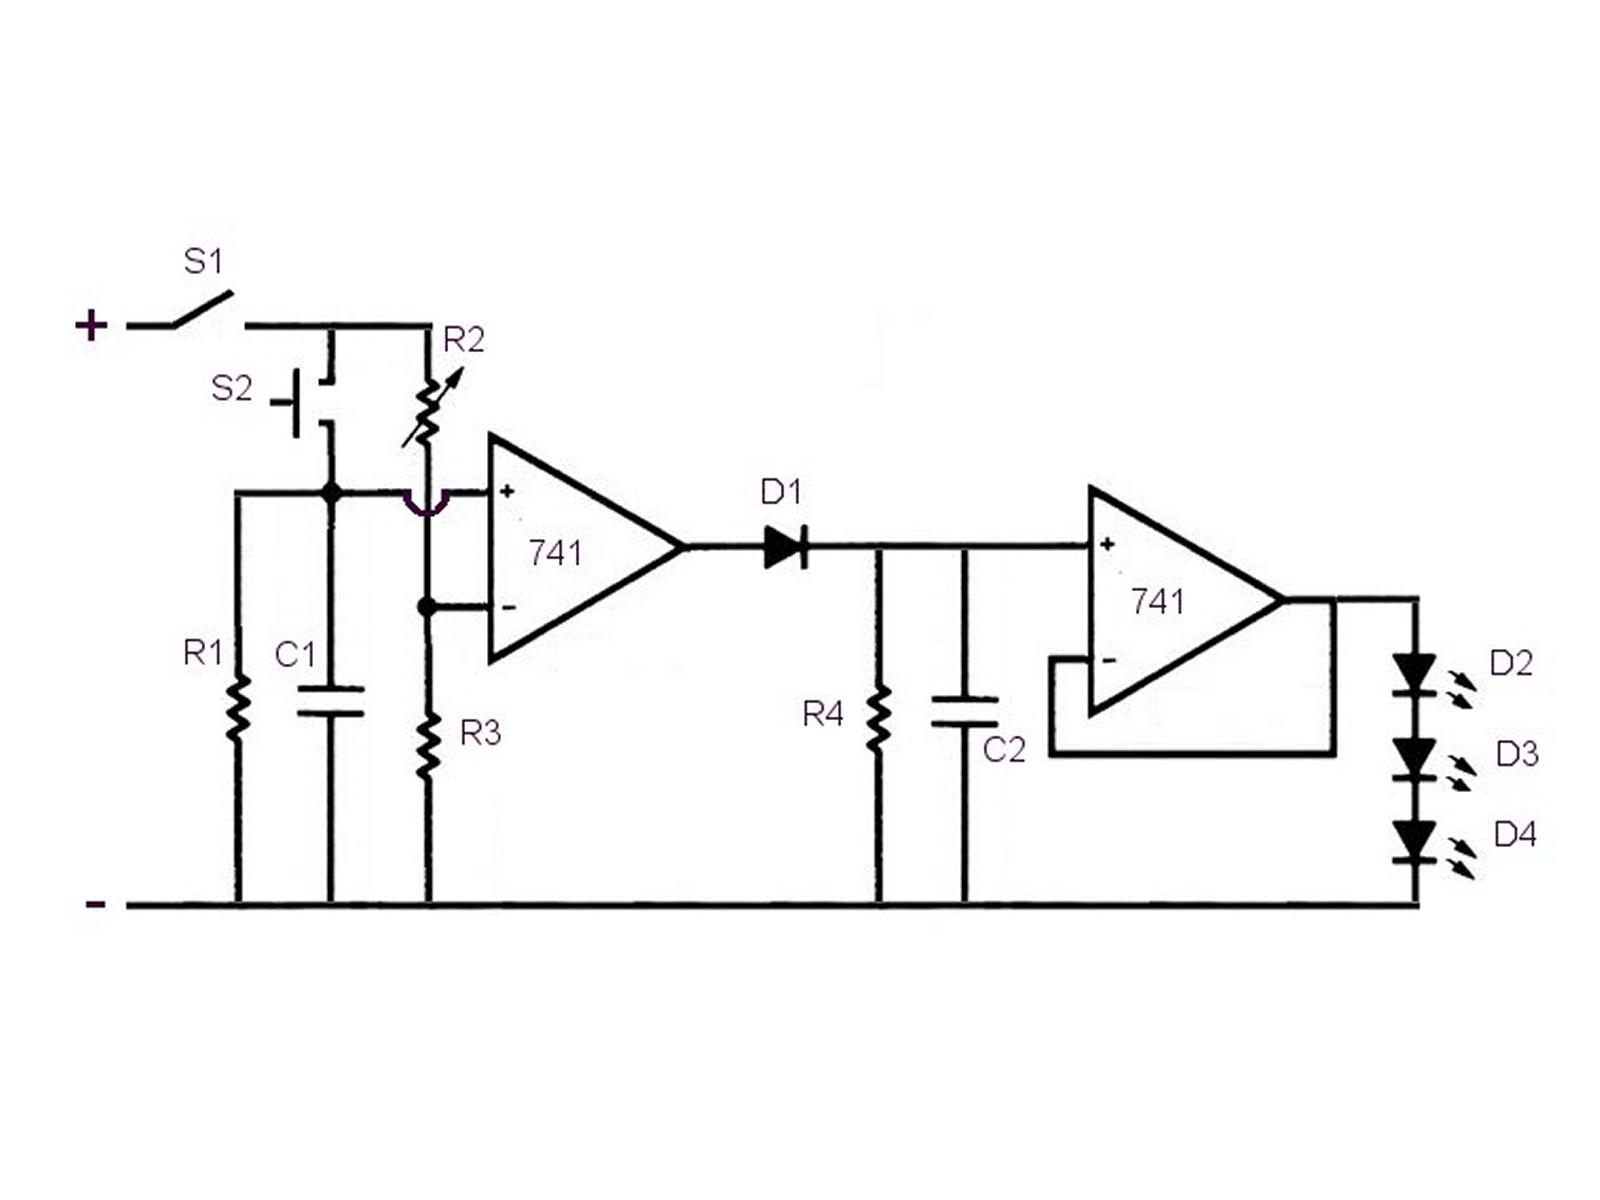
A lot of people find it easier to fall asleep with a dim light such as a nightlight in the room. But the down side of most nightlights is that they waste electricity because they are on all night when you really only need them to be on while you are falling asleep. So I designed a nightlight that will automatically dim and turn itself off.
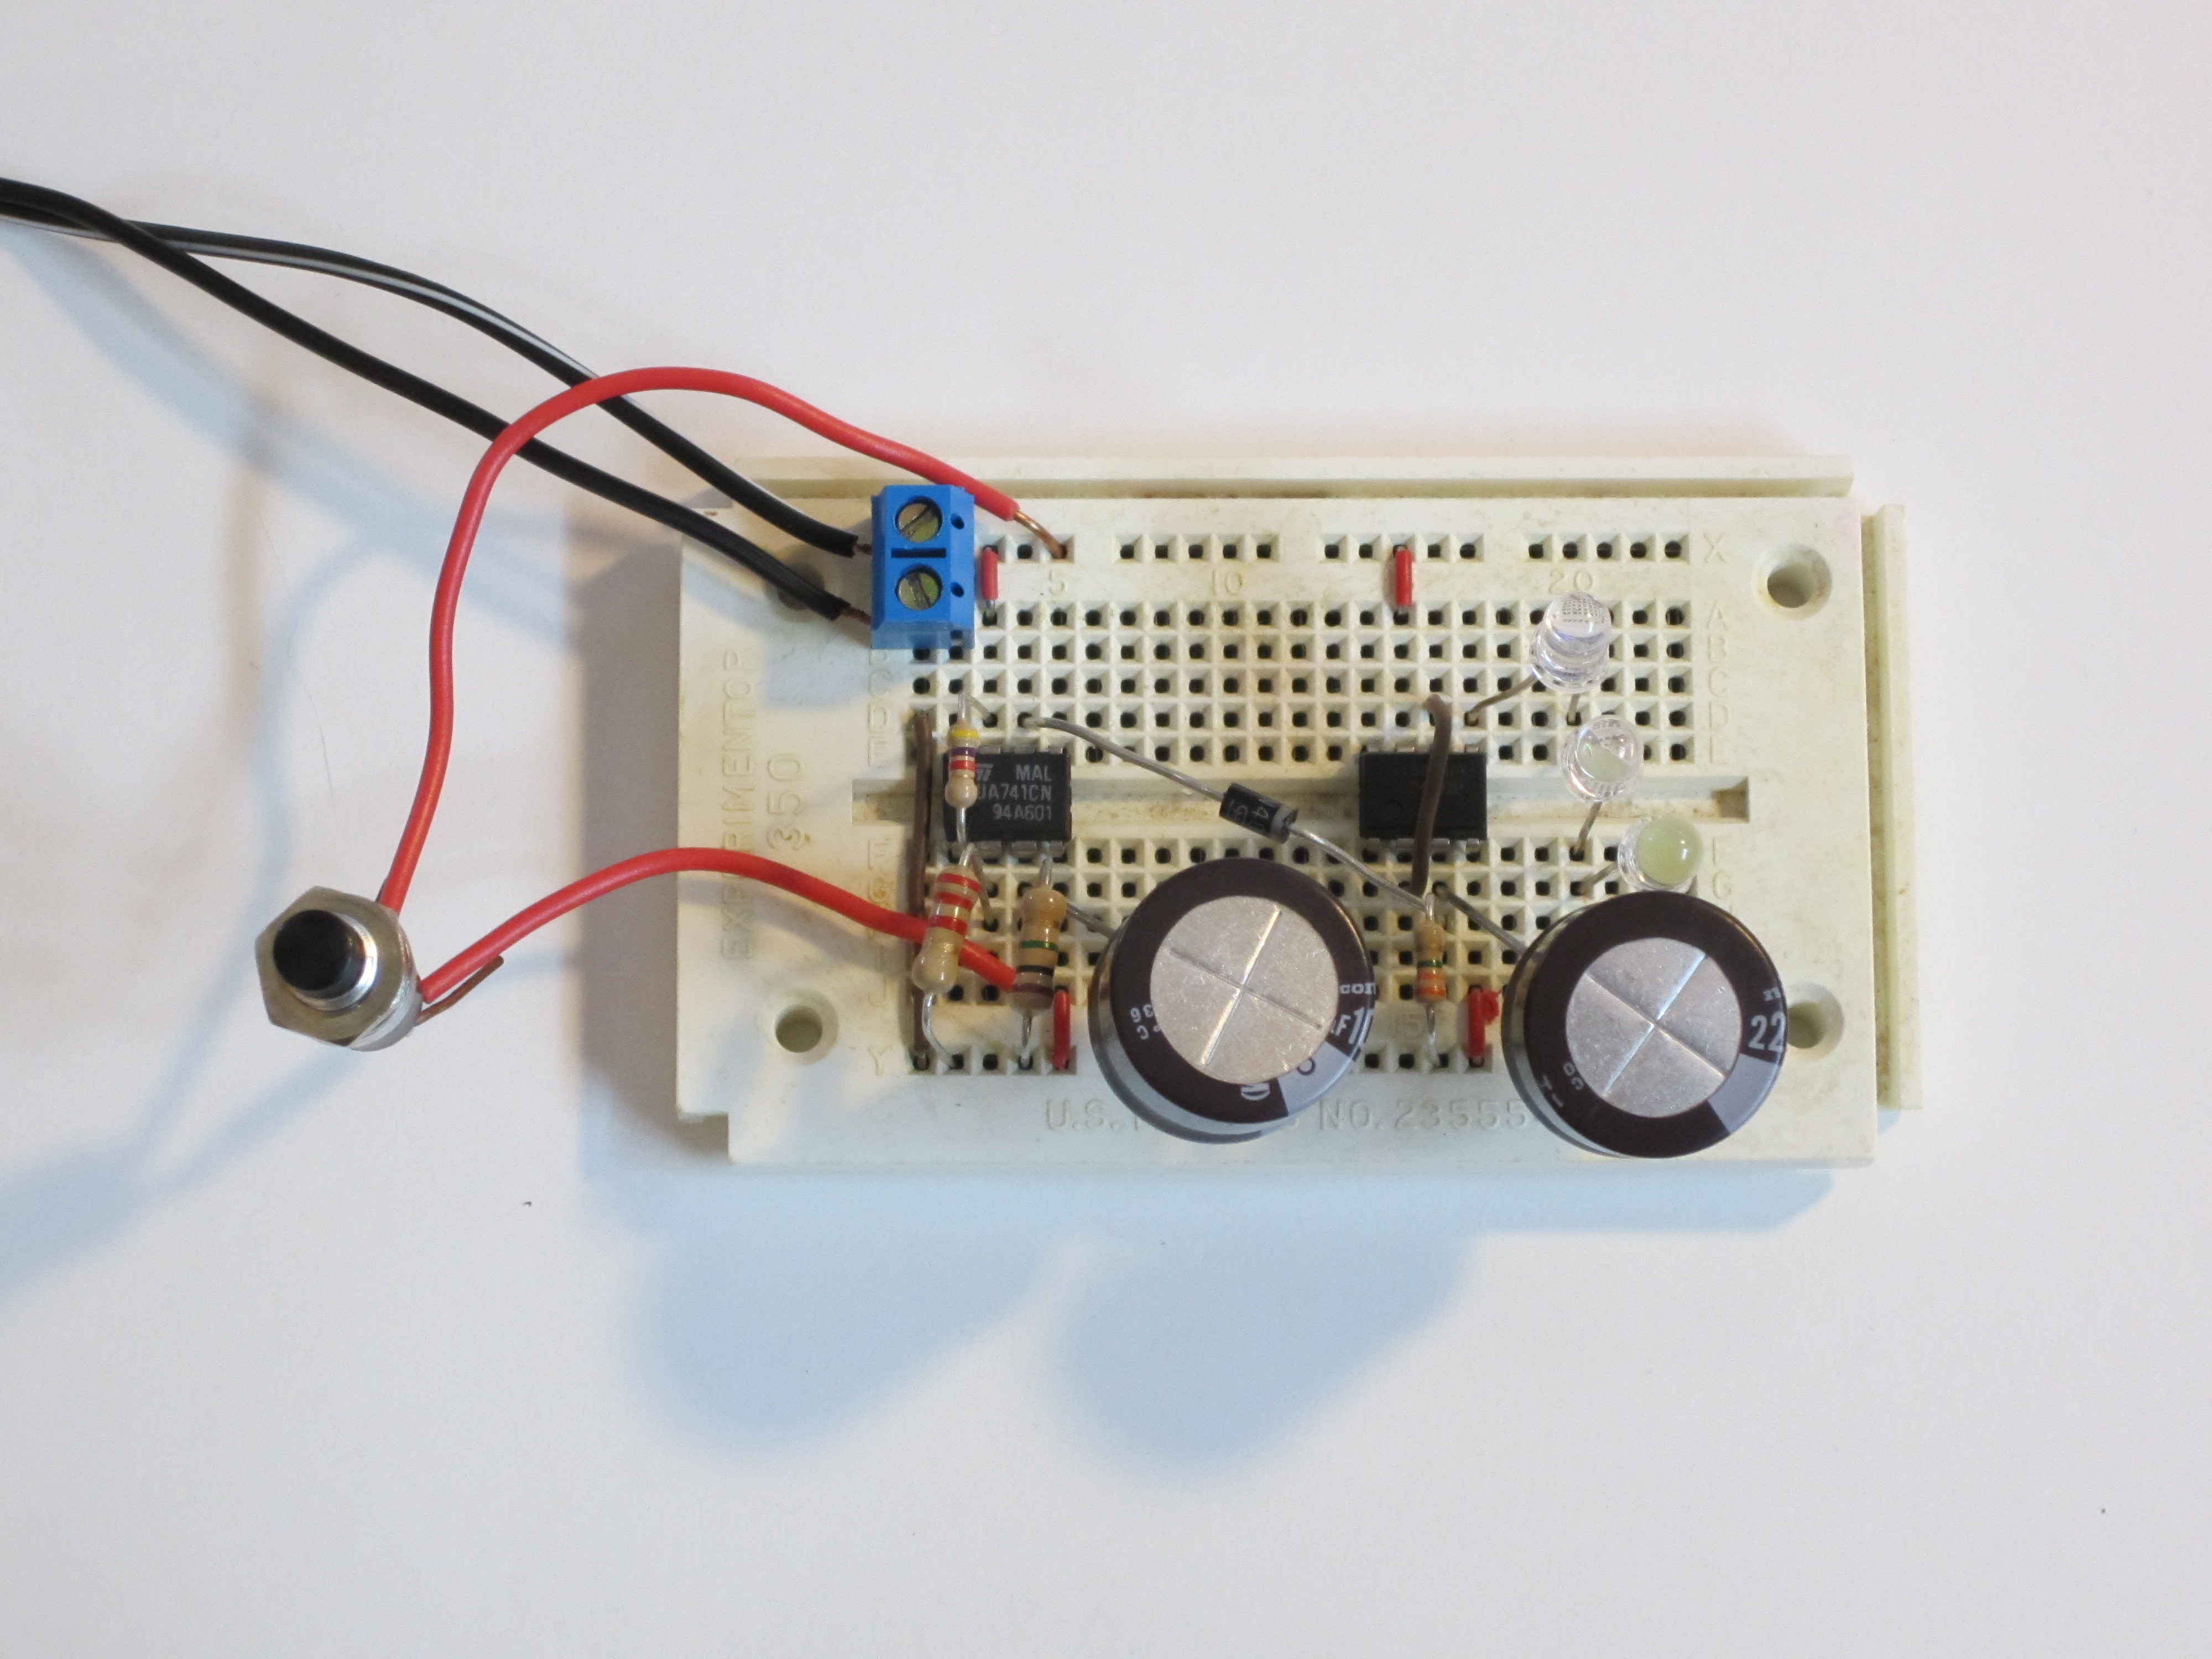
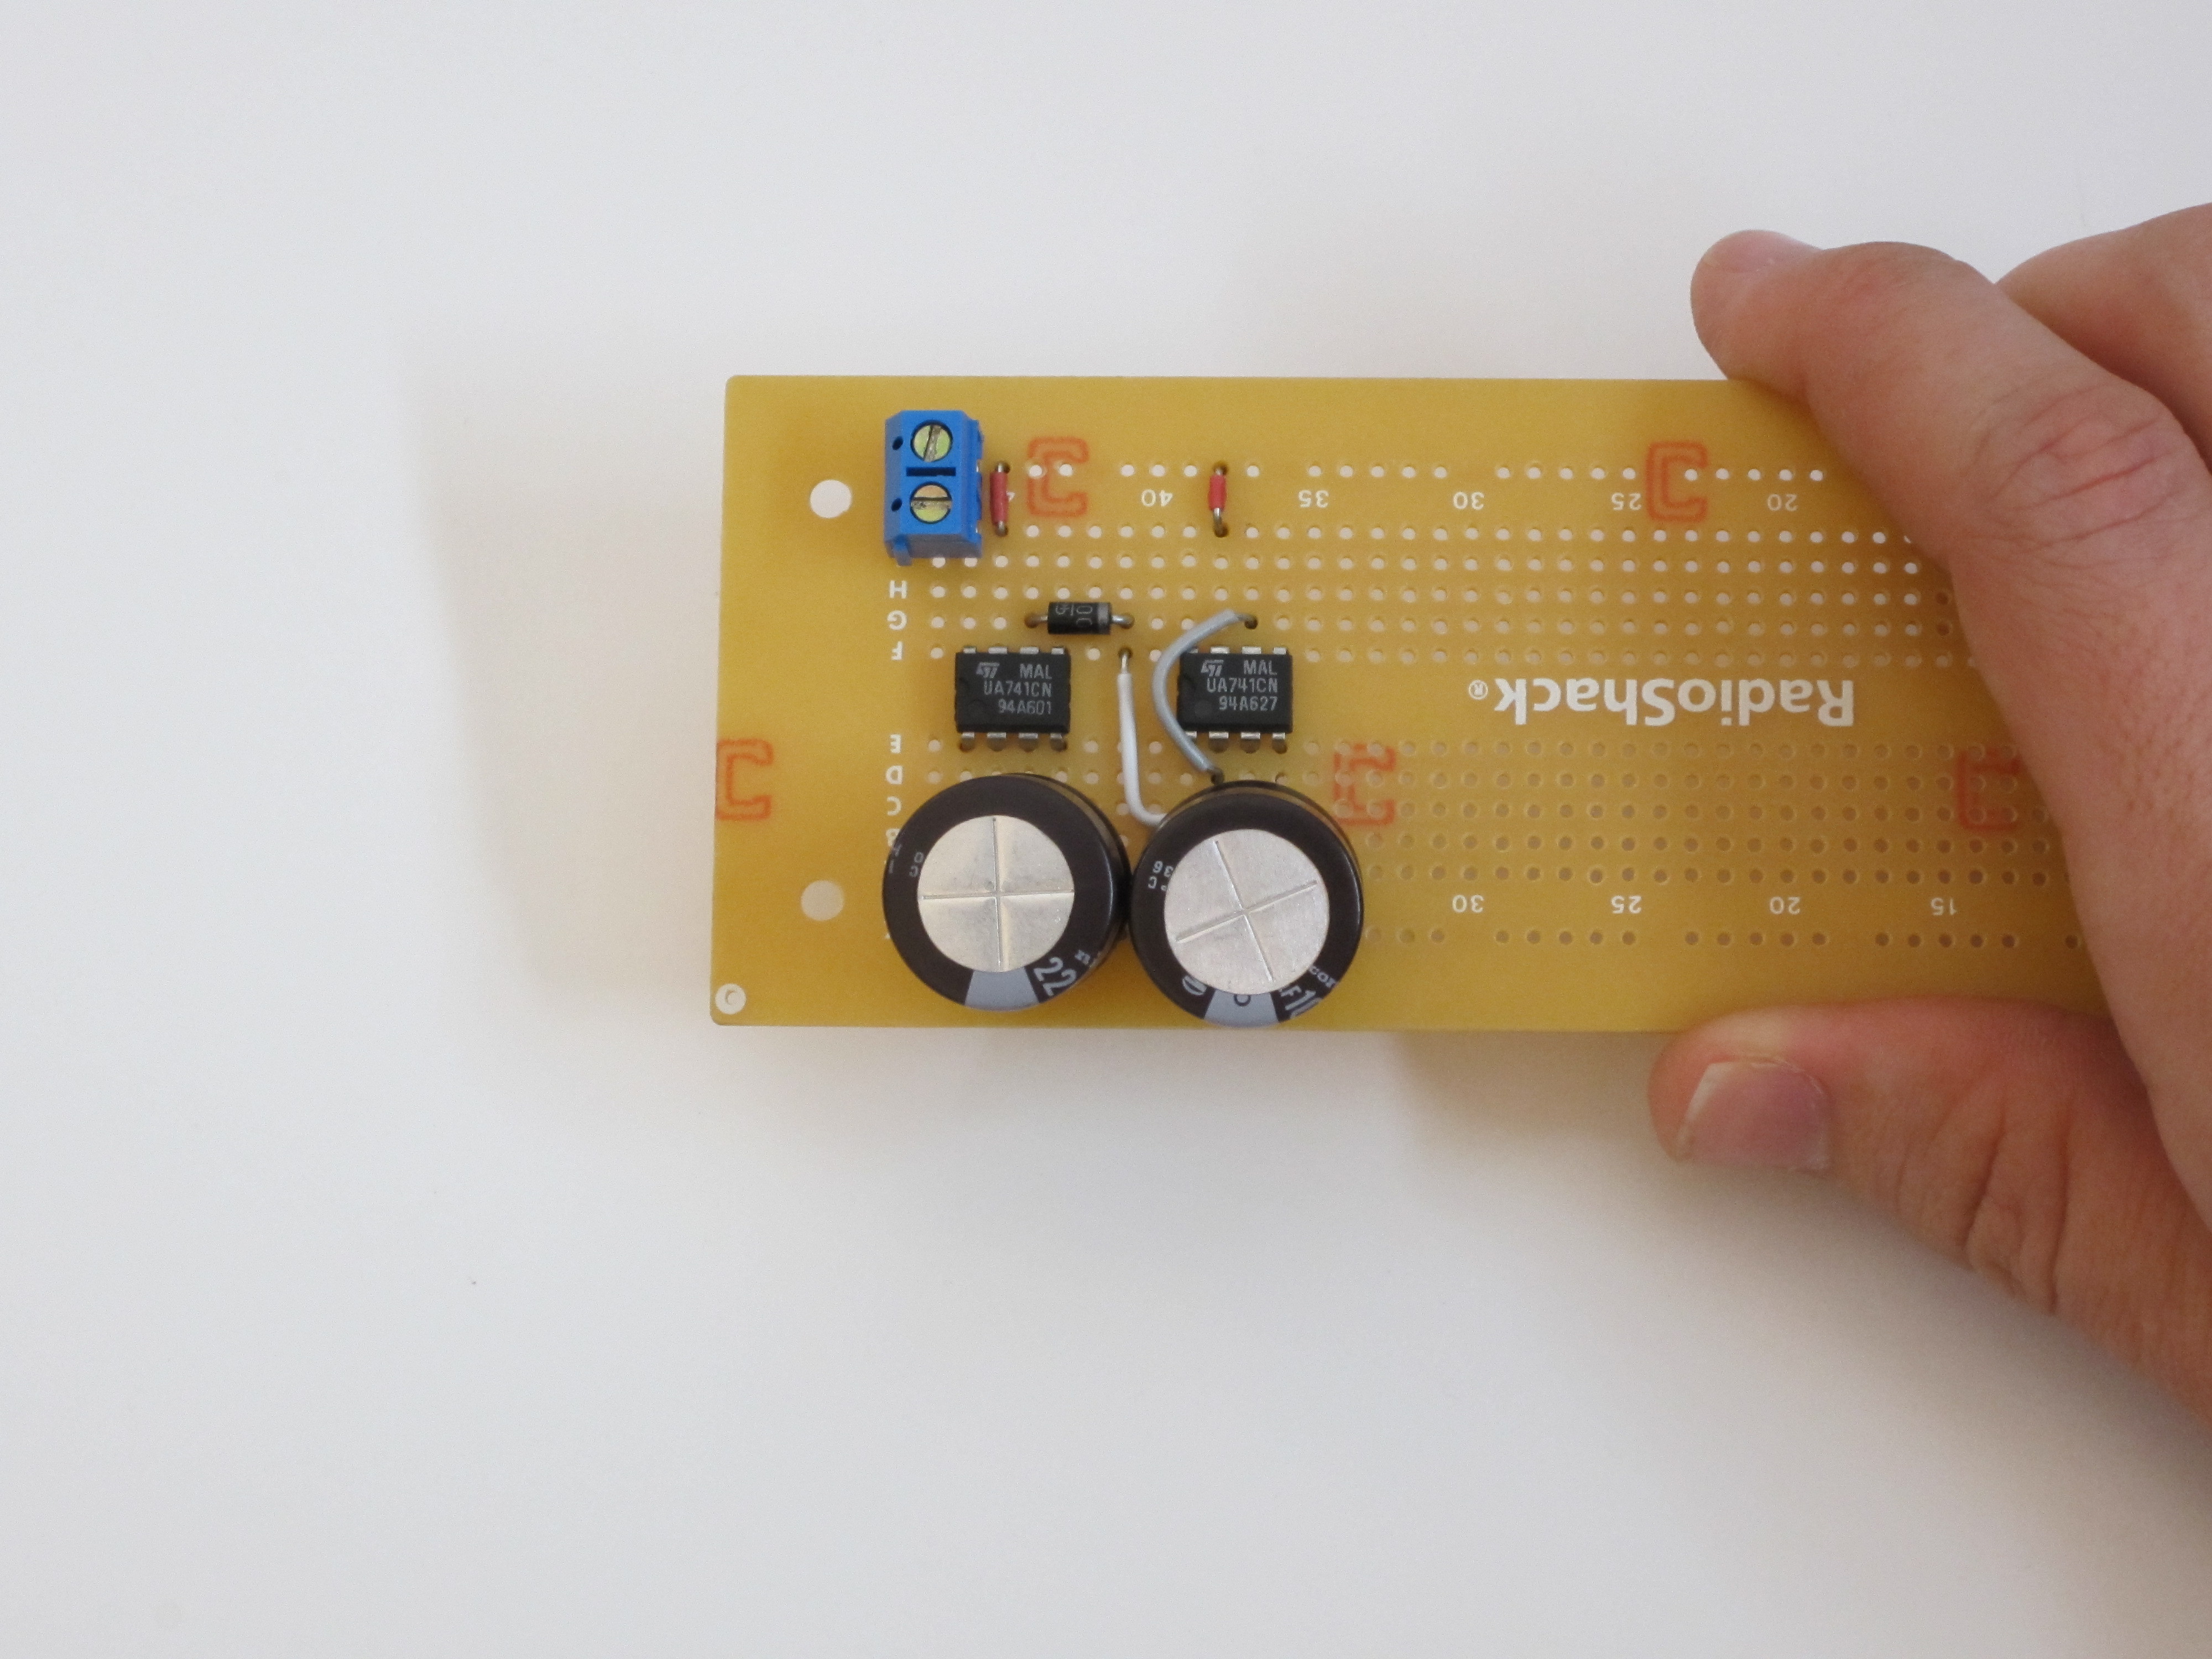
The circuit can be broken into two main parts, a timer circuit and a dimming circuit. The timer (left) is made from a 741 OP AMP wired as a comparator. The dimmer (right) is made from 741 OP AMP wired as a voltage follower (or a unity gain amplifier)
The timer is made from a 741 op amp (operational amplifier) wired as a comparator. It compares the voltage across a capacitor with a reference voltage that is set by the 2.2k resistor and the 5k potentiometer.
When S2 is pressed the capacitor is charged to the supply voltage. It then gradually discharges through the 1M resistor. As long as the voltage across the capacitor is greater than the reference voltage, the output of the op amp is high (about 8.7V). When the voltage across the capacitor drops below the reference, the output of the op amp goes low (about 1.9V). This can take 0-45 minutes depending on how the potentiometer is set.
While the output of the timer is HIGH, it keeps the second capacitor charged. When the timer output goes LOW, this capacitor begins to slowly discharge through the 3.3M resistor. This begins the dimming cycle. The output of the second 741 op amp mirrors the voltage across the capacitor. As the voltage across the second capacitor drops, so does the output voltage and the LEDs dim. It should take about 45 minutes for the LEDs to go from full brightness to full darkness. Pressing the button at any point will reset the whole cycle.
Then if the breadboard prototype works, solder it onto a circuit board. In order to conserve space I am stacking some components. When you are done soldering, trim your board to help it fit in the housing.
To connect the variable resistor, I am using a strip of PC jumper wires with some of the wires trimmed off. For my light source I am using three LEDs in series whose combined voltages is close to the supply voltage so I am forgoing adding a resistor. I tend to use a lot of heat shrink tubing to insulate my solder connections. I find that it helps avoid unwanted shorts.
Once you have the circuit constructed, find a suitable housing. Then drill some holes for the LEDs, the switches, the dial and the power cord. Trim your circuit board so that it is only as big as it has to be. This will really help when it comes to fitting everything in the housing. Finally, load in all the components and your project is complete.
The last step is making it look nice. If you want, you can added a diffuser or something to scatter the light. You can tint the LEDs using gels or just liquid highlighter. The final aesthetic details are up to you. I put mine in a decorative lantern.
Step #9: Modify the design
The duration of time that the lights are on at full brightness and the time that they dim can be modified by changing the values of R1, C1, R4 and C2. By changing the ratios of the resistors and capacitors you change how quickly the capacitors will discharge. For a decent estimate of how the capacitors will discharge you can use the formula Vc=Vo×e(-t/RC). Feel free to change the values to meet your needs.
To reverse the circuit, all you have to do is connect the output LED’s to the positive supply voltage instead of to ground (and reverse the orientation).
There are programmable dimming switches that are available commercially. There are a lot of circuits that you could design to do the same thing. But if you don’t care about the dimming being gradual, you could just use christmas light timers. I have two lights set up with timers for my finch aviary. The first timer turns on one light (half brightness) and the second timer turns on the second light (fully brightness). Then at night the opposite happens as they time off.
The simplest way to modify the design is to add a more powerful AC adapter and add a power transistor to the output. Unfortunately it can be difficult to find wall adapters that are rated for 3 watts. You need to add a power transistor between the IC and the light because the IC is only rated for .5 watts.
I can’t really advise on how to wire it up without knowing what specific parts that you are going to use. I recommend looking up designs for transistor amplifiers. A simple google search should get you some suggestions.
I want to use lamps, like of 100 watts! I want them to dim gradually in the next 30 secs and then brighten up in another 30 secs! And repeat! Possible?
There is a third main part: The wall wart that powers it, and probably idles at just as much power as a few LEDs.
If you really want to save energy, selection of the primary power supply is critical.
I would also suggest using low-power opamps. The venerable workhorse 741 is pretty hungry by more modern standards. A FET-input amp will also make the long duration timing easier, with smaller caps.
To reverse the circuit, all you have to do is connect the output LED’s to the positive supply voltage instead of to ground (and reverse the orientation).
There are programmable dimming switches that are available commercially. There are a lot of circuits that you could design to do the same thing. But if you don’t care about the dimming being gradual, you could just use christmas light timers. I have two lights set up with timers for my finch aviary. The first timer turns on one light (half brightness) and the second timer turns on the second light (fully brightness). Then at night the opposite happens as they time off.
You can use a double-pole-double-throw (DPDT) switch. Attach the LEDs to the center pins and set the other pins based on how you would like the LEDs to be connected to the output. Here is an example:
http://www.flickr.com/photos/66422585@N04/8327320834/in/photostream
This setup reverses the output when switched.
The simplest way to modify the design is to add a more powerful AC adapter and add a power transistor to the output. Unfortunately it can be difficult to find wall adapters that are rated for 3 watts. You need to add a power transistor between the IC and the light because the IC is only rated for .5 watts.
I can’t really advise on how to wire it up without knowing what specific parts that you are going to use. I recommend looking up designs for transistor amplifiers. A simple google search should get you some suggestions.
I want to use lamps, like of 100 watts! I want them to dim gradually in the next 30 secs and then brighten up in another 30 secs! And repeat! Possible?
Suggestions? Can I tweak the same circuit?
- Vicky!!
There is a third main part: The wall wart that powers it, and probably idles at just as much power as a few LEDs.
If you really want to save energy, selection of the primary power supply is critical.
I would also suggest using low-power opamps. The venerable workhorse 741 is pretty hungry by more modern standards. A FET-input amp will also make the long duration timing easier, with smaller caps.
// What's Trending
Raspberry Pi Design Contest
Ten Tips for Adhesive Tape
Lost PLA Casting from 3D Prints
Seventeen Sneaky Secret Hides
I Have a (Puzzling) Dream
10 Things to Connect to Your Raspberry Pi
47 Raspberry Pi Projects to Inspire Your Next Build
Teardrop Camper Trailer
// What's Shared
A better way to slice a pumpkin
DIY Nerf Darts
100 Dollar Store Organization Ideas for Craft Rooms and Beyond
In the Maker Shed: Minty Boost USB Charger
Mad’s Mouse House
Lace Princess Crowns
I Have a (Puzzling) Dream
Play the Rings of a Tree Trunk Like a Record
// Most Commented
DIY Hacks & How To’s: Get Emergency Power from a Phone Line
Resin Casting: Going from CAD to Engineering-Grade Plastic Parts
Ten Tips for Screws and Screwdrivers
Ten Tips for Better Measurement
Is it a Hackerspace, Makerspace, TechShop, or FabLab?
Makers on TV: Big Brain Theory
Arduino Announces New Wireless Linux Board
Tool Review: BioLite CampStove
Trending Topics
Get our Newsletters
About Maker Media
Subscribe
to MAKE!
Get the print and digital versions when you subscribe