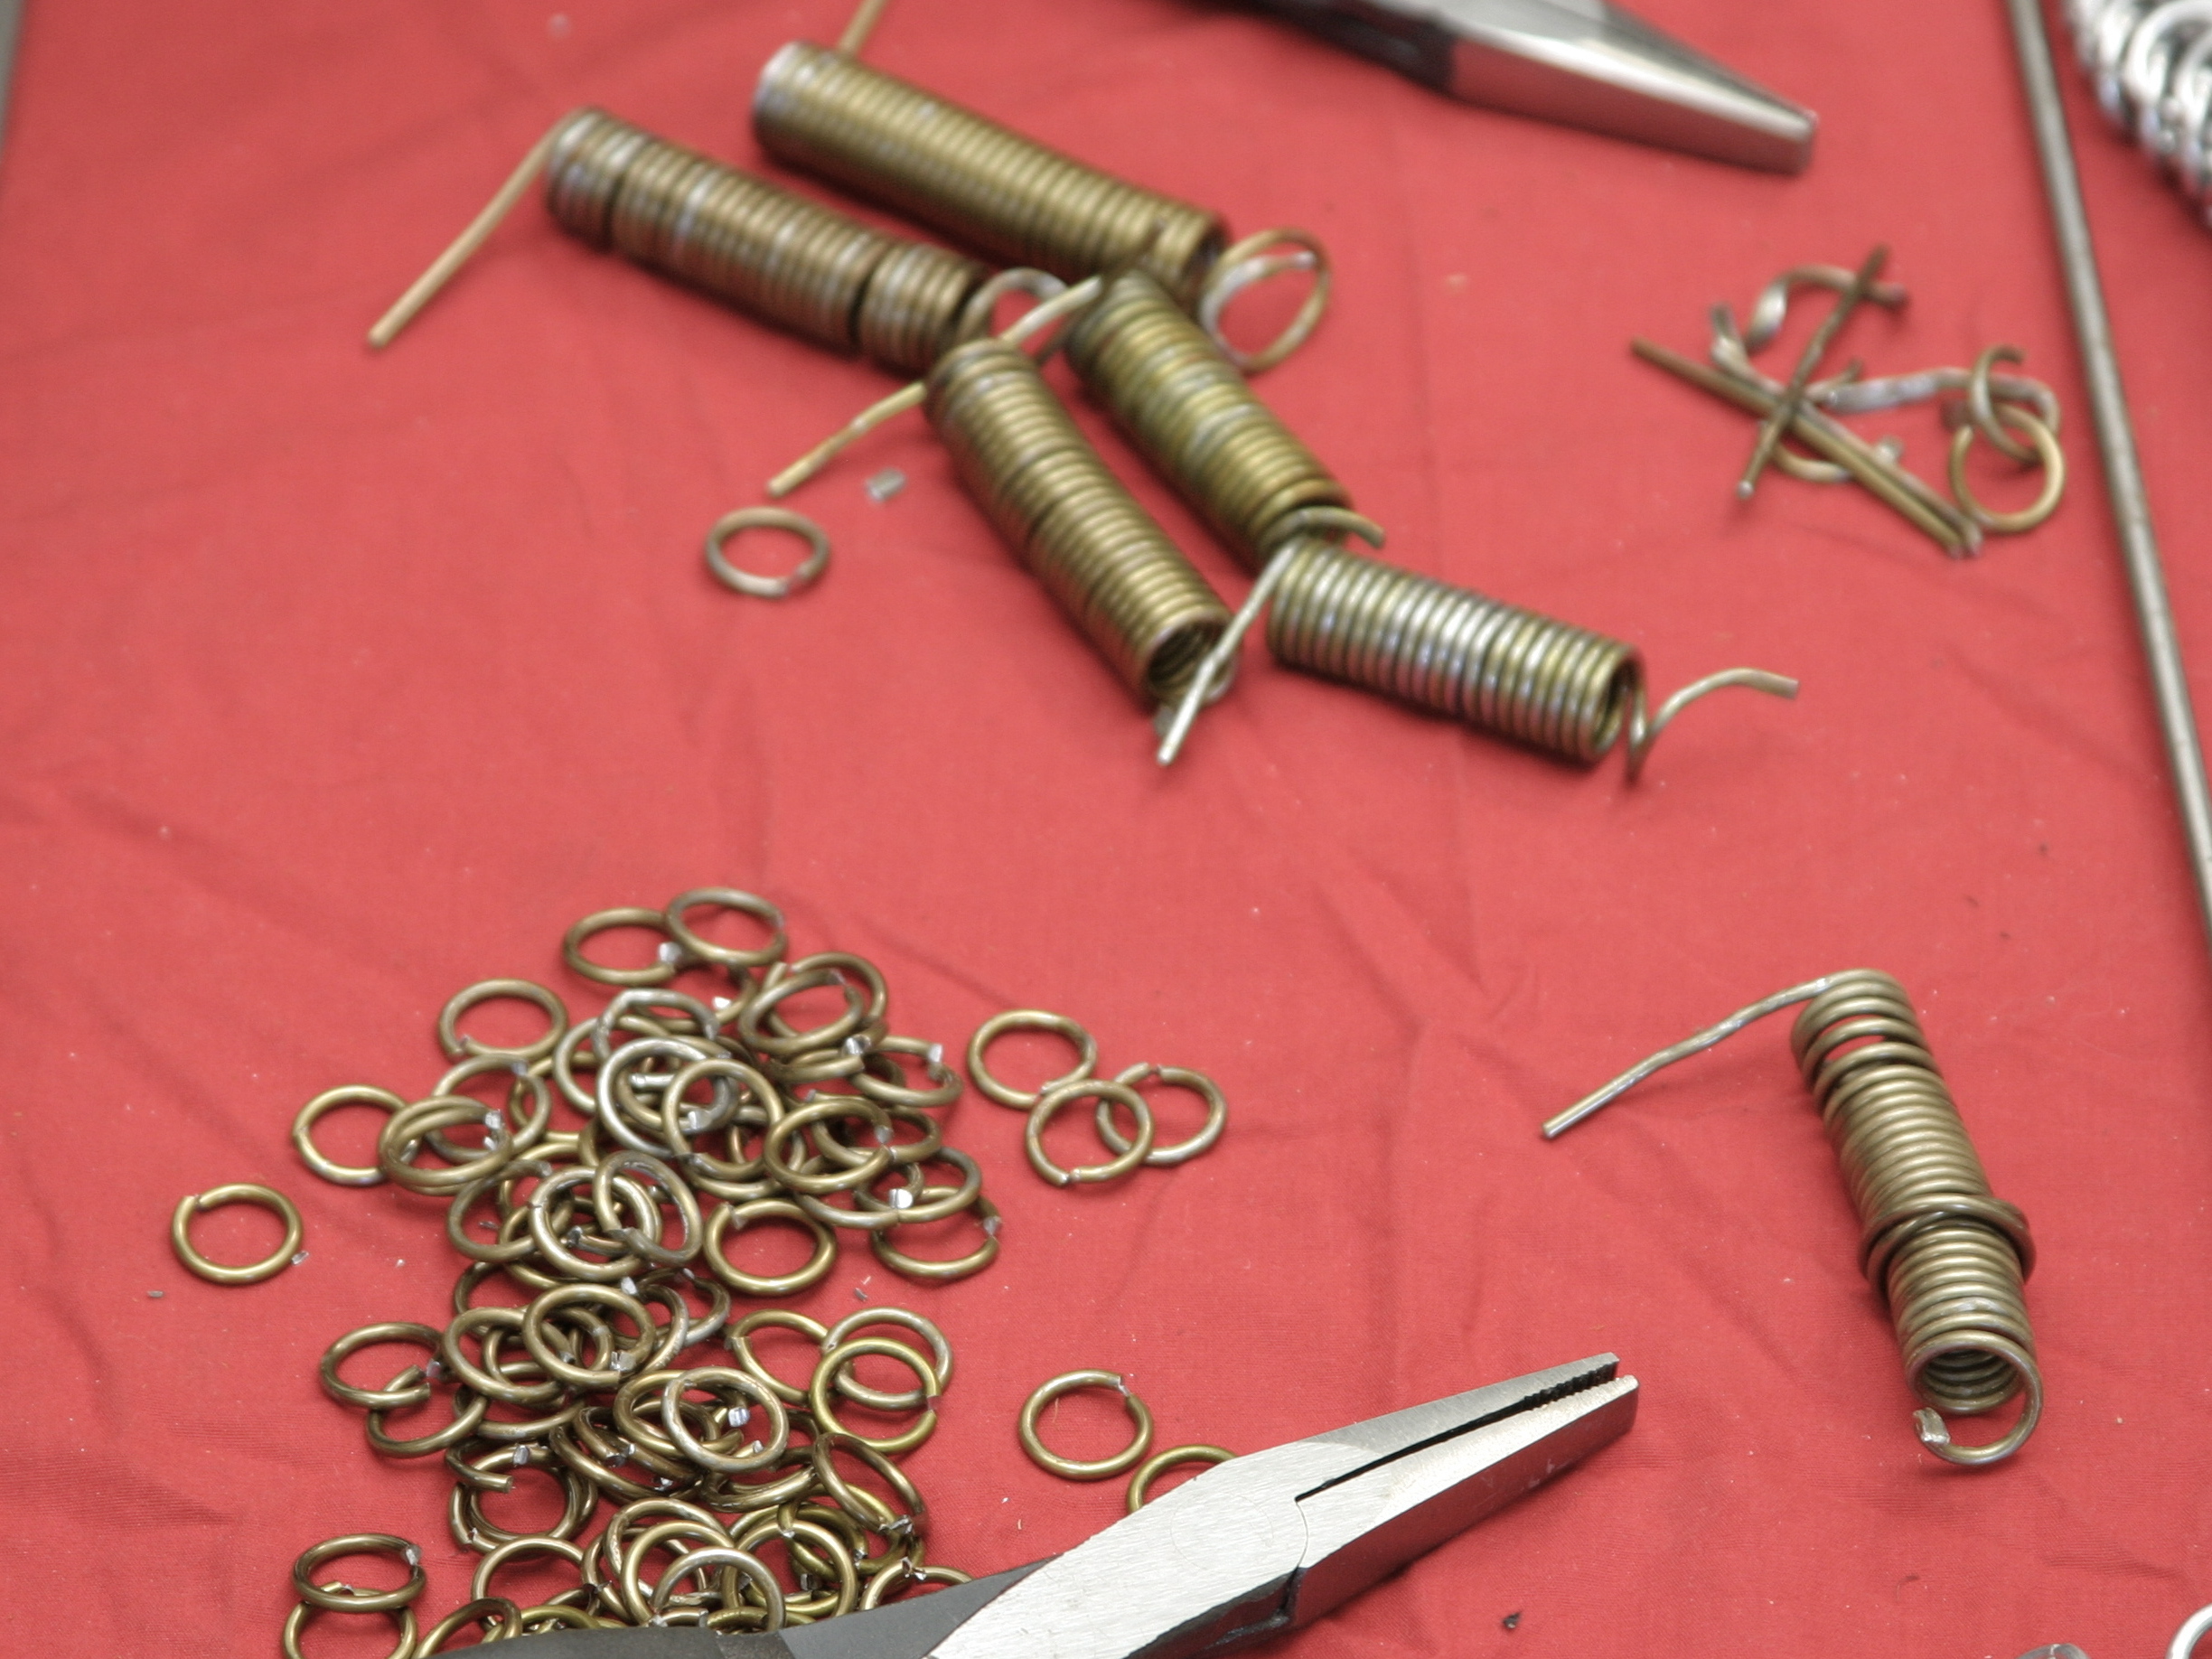
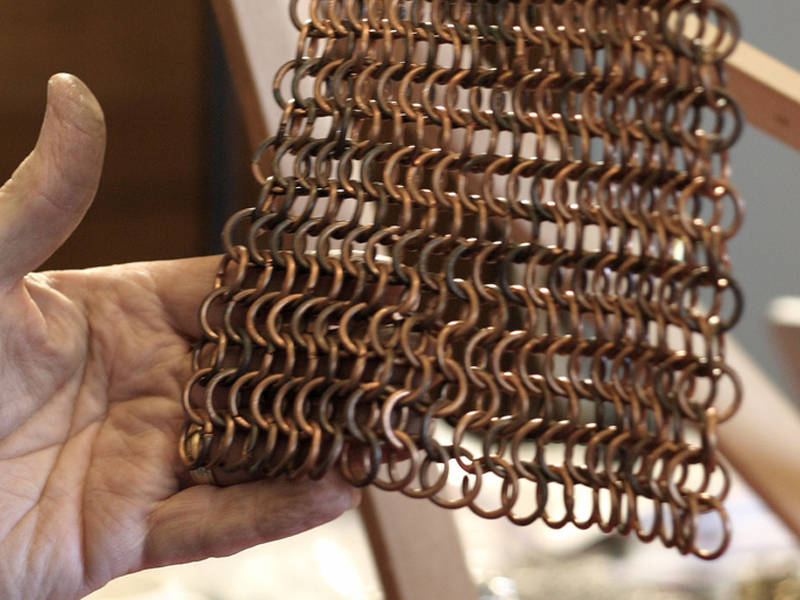
Henrik Olsgaard, aka Henrik of Havn, has been proclaimed King of the West six times. Obviously the guy is deft with a sword — you don’t get to be King in the Society for Creative Anachronism (SCA) without winning several bouts in the annual Crown Tournament. But his triumph is also testimony to his skill at making chainmail. Henrik has been fashioning chainmail of every description for the past four decades — from beautiful, sterling silver belts to a 50-pound battle hauberk (a knee-length shirt).
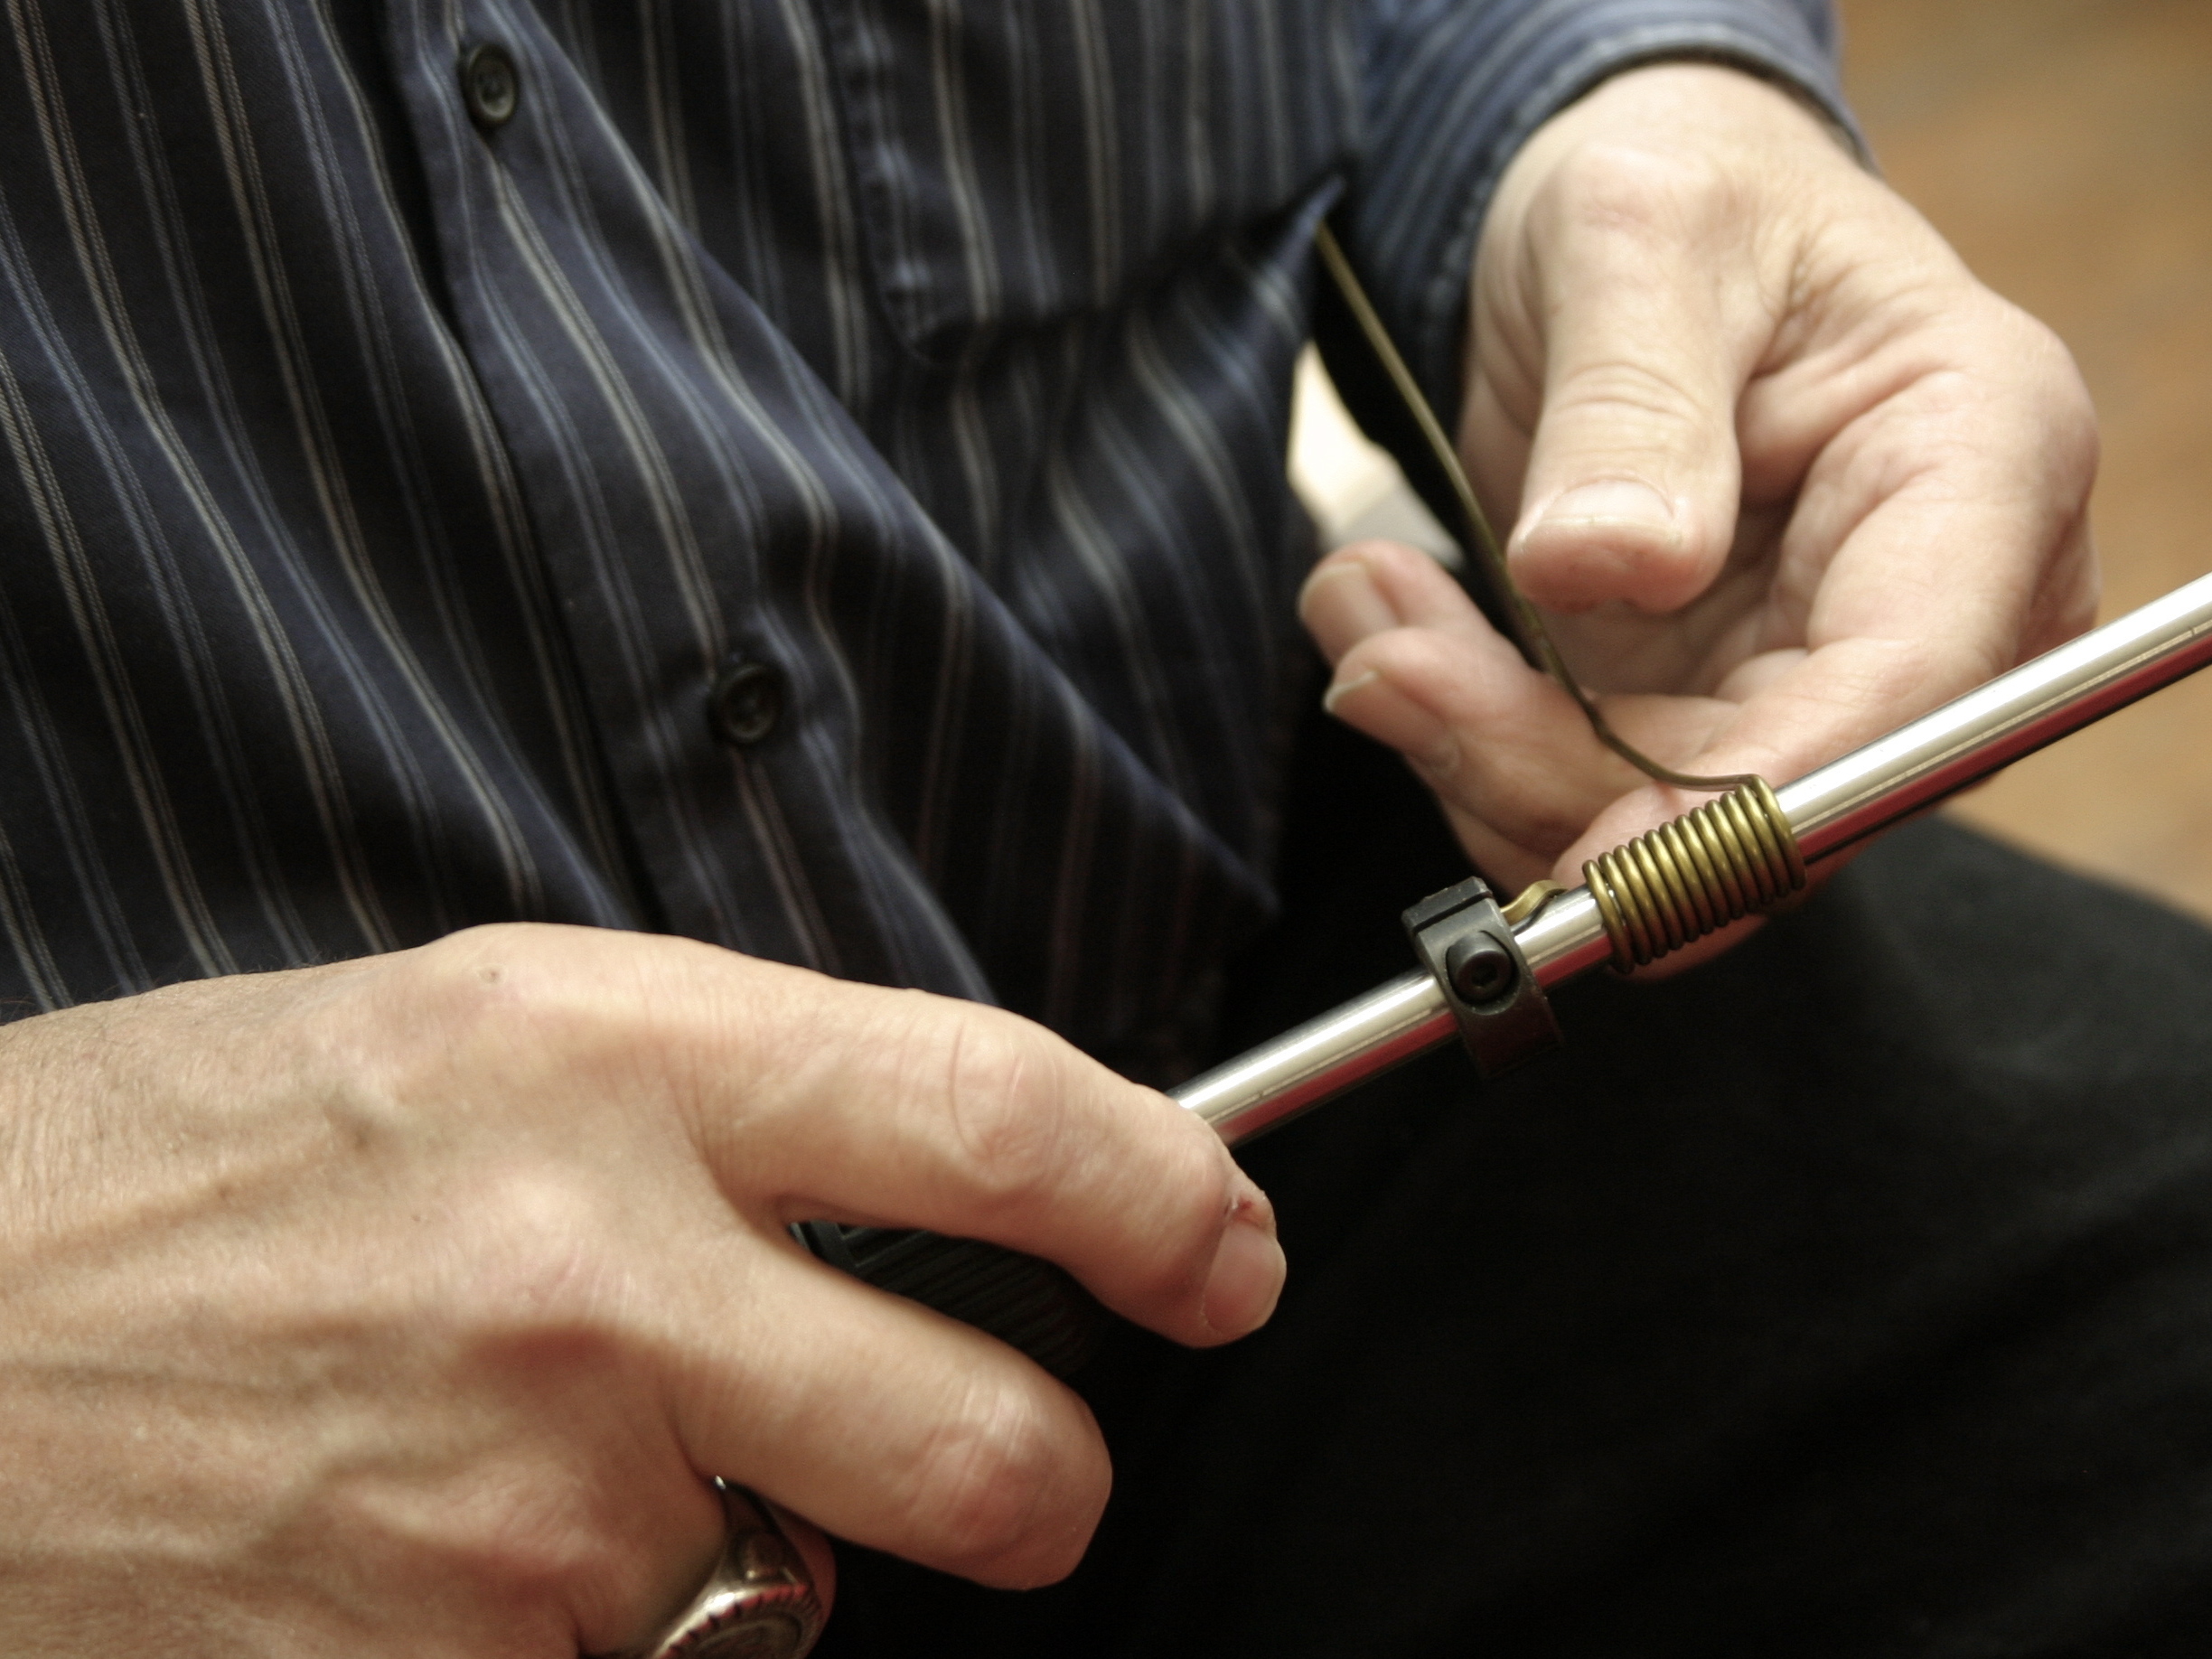
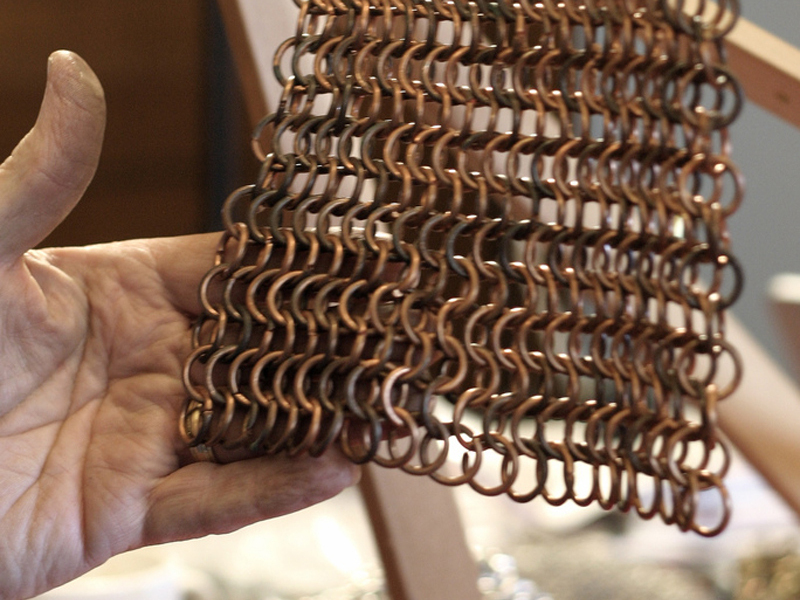
And now, I’m going to teach you what he taught me: how to make your own chainmail. With just a few basic patterns, you’ll have all the knowledge you need to fashion a helmet, shirt, belt, coin purse, and even a full hauberk.
Steps
Step #1: Buy or make your own rings.
Next


- For this project, we'll create square and triangular swatches of chainmail, which are the basic building blocks for anything larger. There are two ways to go about this: you can make your own rings from stripped aluminum electrical wire, store-bought wire, or coat hangers, or you can buy the rings ready-made from sources like http://chainmail.com.
- If you'd like to create your own rings, begin with the wire of your choice. For lighter pieces, you might try aluminum wire. Most mail makers prefer steel. To create the rings, wind your wire around a rod, then flatten the end with a hammer and hold it in place with a small rod clamp.
- As you wind, you're creating a high-tension spring — if you slip, the wire can snap back at you quickly.
- Next, you'll want to slip the coil off your rod and use a wire snipper to cut the rings.
- Be sure, as you're cutting, that you are creating full rings and not leaving gaps.
- Shortcut: Some armor makers cut their rings out of door springs.
Conclusion
Henrik says that the best part of chainmail making is getting a chance to wear and use it with friends. "I don't like getting in front of paying audiences to do this," he explains. "I like to share what I've done at SCA tournaments and places where everybody participates in the event." And that's where I find him, in full armor, a few weeks after our lesson.
This project first appeared in CRAFT Volume 01, page 115.


