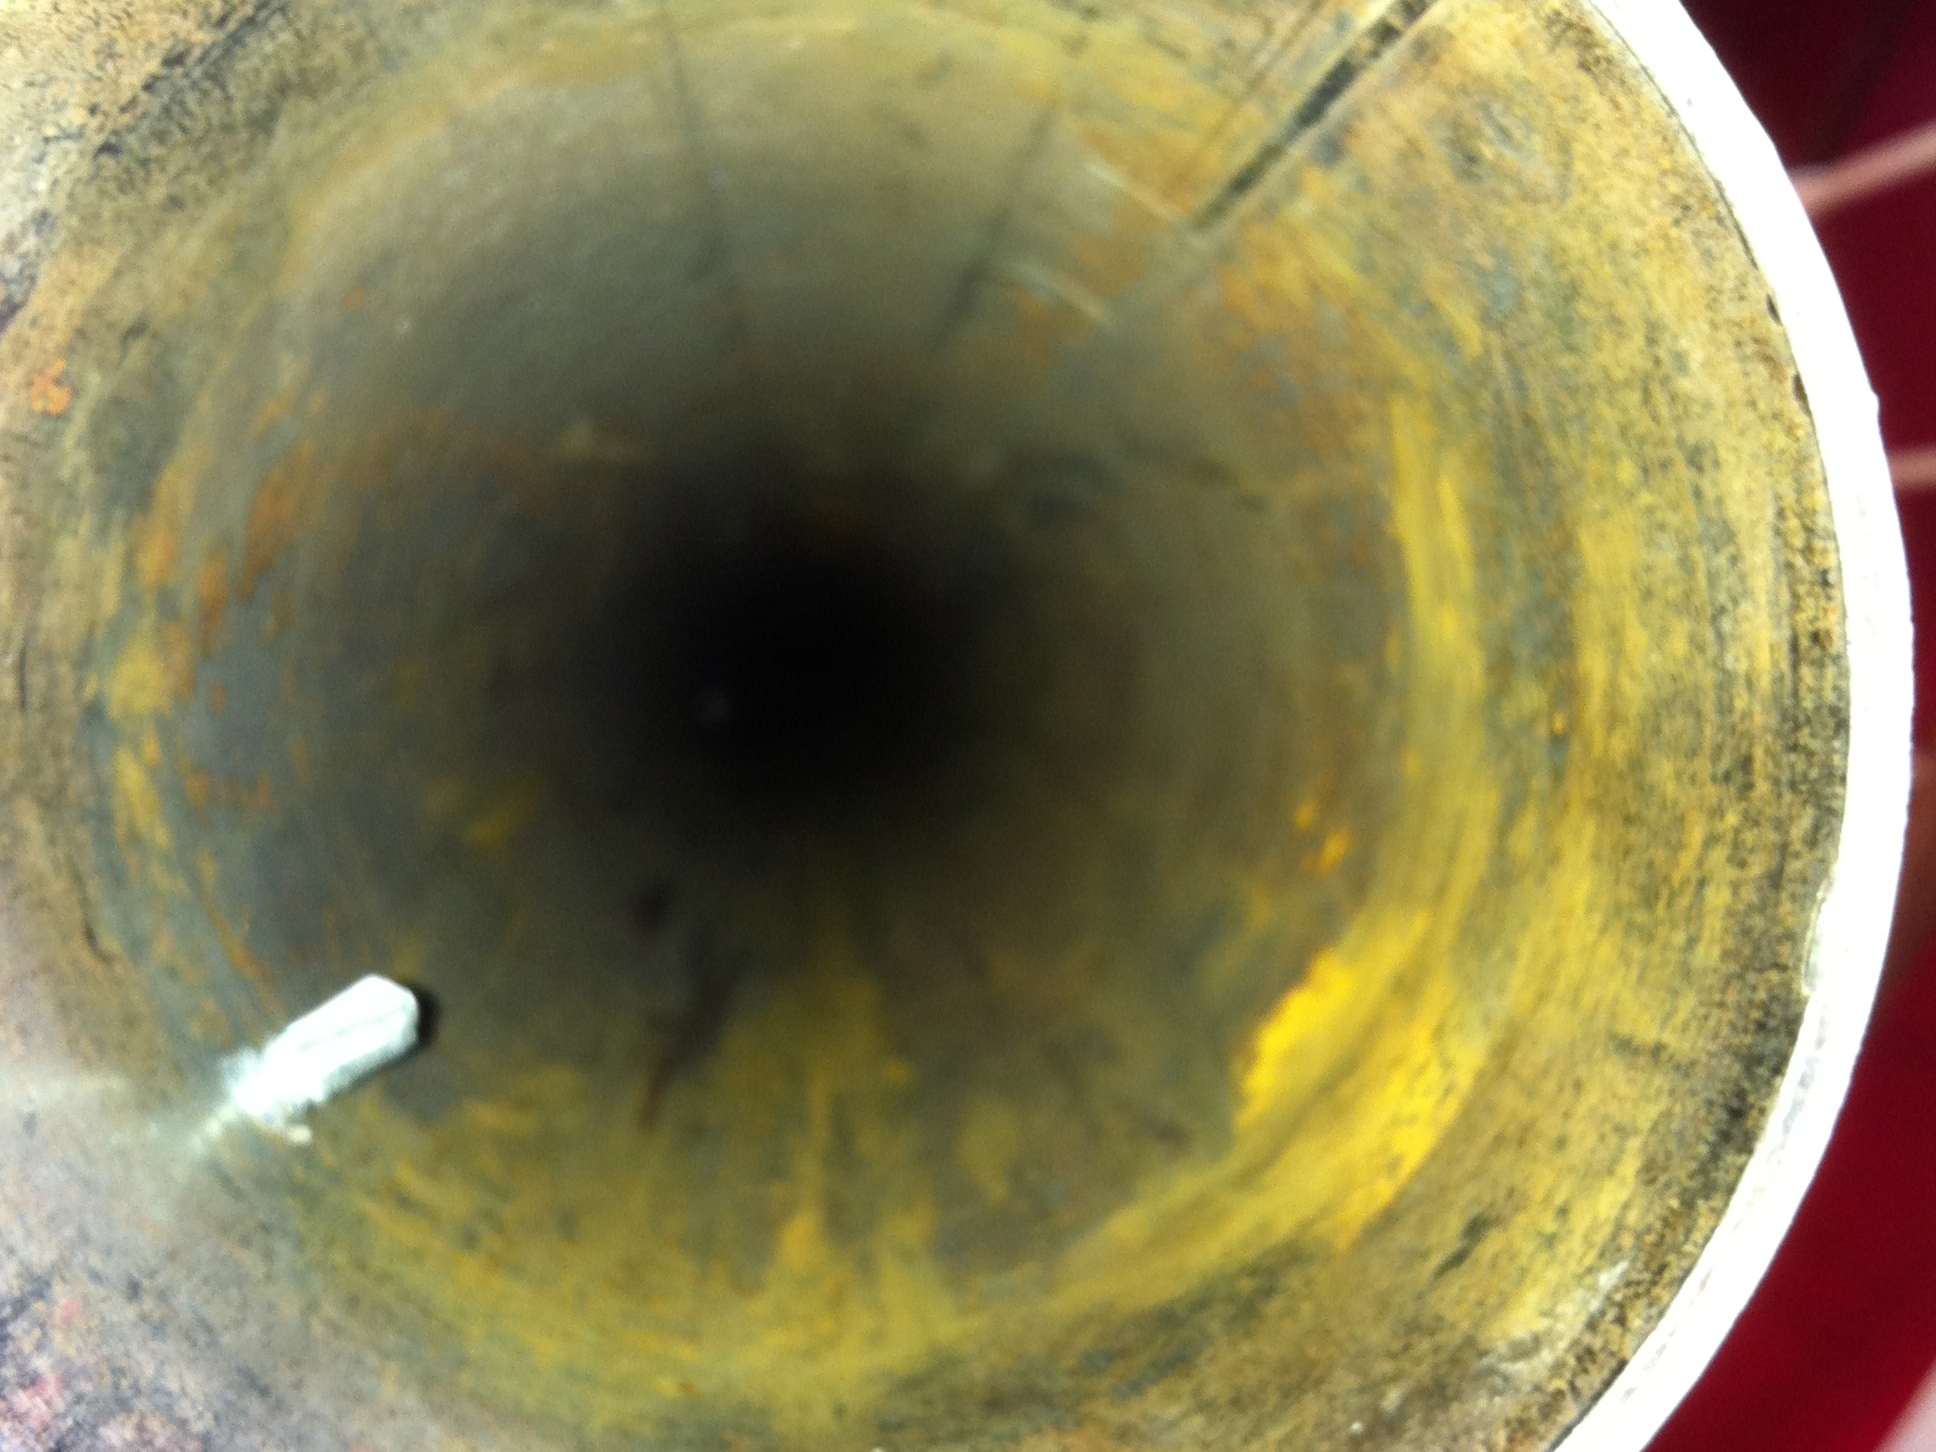
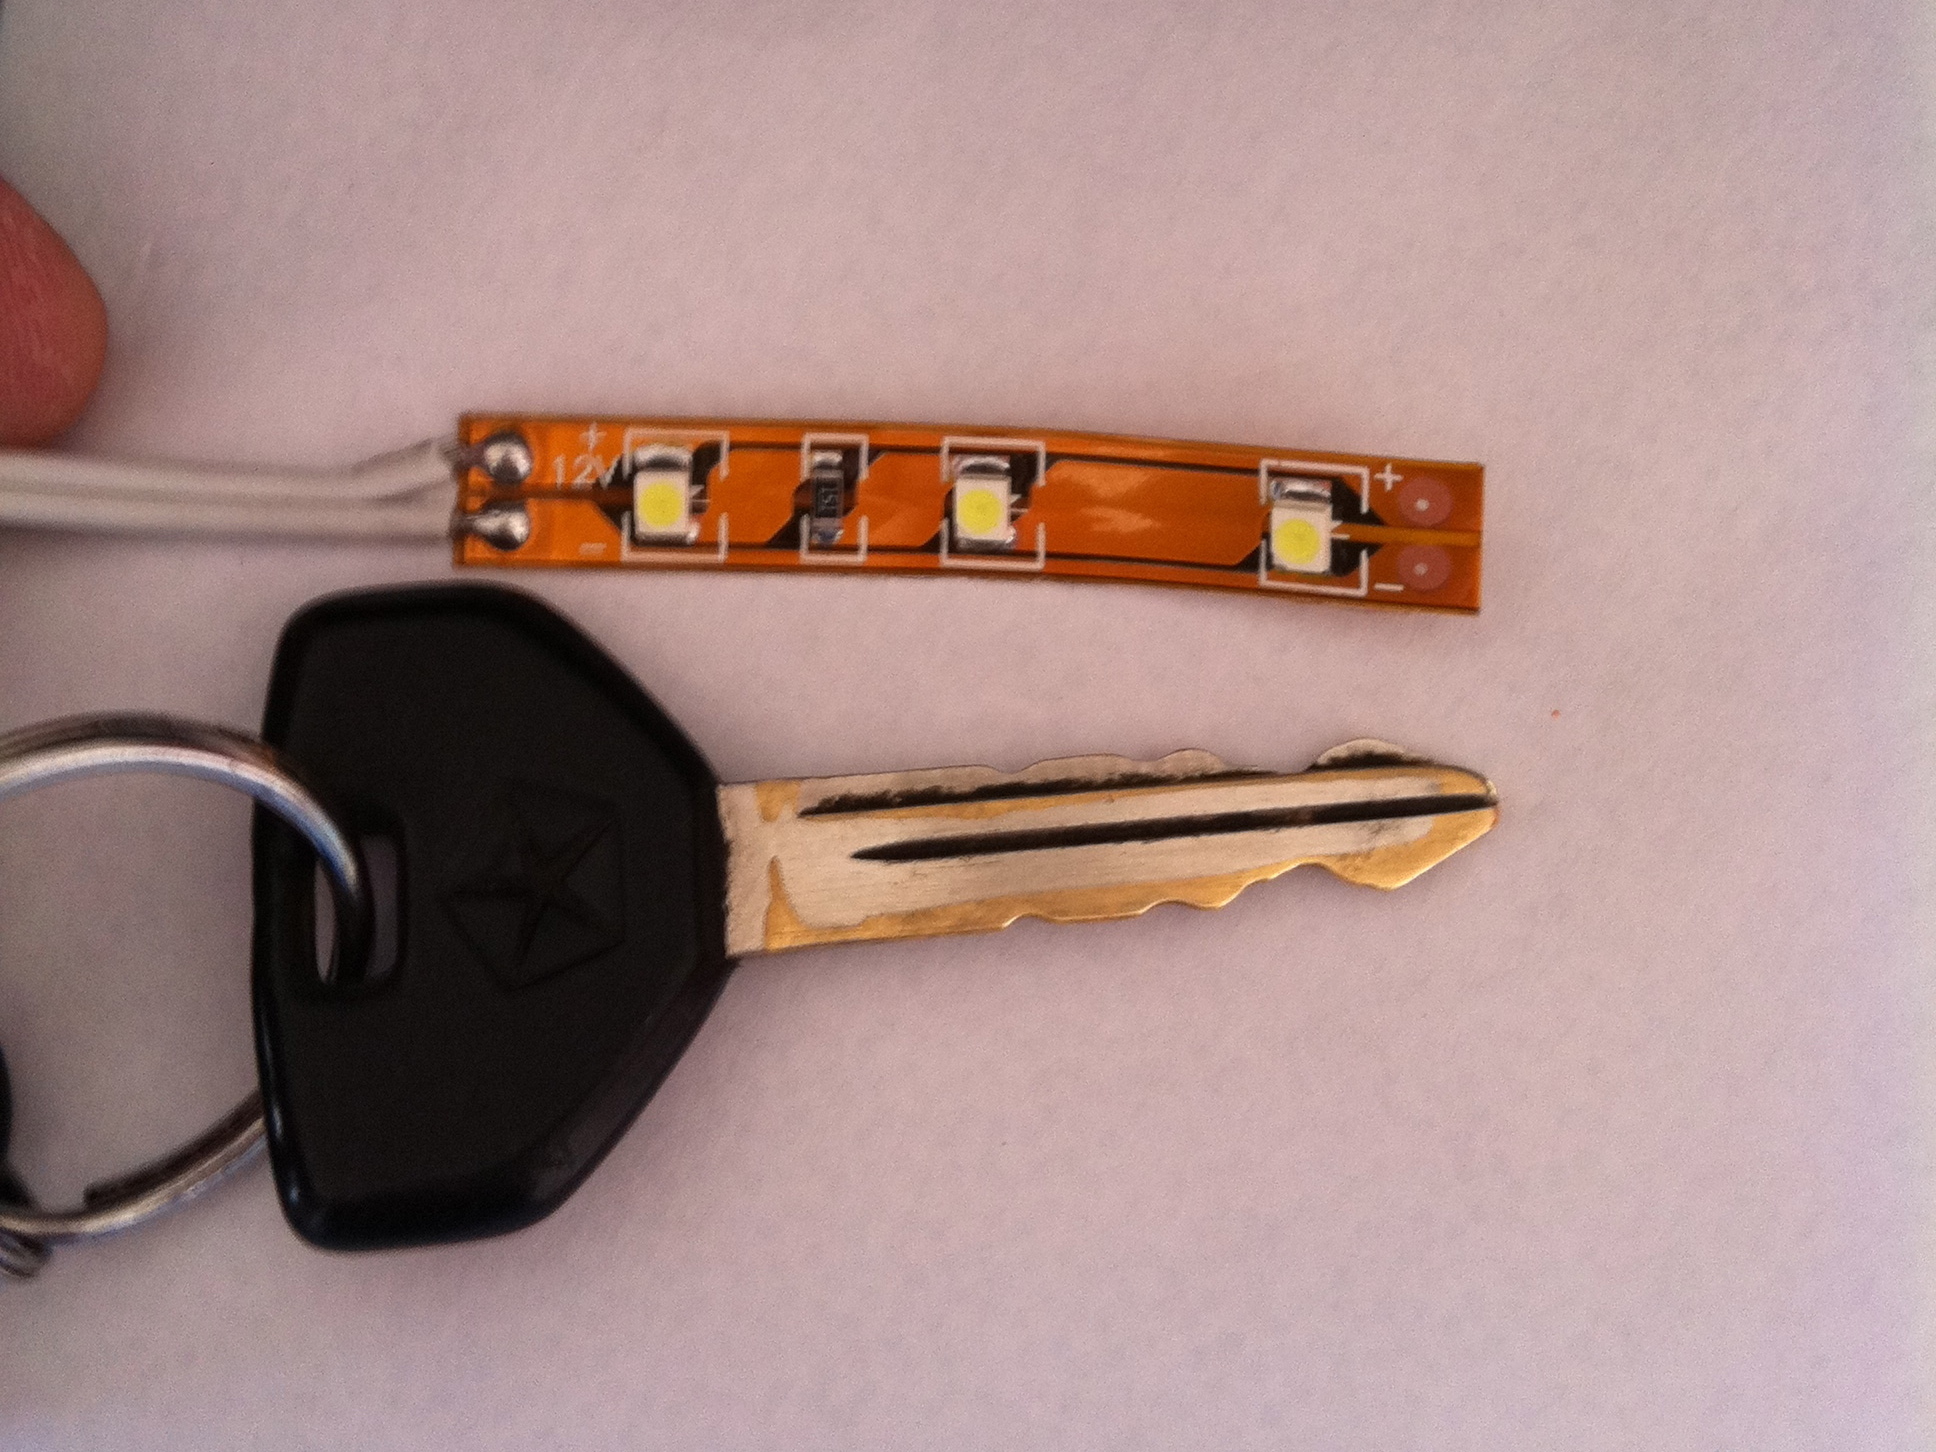
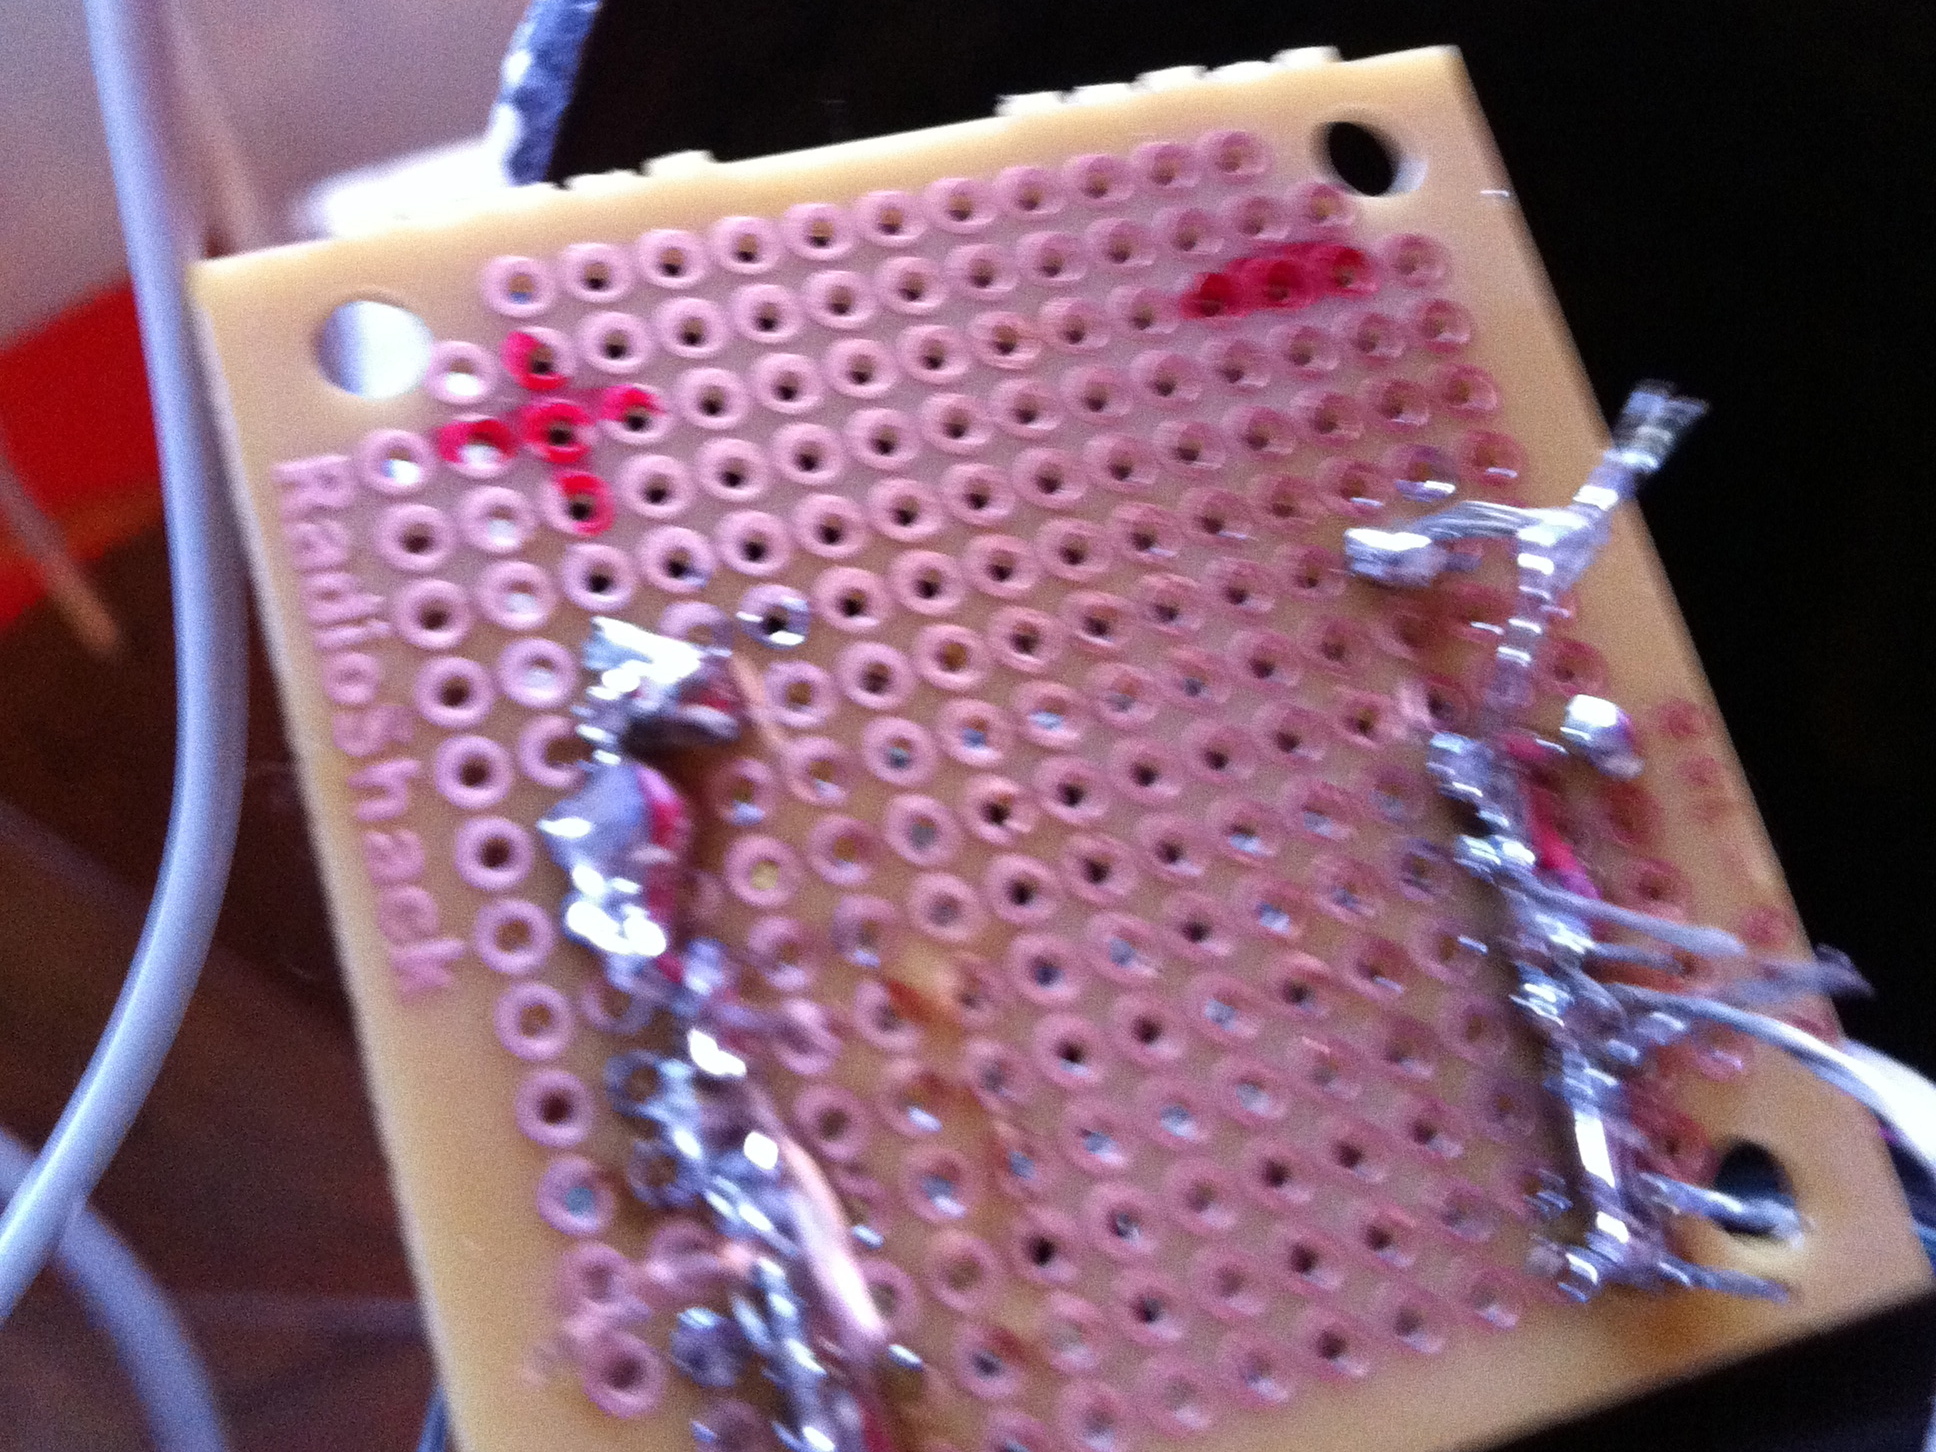
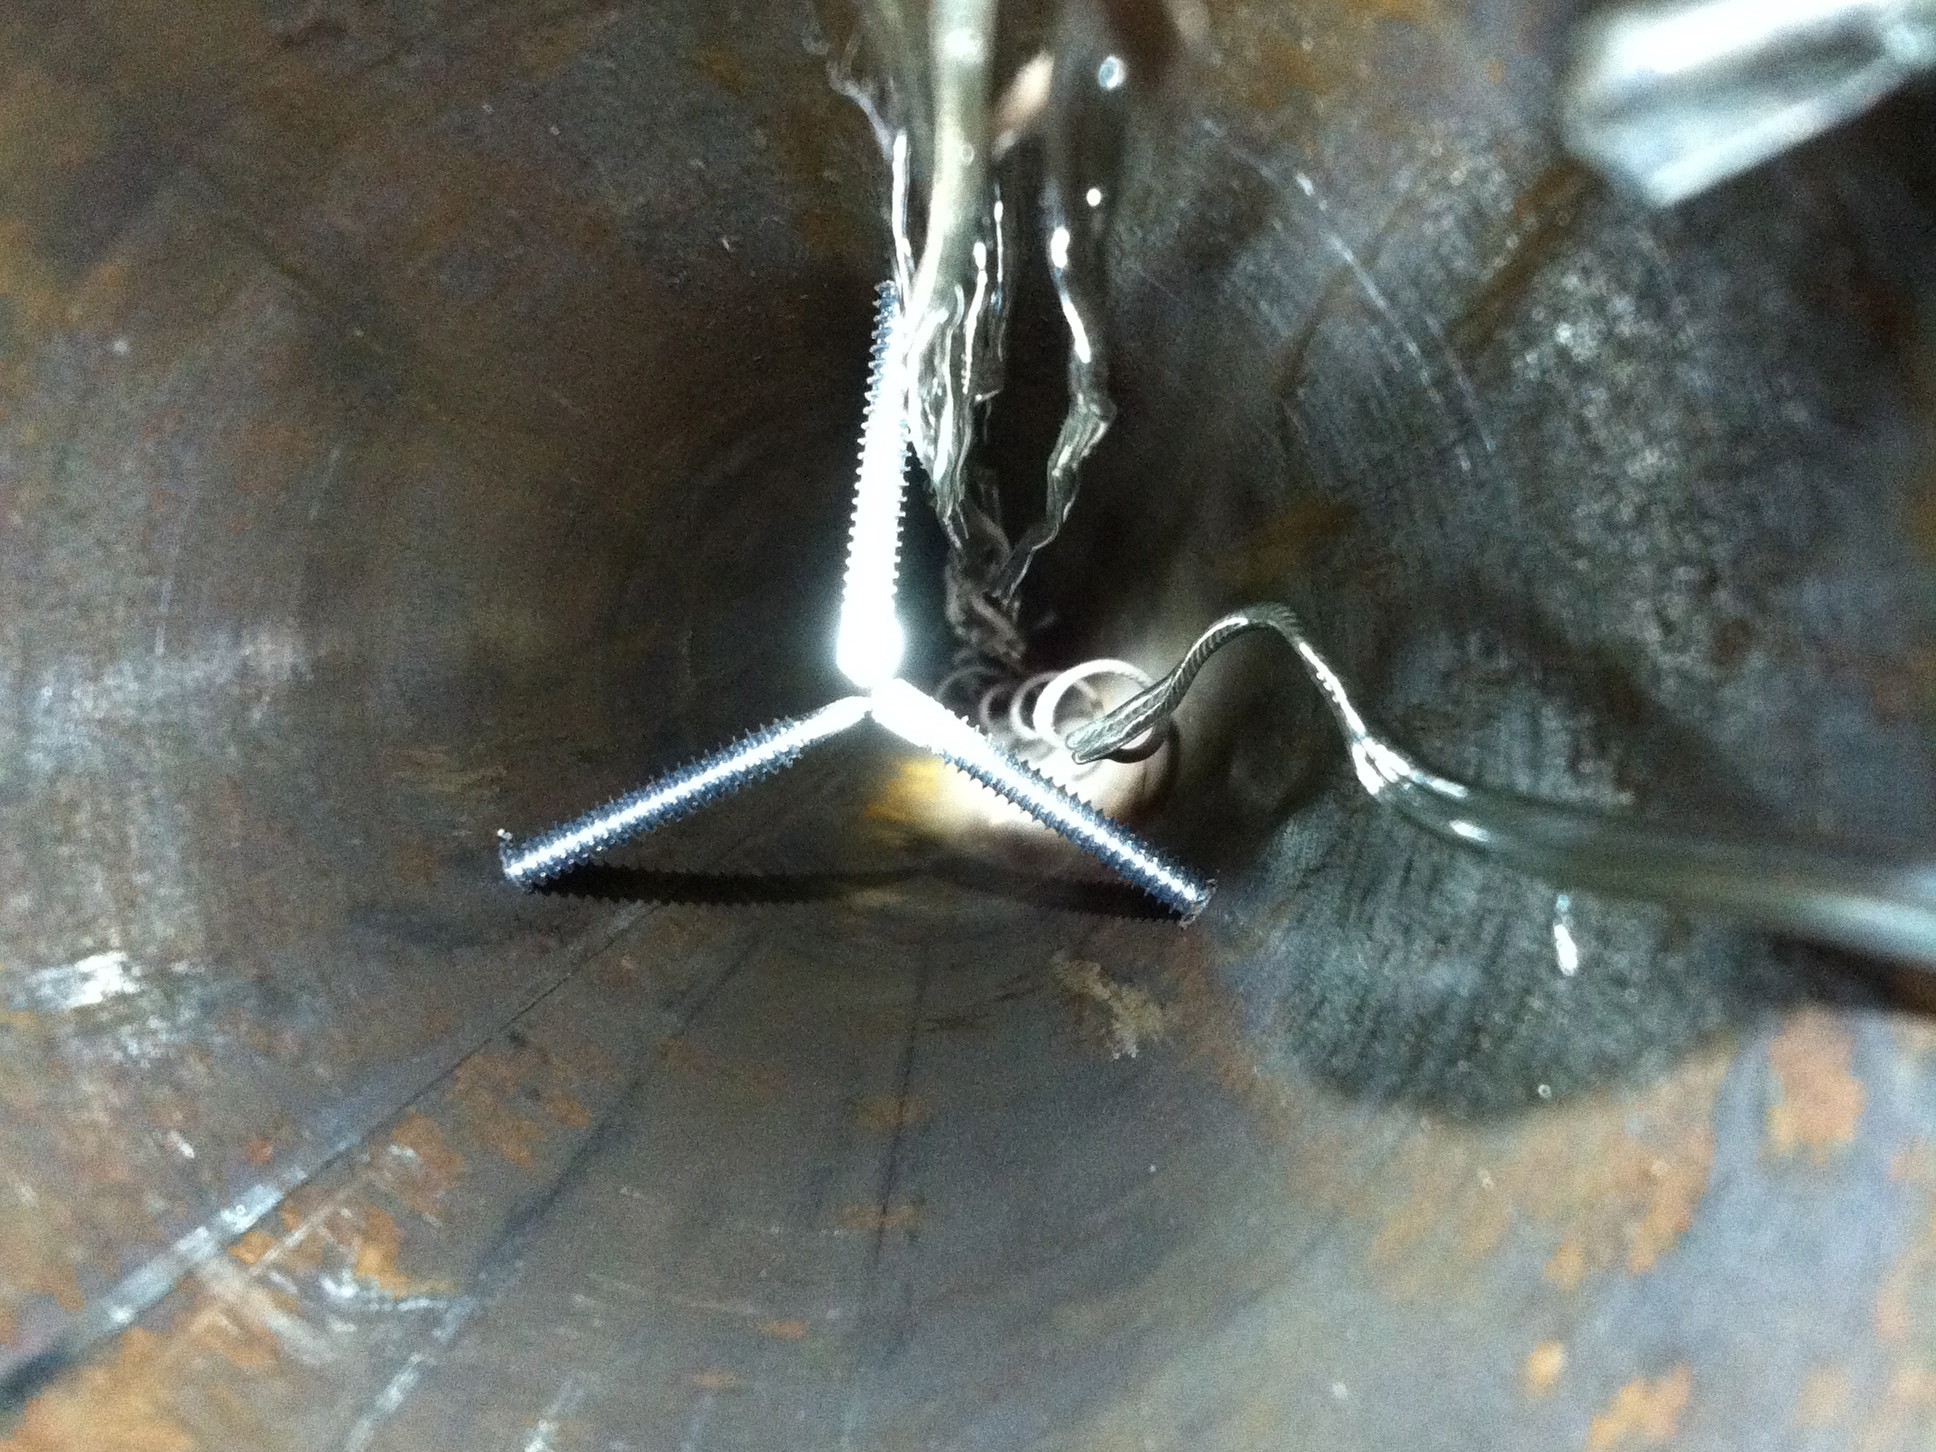
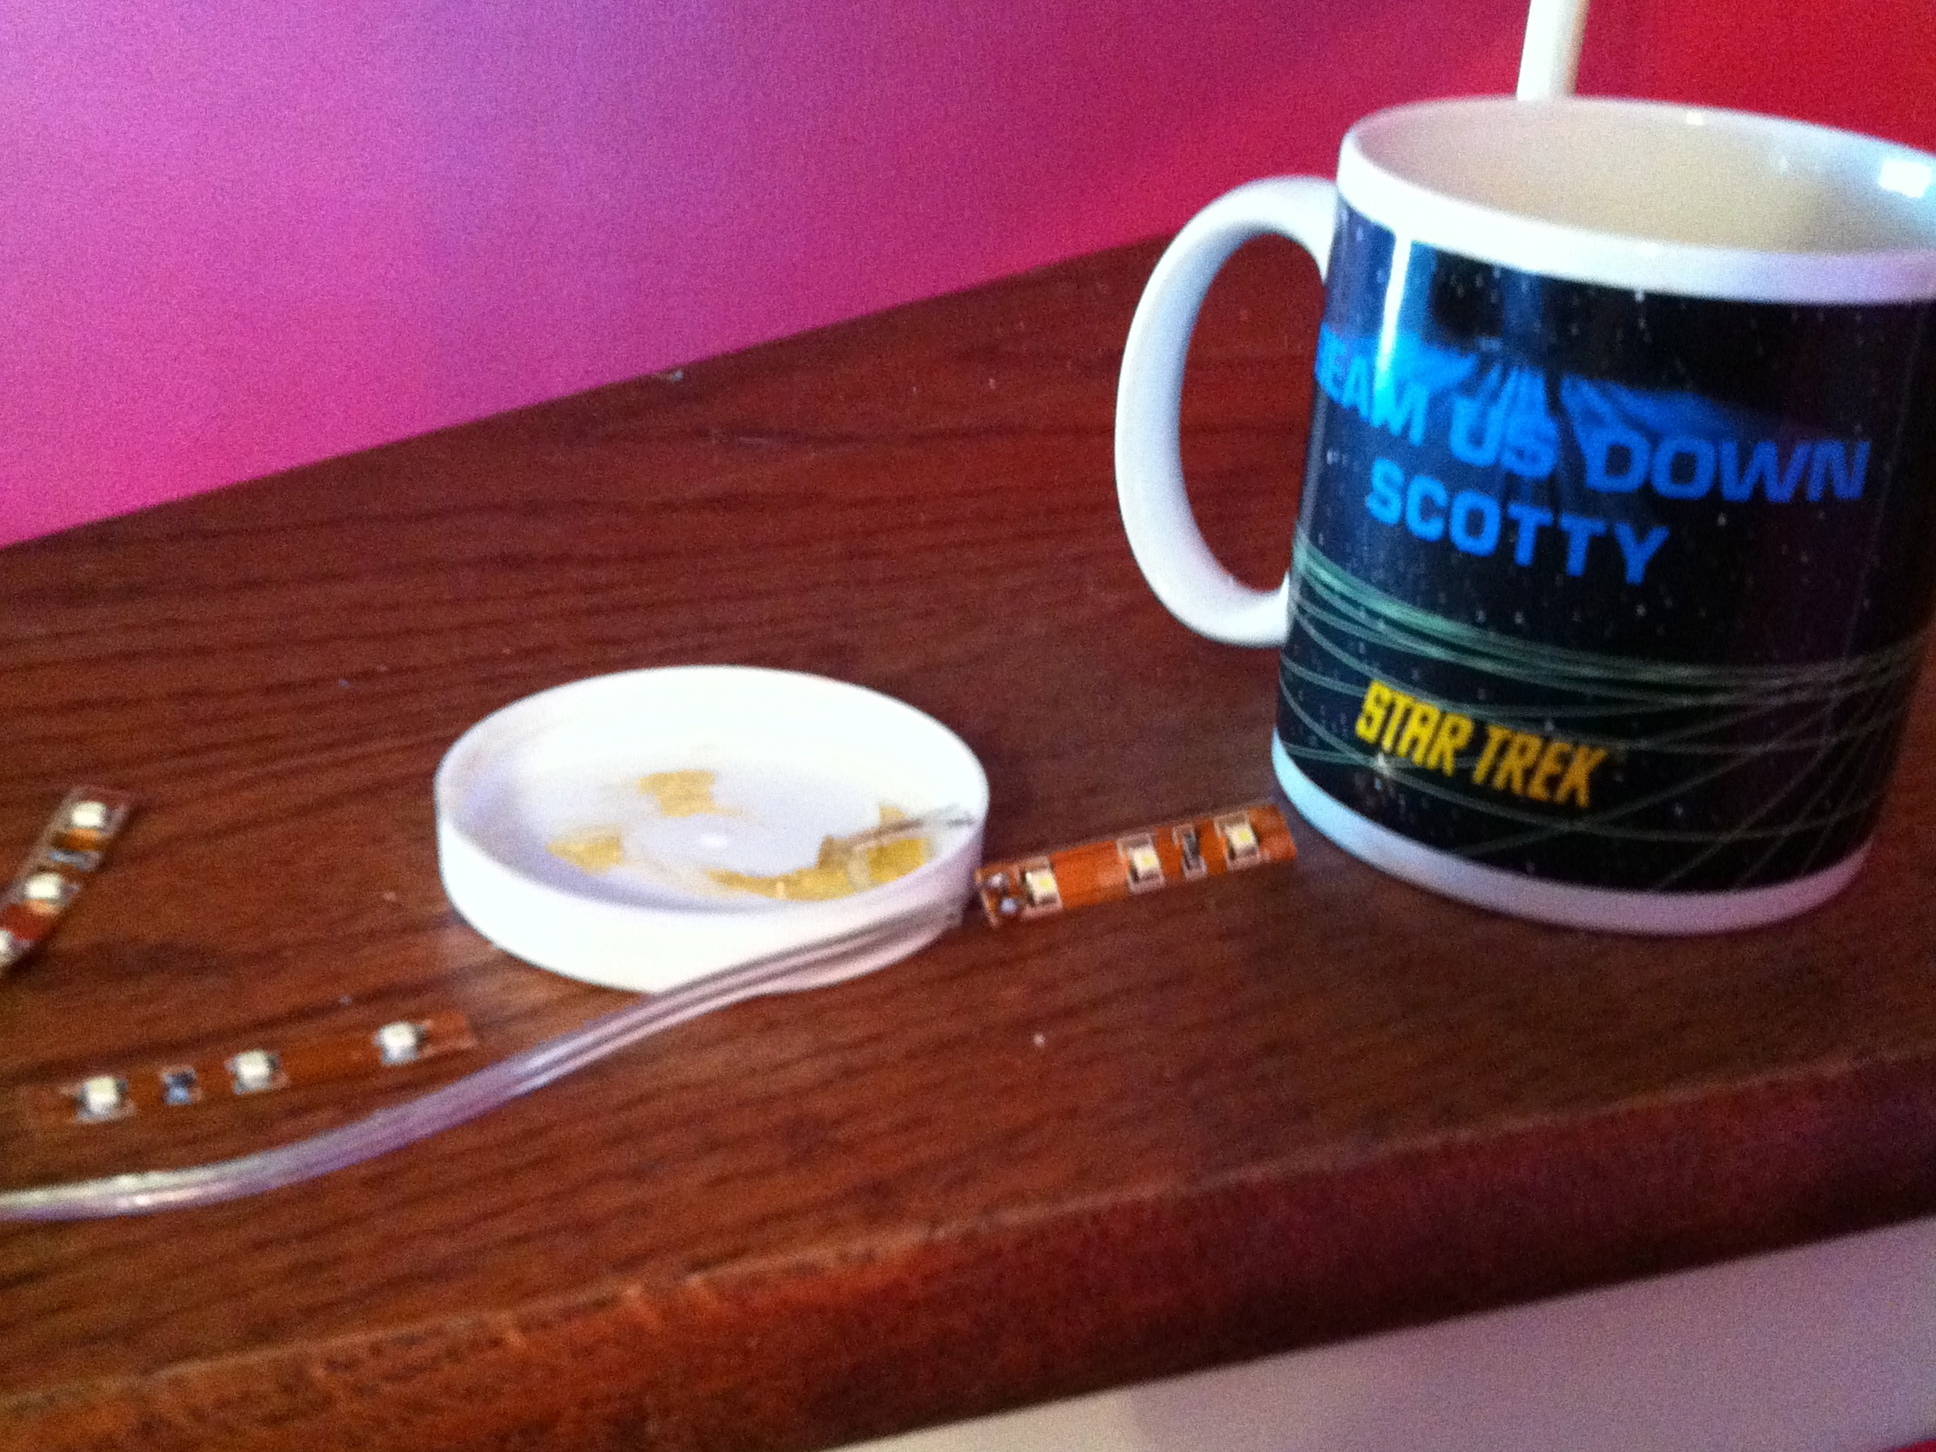
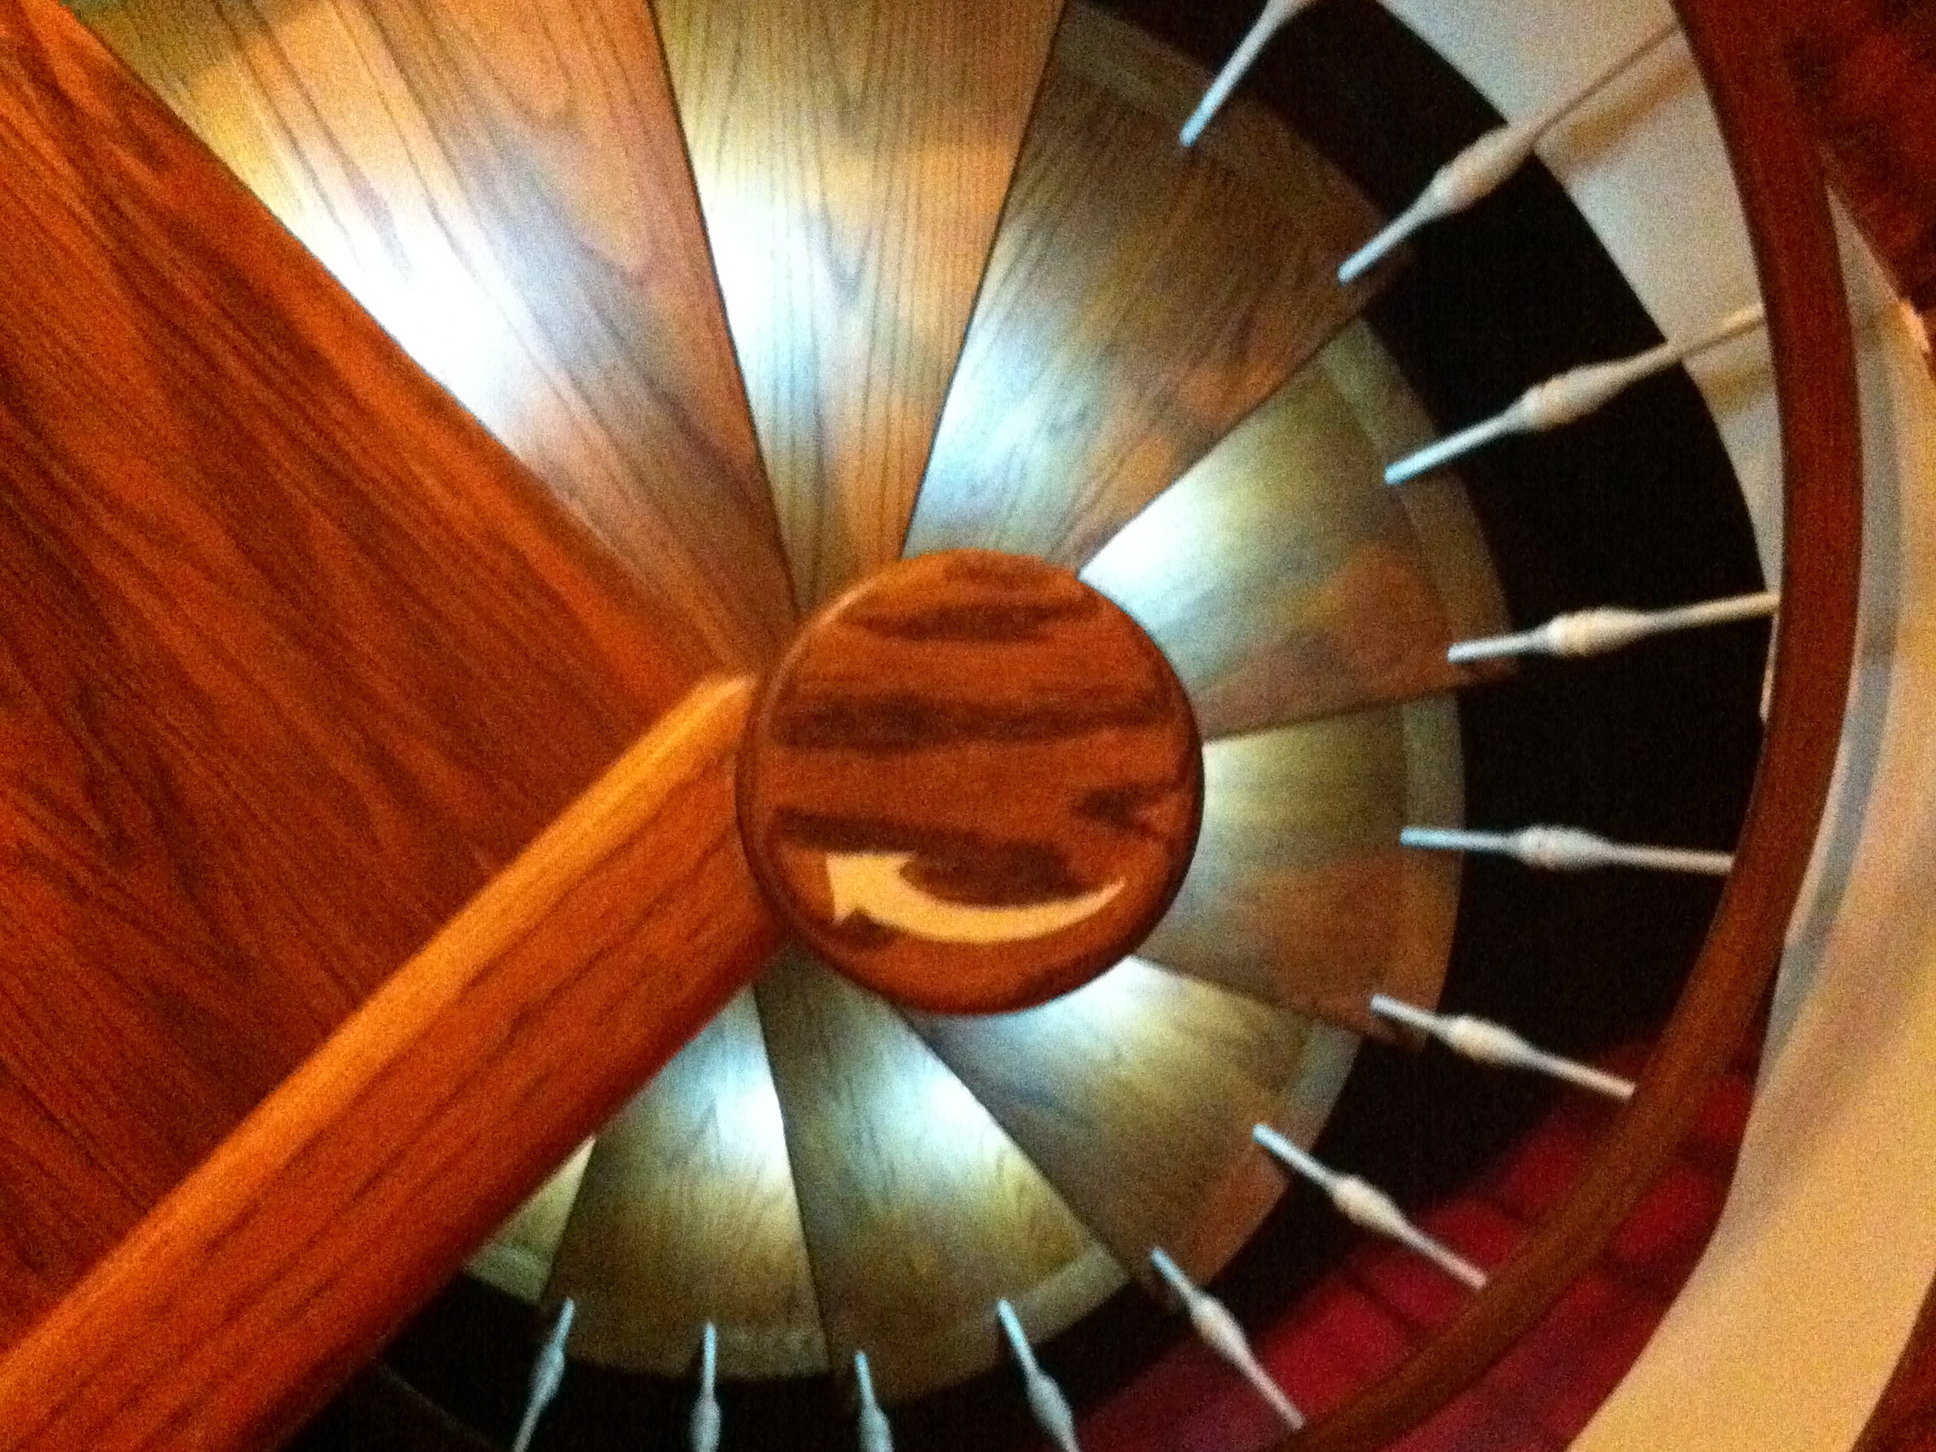
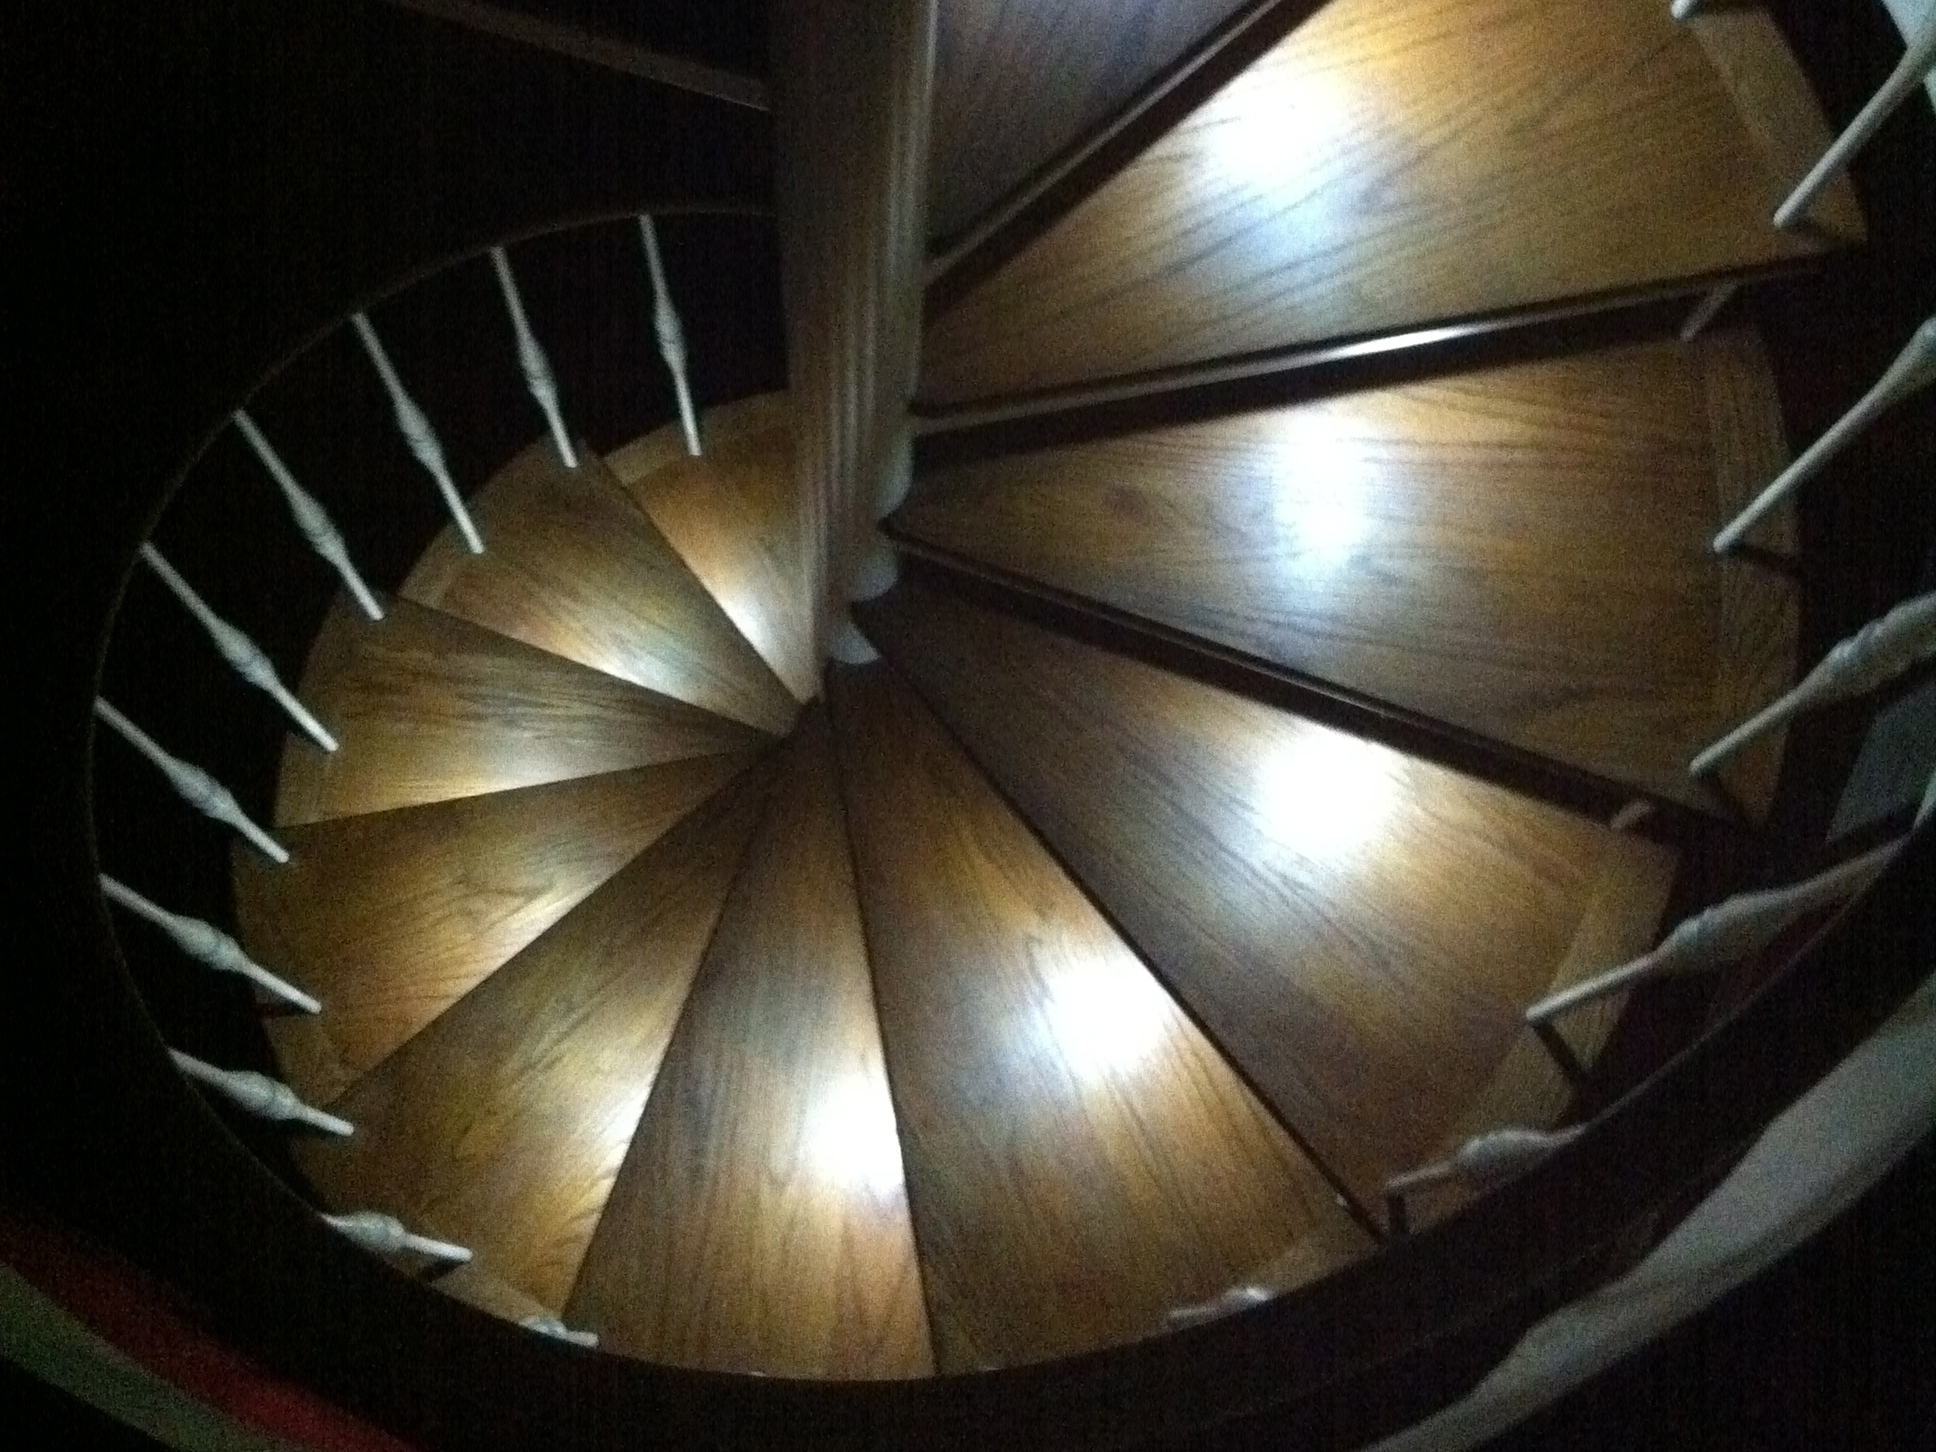
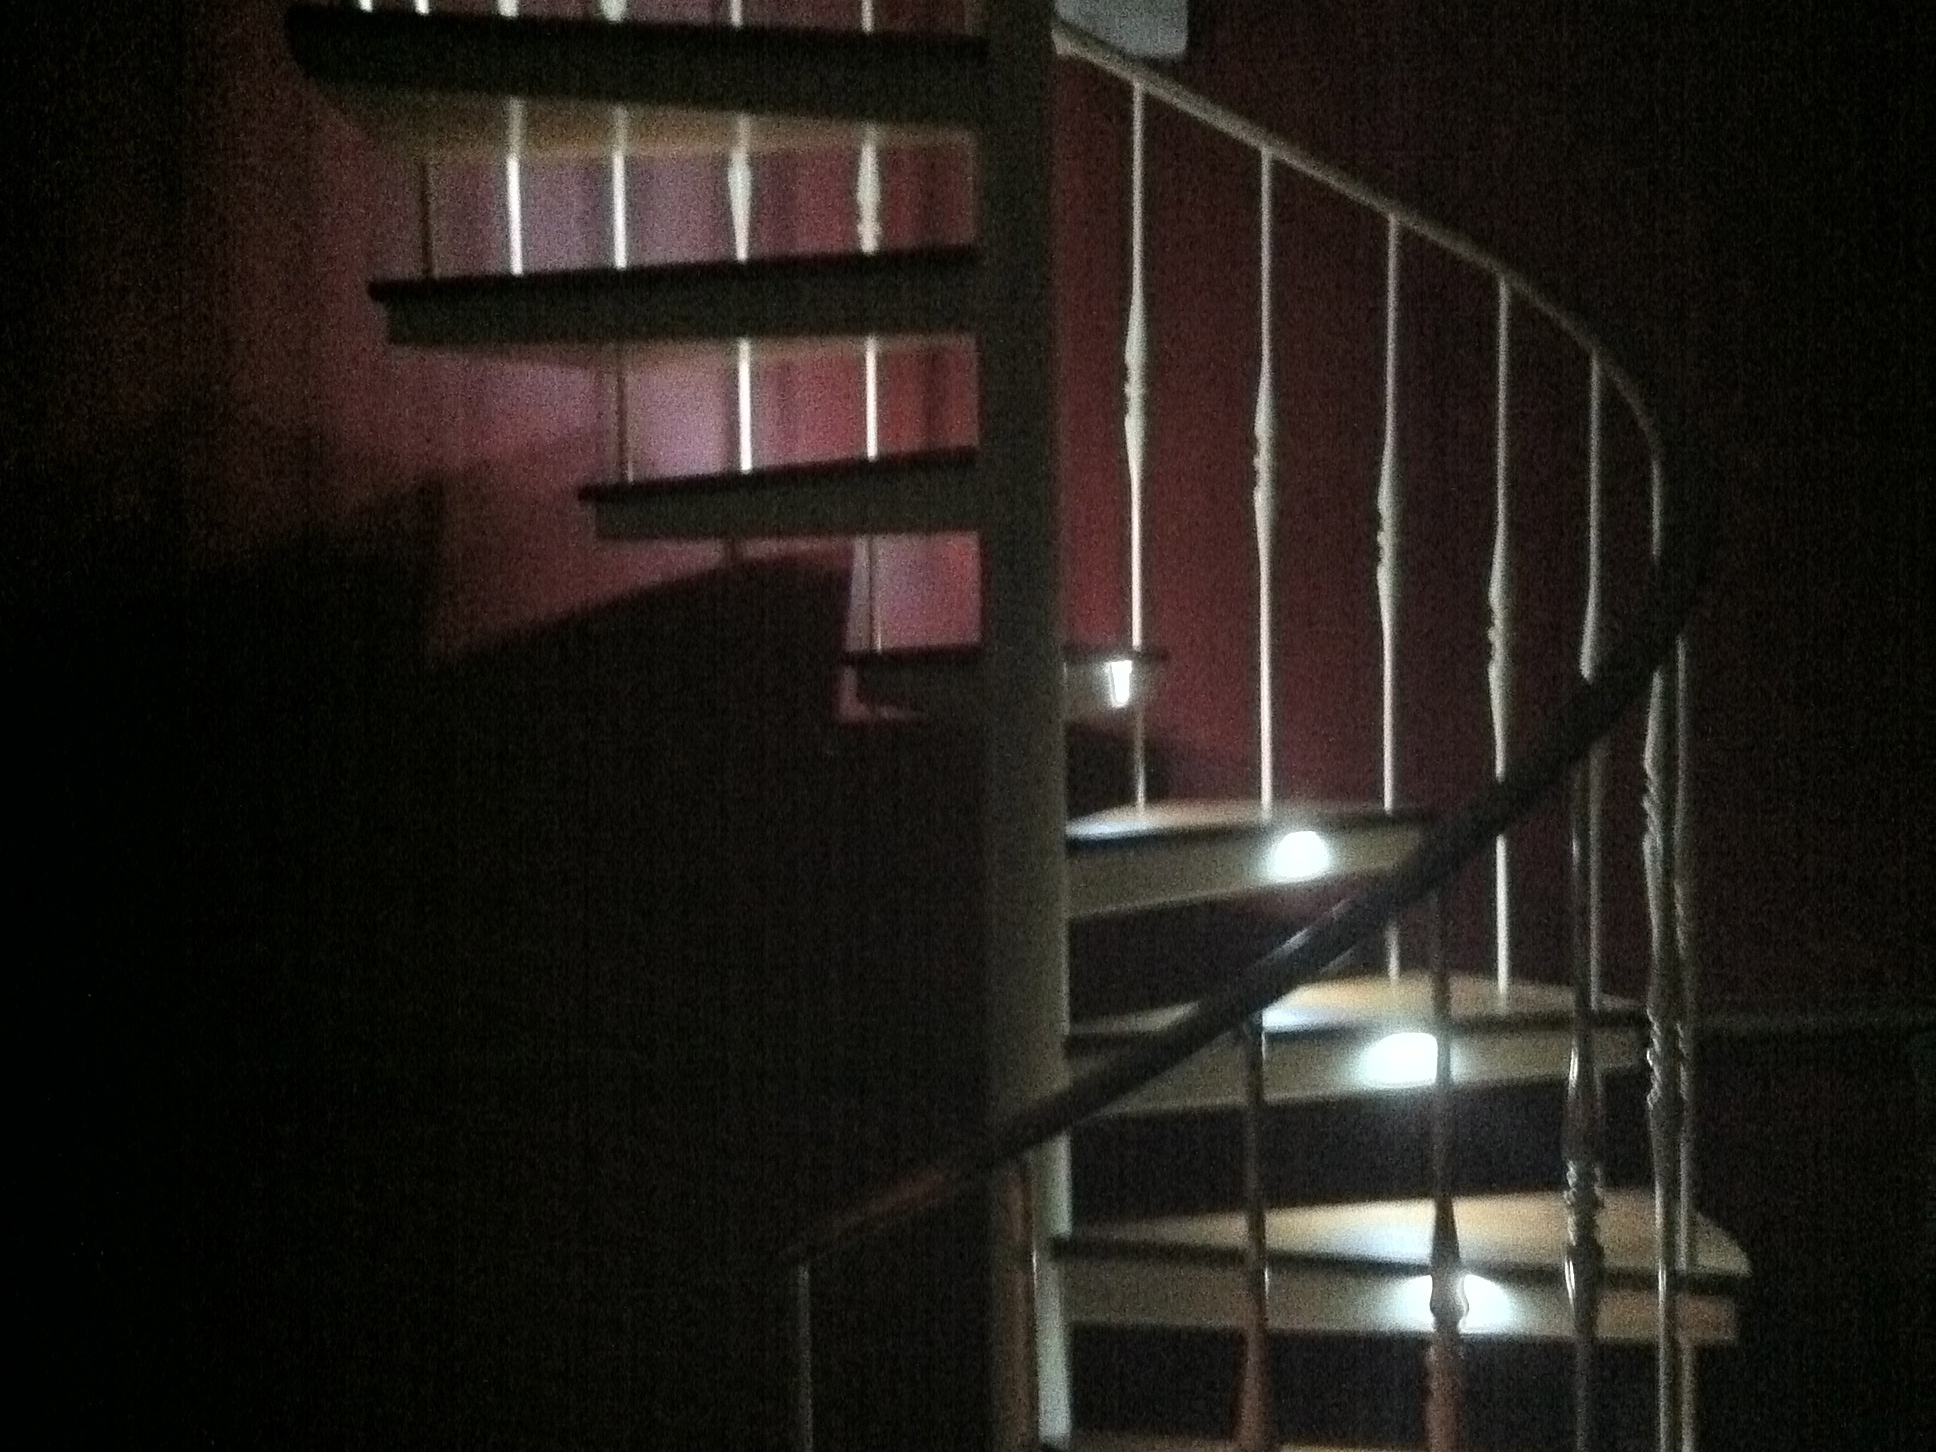
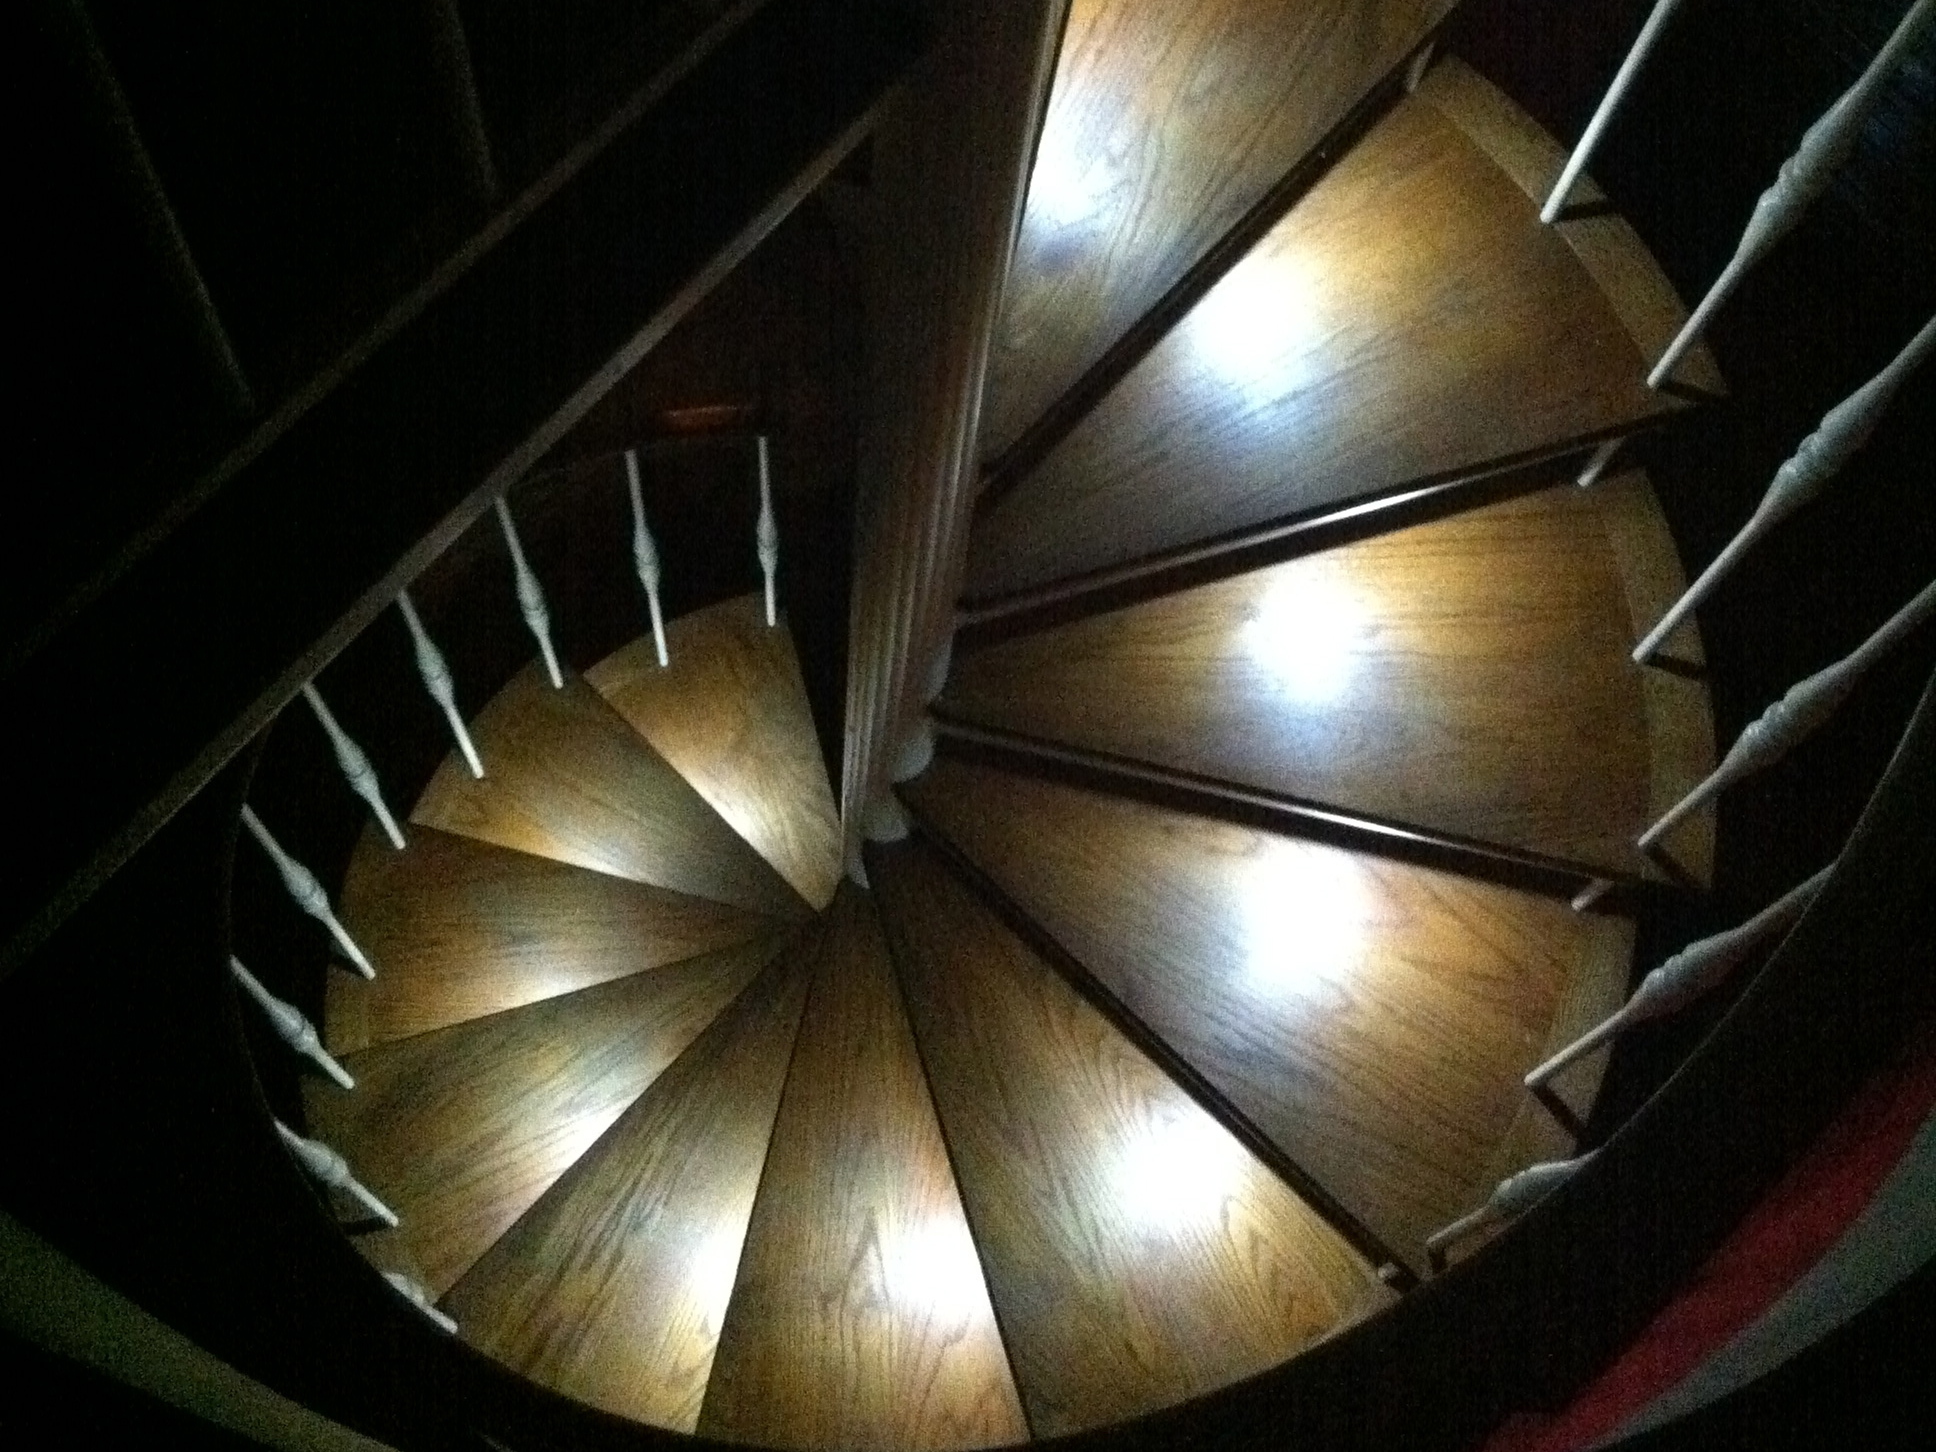
I needed a lighting solution for my spiral staircase. After looking at various options (such as direct lighting from above or below) I decided to create my own lighting using some cheap components and a bit of time.
I’ll show how I designed and built my lighting rig. Hopefully I can help other people avoid some of the issues I’ve found and improve my project and others.
Like this:
Like Loading...
Step #1:
Next


- Pictured here is the center support for the staircase. All wires and components (except the LEDs themselves) are housed here.
- Next we can see one of the LED strips that I used. They're sold in long pieces that can be cut down to about 2.5in pieces containing 3 lights and a resistor.
- Lastly, the circuit board that I made to provide power to the lights. Not my best work but it serves its purpose.
- Thankfully, my soldering skills have improved a great deal since I started the project.
Step #2:
Next


- The first step was drilling holes into the center support. The holes allow you to draw the wire through and keep things hidden.
- I used three 3in self-tapping screws to serve as a platform for the battery and circuit board (and later the dimmer switch). This allowed me to run wire unobstructed and still provide support for the components.
- I accidentally used the wrong gauge wire initially. It was quite a bummer when smoke started pouring out of the support. Luckily, steel pipe is harder to burn through than the cheap wire I was using. The real shame was that I spent around 2 hours running it all and had to pull it out.
- Be careful when placing holes in any sort of support structure. You can weaken it substantially if you aren't careful.
Step #3:
Next


- I took the cap that had been covering the top of the stairs and sanded around the edges to make it easy to turn. I use this to control the dimmer switch for the lights. It is connected to a 12v DC dimmer that I ordered for about $18.
- The dimmer rests on top of the 12v UPS battery that is powering the whole thing. The battery lasts for around 6 days before needing to be recharged. I think eventually I'll use a small power supply that will power the lights as well as charge the battery. That way the lights will still work during power outages.
- I made a simple stencil of an arrow to show which way to turn the cap. I think it serves its purpose well enough but could probably be clearer.
Step #4:
Next


- Here you can see the completed system. The cap is turned clockwise to brighten the lights, counter-clockwise to dim them.
- By powering the system with a battery there is no need for a wallwart or other wires running to the stairs. This keeps things tidy and also allows for light during power outages. As mentioned earlier, I believe it will be prudent to add a more permanent power source to avoid wear on the battery.
Step #5:


- Any comments or ideas are welcome. I don't believe that I did everything in the best manner possible but, all in all, I think the finished product is well worth the effort.
- The total cost of supplies (not including solder, hot glue, etc.) was around $70; $36 for the lights (which amounts to 20 of the 3-LED strips, not all of which were used), $18 for the dimmer, and $16 for two 100ft spools of 20-gauge wire.
Conclusion
A great way to light a spiral staircase.
thanks for the feedback guys. I ended up adding this http://www.mini-box.com/picoUPS-120-12V-DC-micro-UPS-battery-backup?sc=8&category=1264 . So I can charge the battery and power the lights at the same time.