Make: Projects
Eternal Flame Indestructible LED Lantern
Build simple, rugged, floating LED lanterns that glow for days.
If you’re like me, you’re the bane of hardware store employees. I wander through the whole place picking up everything, looking at possibilities more than parts. Can they help me find anything? “No thanks,” I answer. What am I working on? “I don’t know yet,” I say. They move on, keeping a suspicious eye on me.
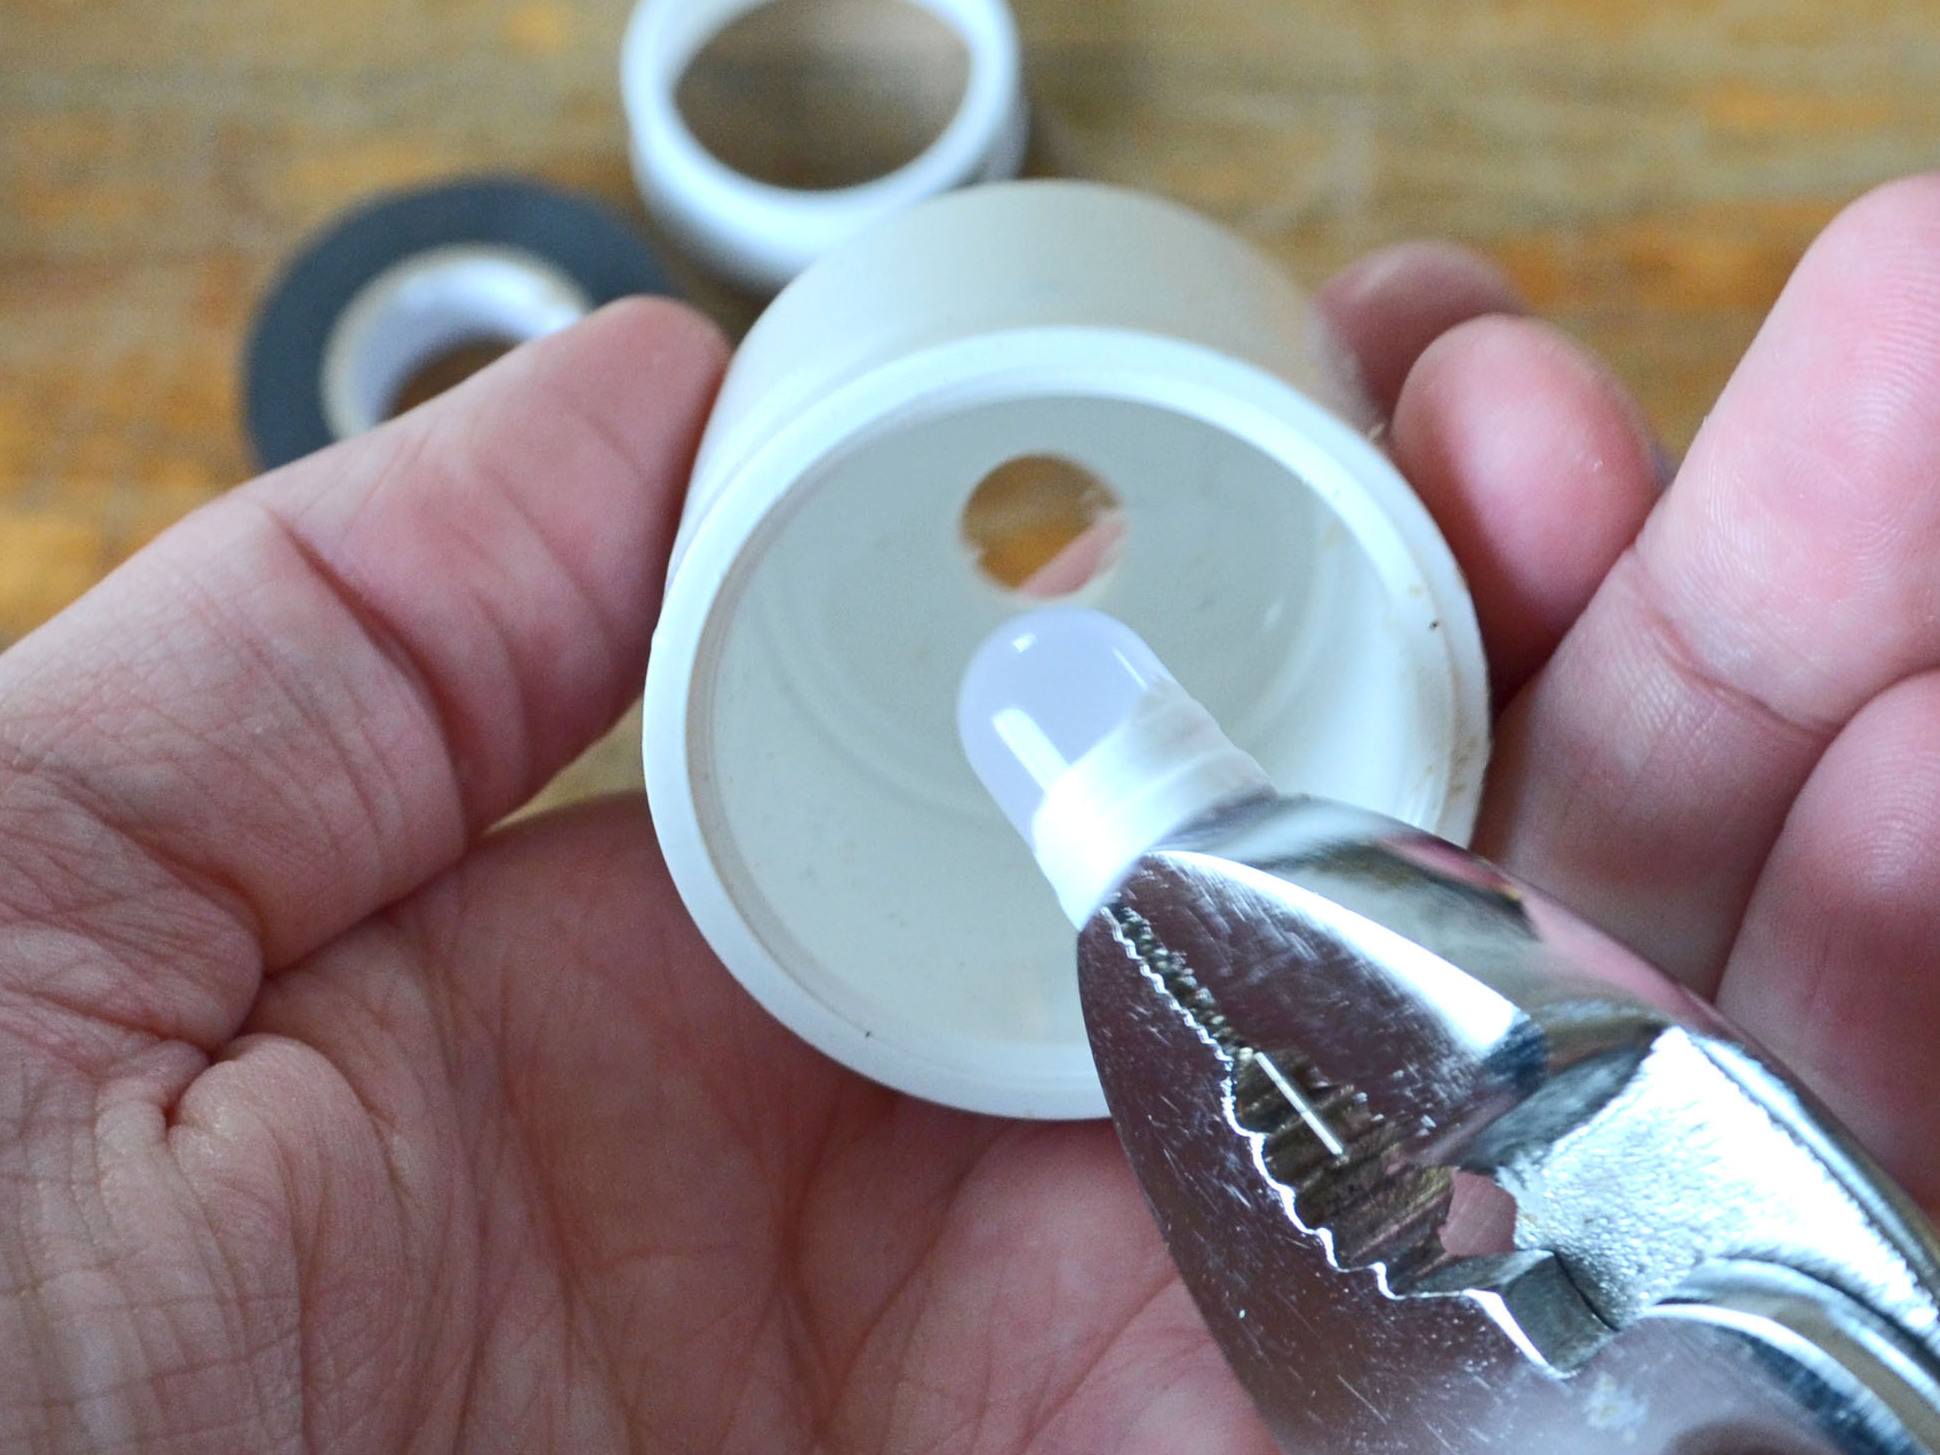
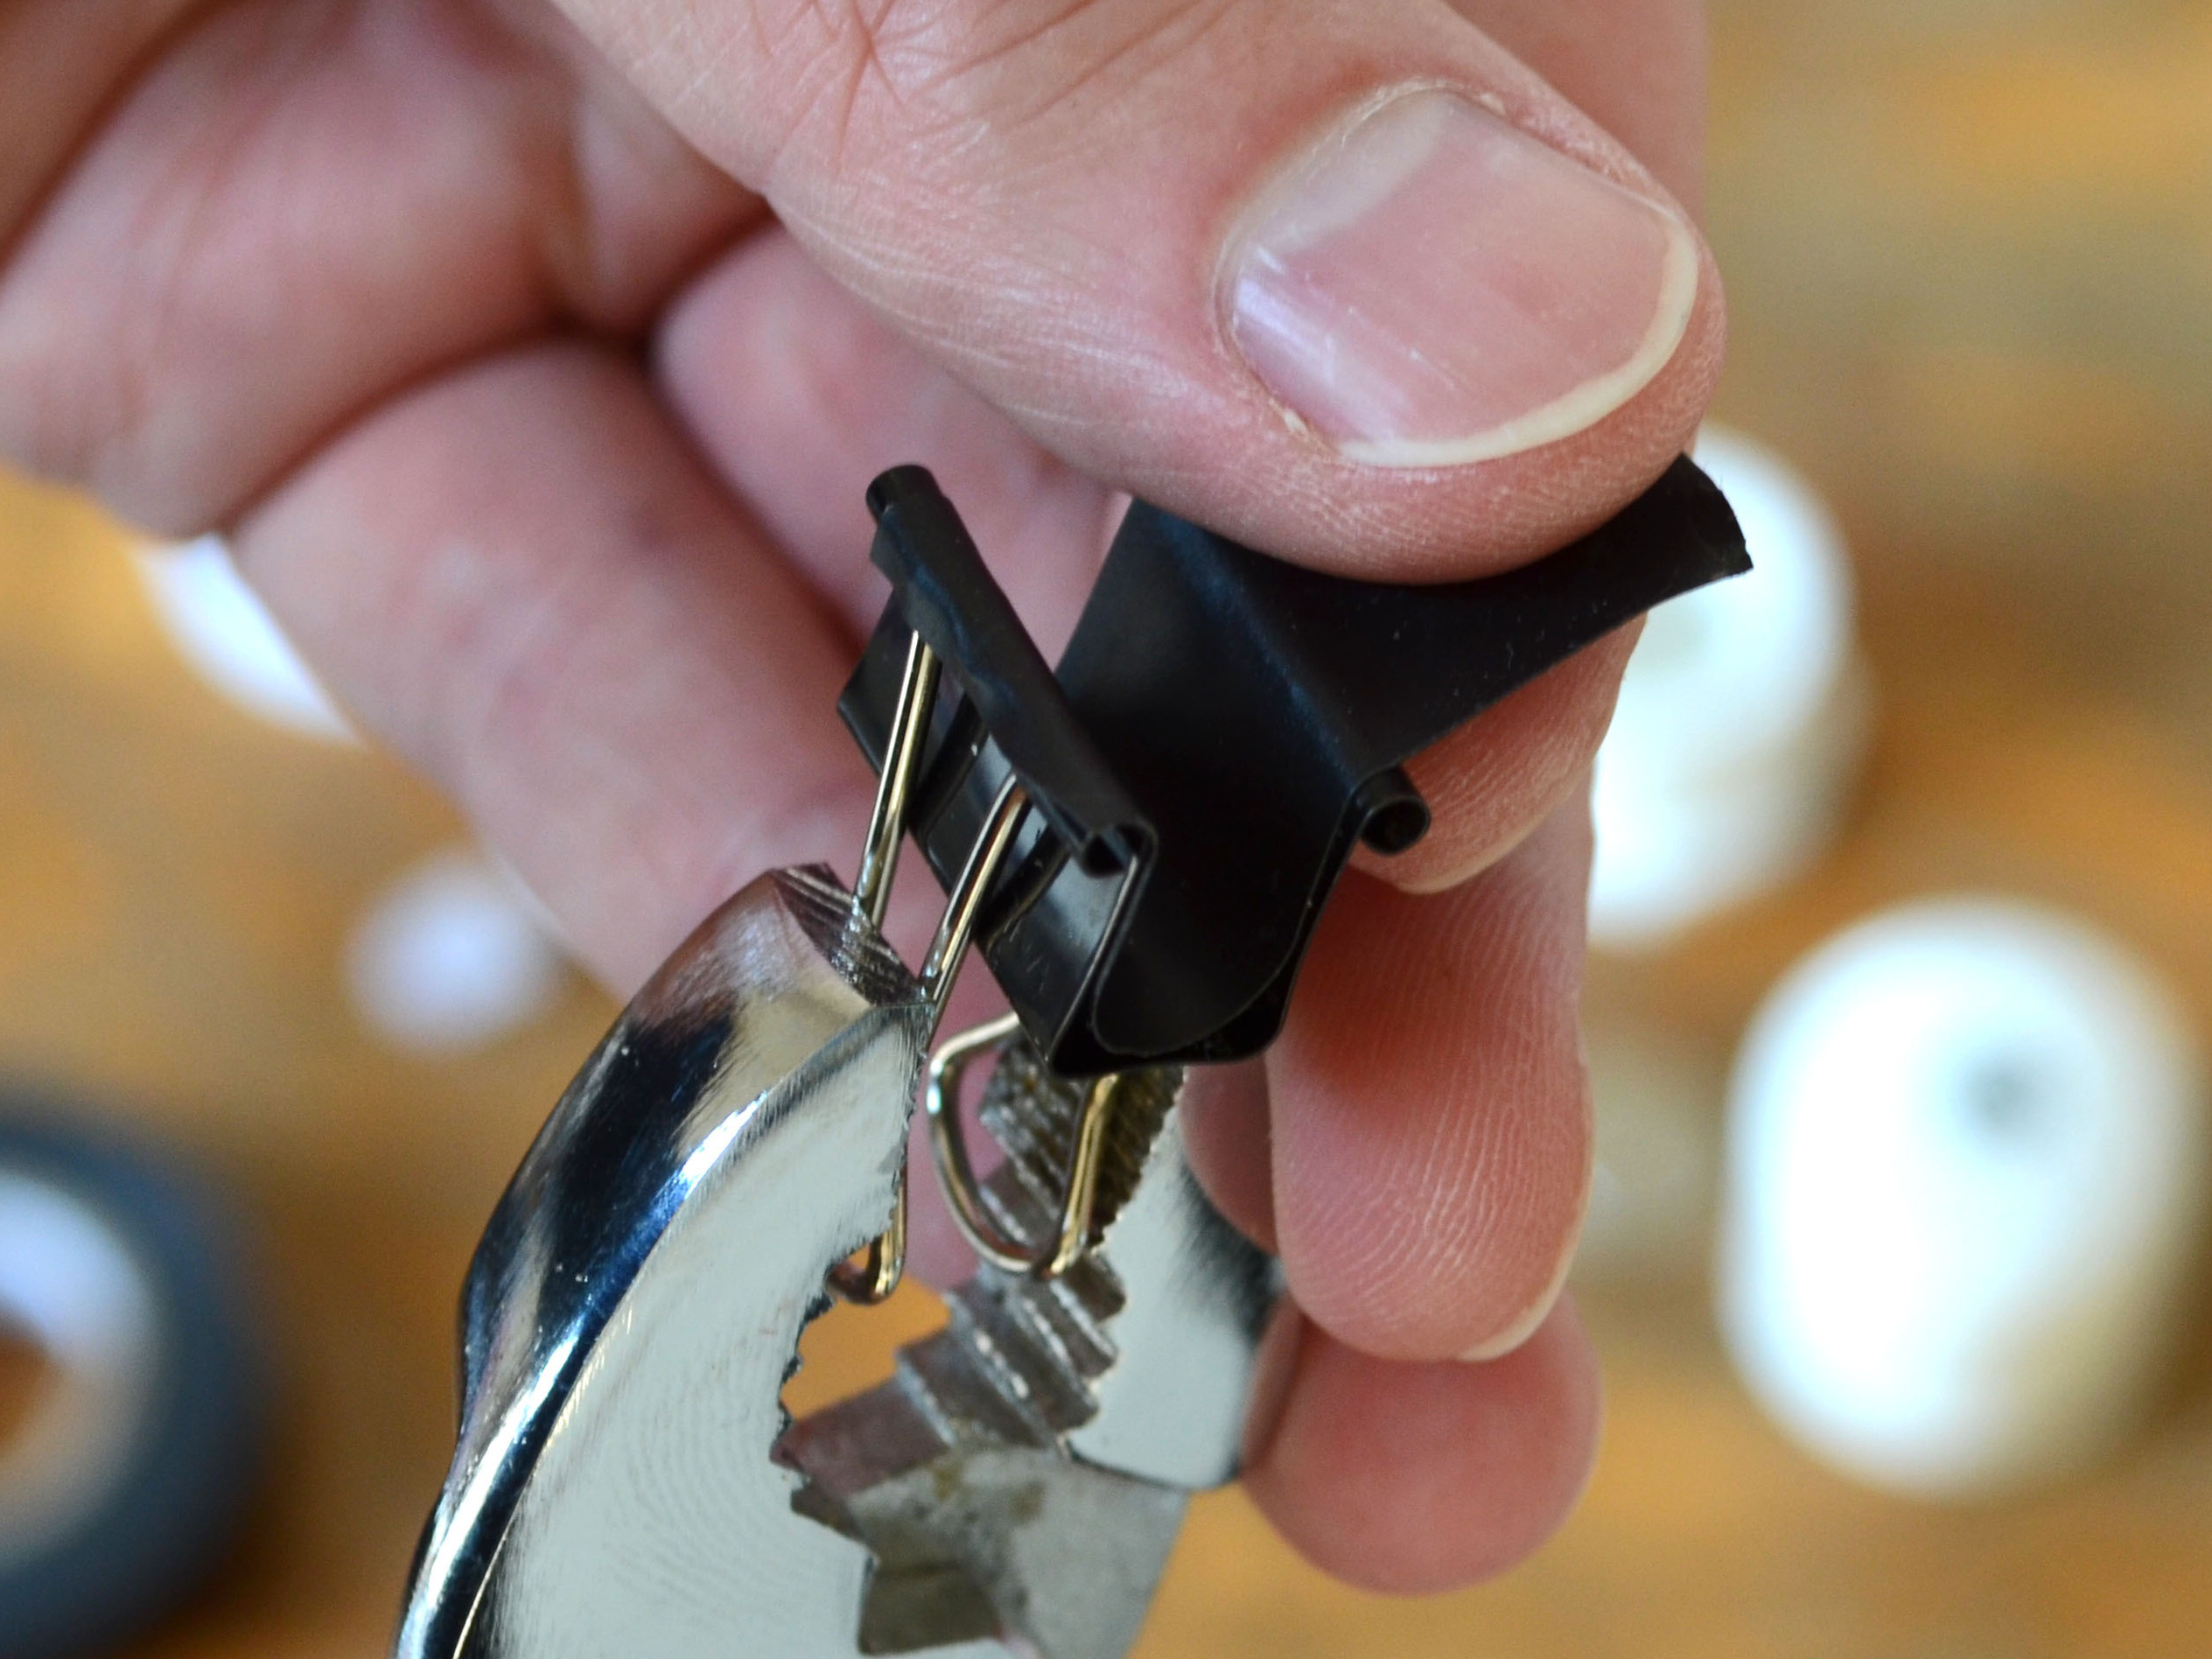
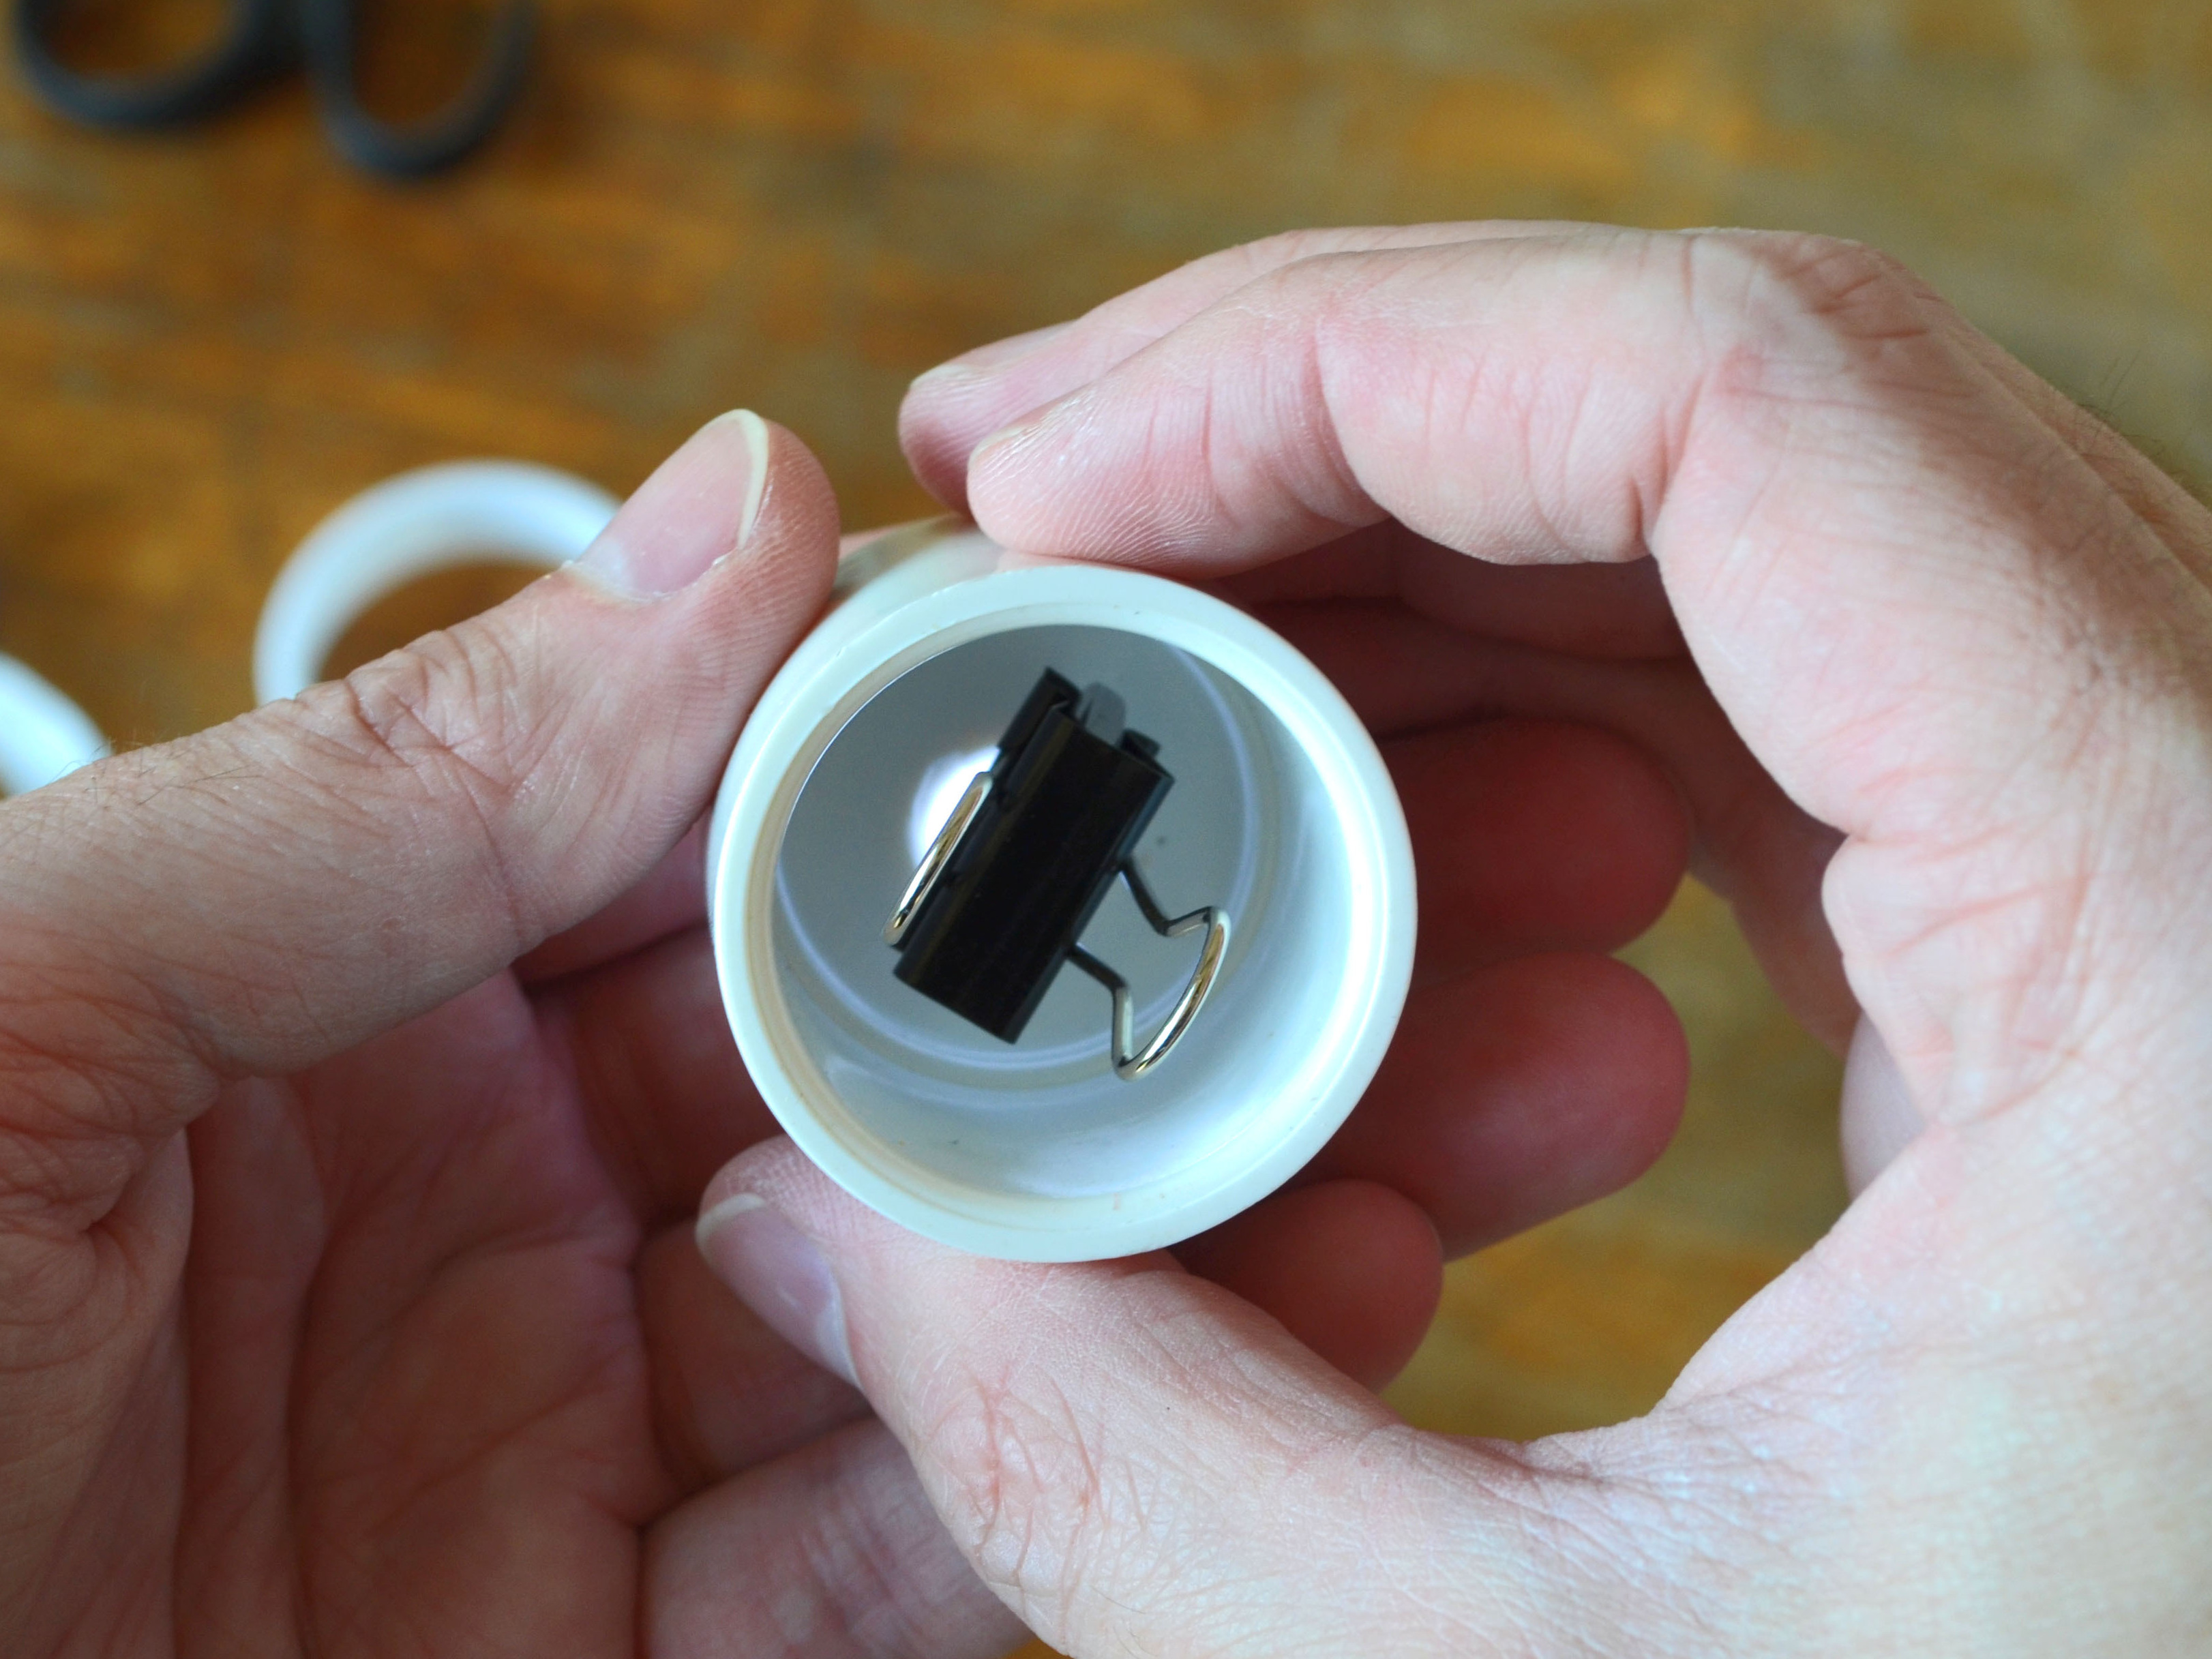
Some things just seem useful, even if I can’t think of how at the moment. One time I found matched pairs of PVC caps and plugs that fit together into little airtight pods of various sizes. For what, I didn’t know until I wanted a way to float lit LEDs down a stream.
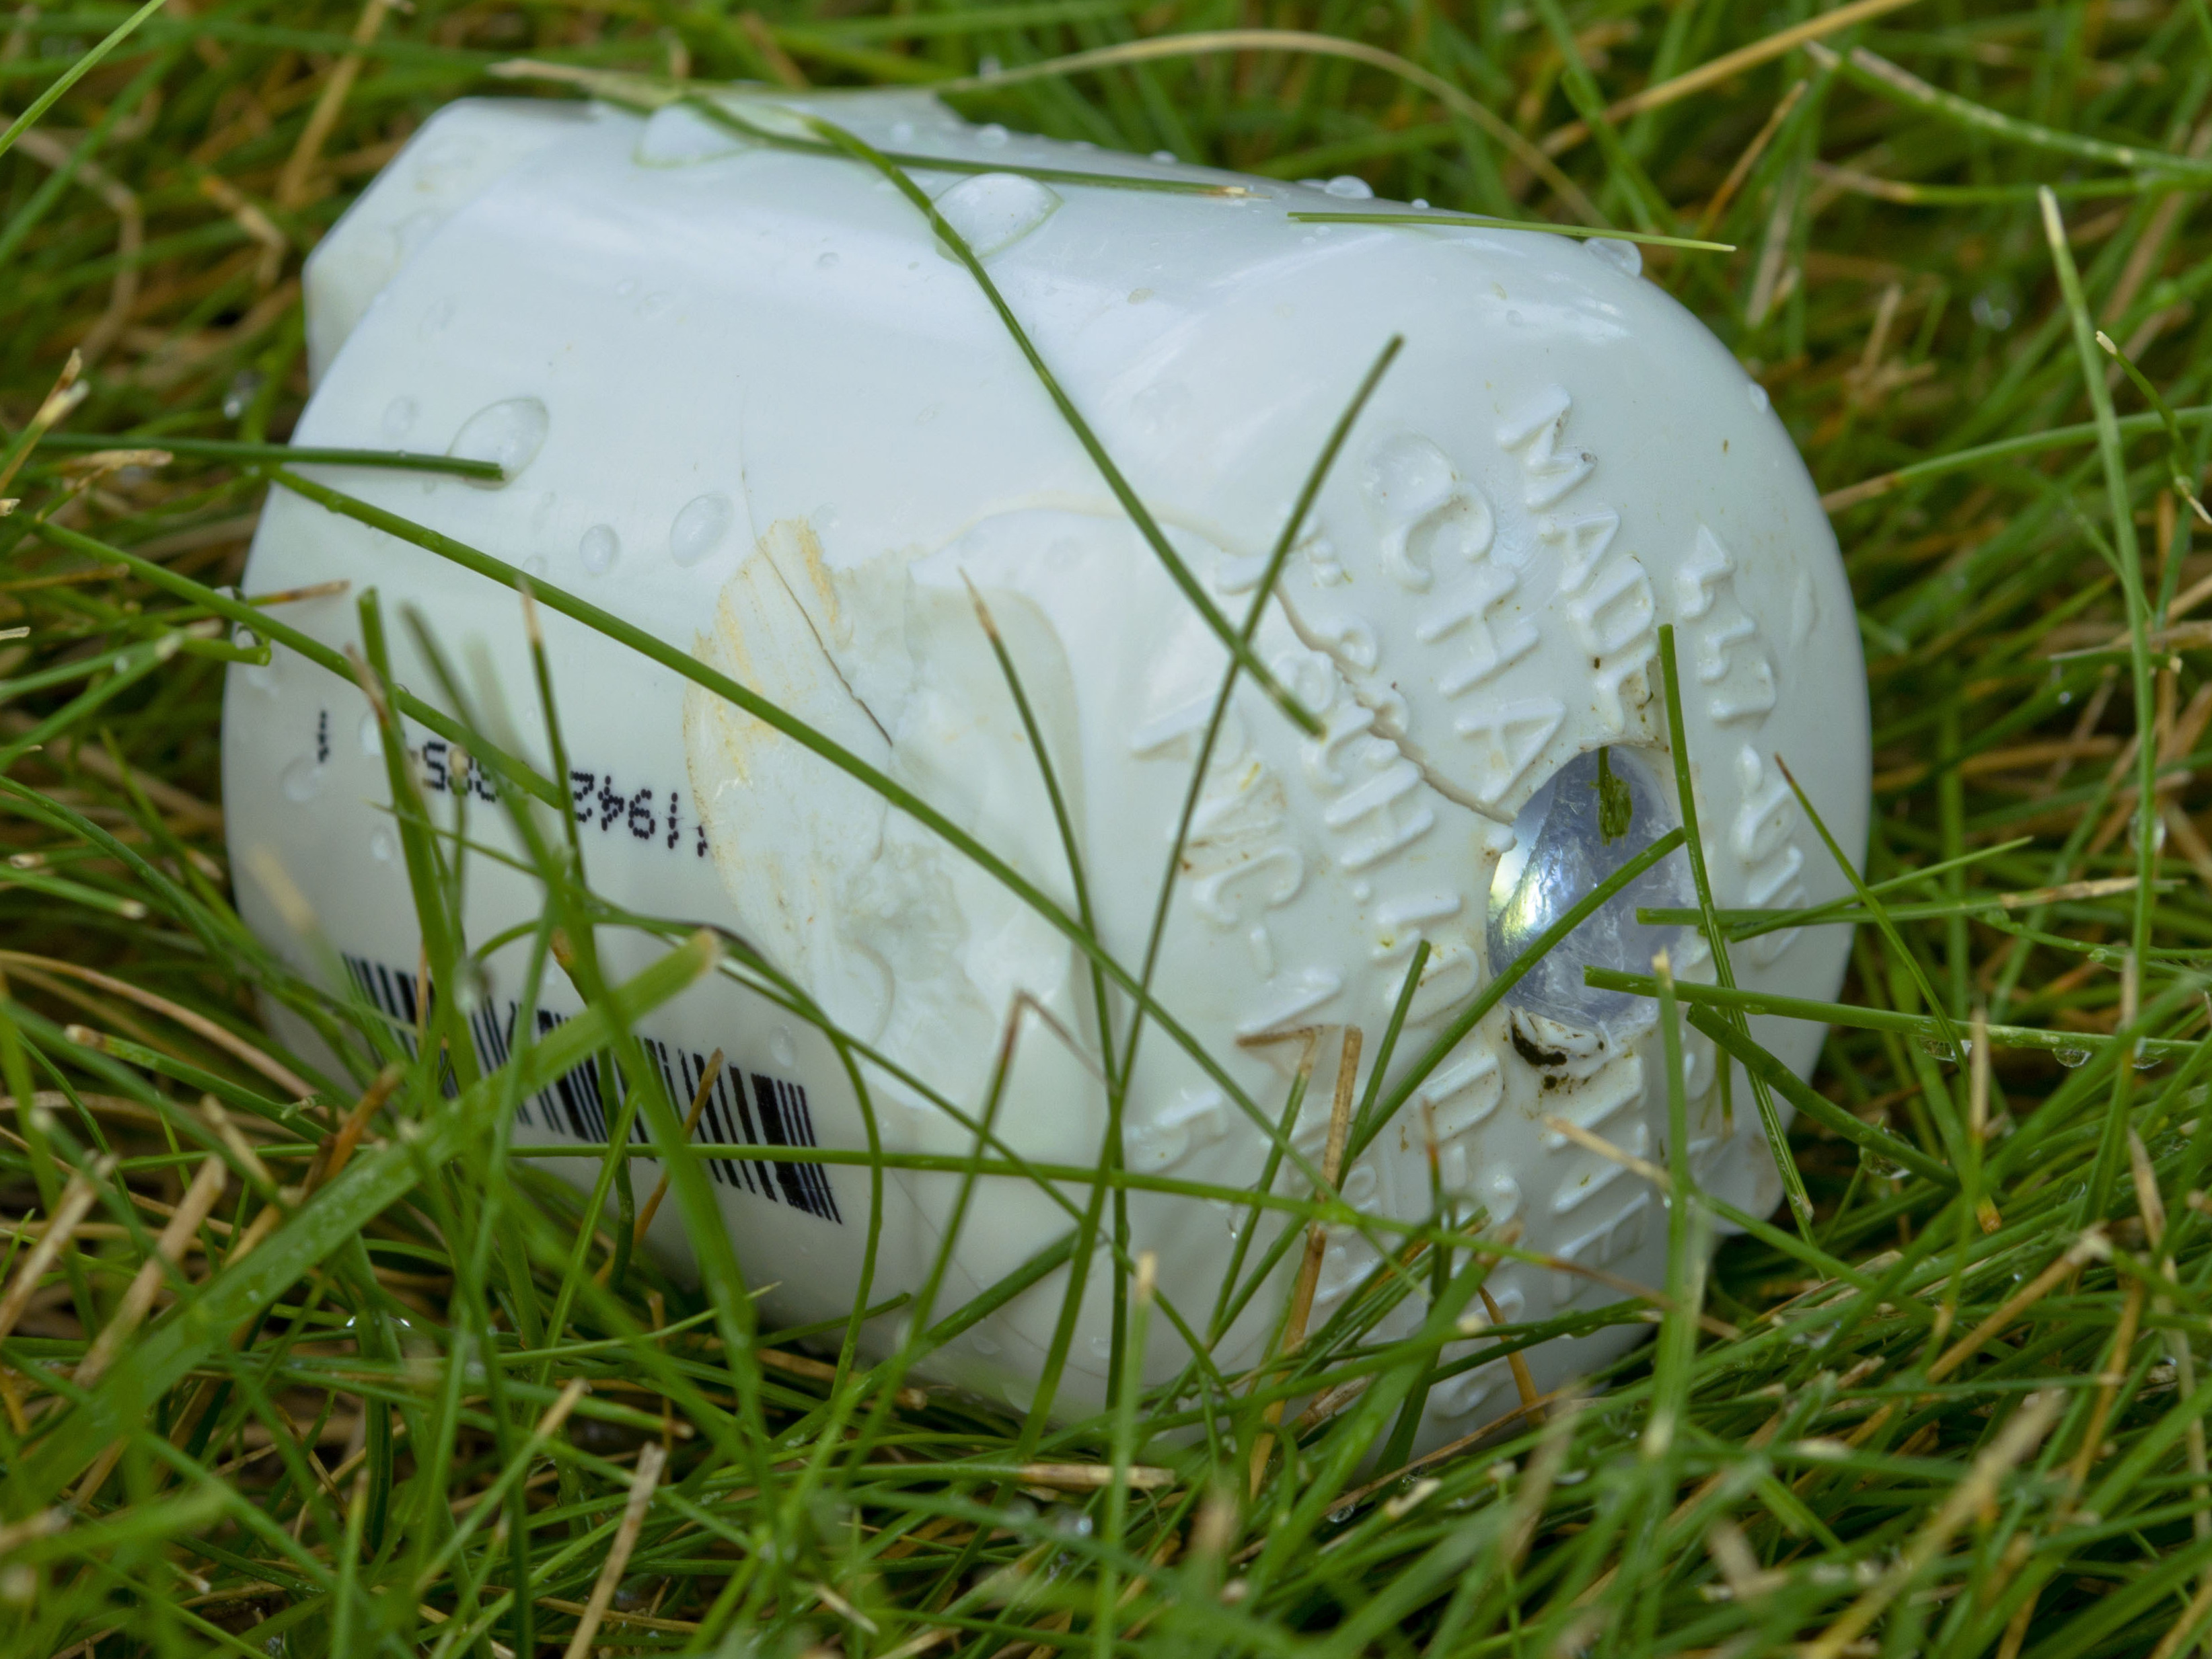
The result: simple, rugged, floating LED lanterns that glow for days. They’ve survived being submerged for a week, frozen, and laundered in the washing machine. I even hit one with the lawn mower, and it still works. When they get dirty, just hose them off.
Steps
Step #1: Drill the hole for the LED.
Next


- Drill a hole in the top center of the cap using a 3/8" bit; it’s just under 10mm and will make a watertight fit for the LED.
- Use a drill vise to prevent kickback. To protect the cap from scratches, you can line the vise jaws with tape or cut a V in 2 pieces of scrap wood.
- In the original article, author Steve Hoefer was pictured wearing gloves while using a drill press, which is a safety hazard. “Gloves are a no-no around rotating tools,” Steve admits. Thanks to reader Tim Kemp for pointing out the error.


Thanks for the comment on safety Tim. I’m super aware of lose clothing and hair around power tools, but I had always considered my skin-tight, extra grippy gloves a feature that made working around power tools safer (material and hands less likely to slip, etc.)
Your comment spurred me to consult with a few machinists and found that ”any” gloves are a no-no around rotating tools. The OSHA guidelines are [https://www.osha.gov/Publications/osha3157.pdf|here] (See page 37 for the hand/arm protection.)
I stand corrected!
No, there is no current regulating resistor in the circuit. Using one would extend the life of the battery, but it’s not necessary and most LEDs will give days, if not weeks of light when attached straight to the battery. For more on why (besides that it would double the complexity of the project) see the excellent Evil Mad Science Labs research on [http://www.evilmadscientist.com/article.php/throw|LED Throwie-like circuits].
If you’re worried about littering waterways with plastic and batteries, take note of step 6 where I recommend attaching some monofilament line so they can be easily recovered. (All of the lanterns used in the photos were recovered and have been reused multiple times.)
Gary, that is a very good point. The reason it doesn’t burn out the LED or start a fire is that lithium coin cells have quite a bit of internal resistance. I searched on-line and found [http://www.evilmadscientist.com/article.php/throw|this explanation].
I added a few fishing weights to the lantern before I closed it up so that it would sink, then dropped it into a plastic container full of water and froze over night.
If you want the water to be more clear try using distilled (not filtered) water and boil it 3 times to remove some of the disolved gases that cloud it up.
That sounds gorgeous, Tracie! We’d love to see pics of that.
What a great idea, Peter! We’d love to see pics of that in action!
Well, I’m trying my best, but I just can’t seem to get the battery to stay put. I tried a binder clip, but it’s not working. Any other thoughts?
So, here I am, a week later. I have ten color changing lanterns that sink to the bottom of my pool and are waterproof. I upgraded from teflon tape around the plug to an o-ring because the tape kept ripping off. The only problem I’m having is getting the battery to stay. Binder clips won’t work for me because it gets pushed by the hot glue and BBs I used to weigh them down. So far, I’ve been using cellophane tape to hold the batteries in, but it’s a pain and not exactly reliable. Does anyone have any thoughts?
A releasable cable tie with some inner tube rubber under it to keep it from sliding? http://www.cableorganizer.com/cable-ties-releasable/
The spacing is pretty tight. You can use pliers to remove the handles from the binder clips (just squeeze them together) to give you more space.
Evil Mad Science is the go-to source for these.
http://evilmadscience.com/component/content/article/189
The ones used here are their 10mm diffused warm white
They won’t be nearly as bright as other LED’s but they produce a very effect.
// What's Trending
Raspberry Pi Design Contest
Dad Builds Son an Iron Man Arc Reactor
Teardrop Camper Trailer
Seventeen Sneaky Secret Hides
What to do with an 800 Lb Eucalyptus Slab
3D Printed Kinetic iPhone Cases
10 Things to Connect to Your Raspberry Pi
80-Ruxpin Art Installation
// What's Shared
A better way to slice a pumpkin
DIY Nerf Darts
100 Dollar Store Organization Ideas for Craft Rooms and Beyond
In the Maker Shed: Minty Boost USB Charger
Mad’s Mouse House
Lace Princess Crowns
I Have a (Puzzling) Dream
Play the Rings of a Tree Trunk Like a Record
// Most Commented
Plastic Bags into Plastic Blocks: Revisited
10 Hot New Boards to Watch
Why the Maker Movement is Here to Stay
MAKE Asks: Roadside Hacks
DIY Hacks & How To’s: Convert From Battery Power to AC
Ten Tips for Hand Saws and Blades
How To Make Your Own Laundry Detergent
What to do with an 800 Lb Eucalyptus Slab
Trending Topics
Get our Newsletters
About Maker Media
Subscribe
to MAKE!
Get the print and digital versions when you subscribe