Make: Projects
Gigantic Bubble Generator
Arduino-controlled Bubblebot blows enormous, undulating soap bubbles.
When I read the Geekcon 2010 call for projects, I thought, what the hack — I’ll do it. Inspired by Julia Cameron’s The Artist’s Way, I decided to let creativity into my life, and start inventing things.
I watched Sterling Johnson’s magnificent “Giant Stinson Beach Bubbles” clip on YouTube, and when I described it to my neighbor Yuval, he suggested that I combine bubble-making with Arduino, which I had been playing with. Bam! That was all I needed. I submitted the Bubblebot project idea, and it was accepted to Geekcon, where I had the exciting experience of collaborating with all these bright people and watching the design manifest from their suggestions.
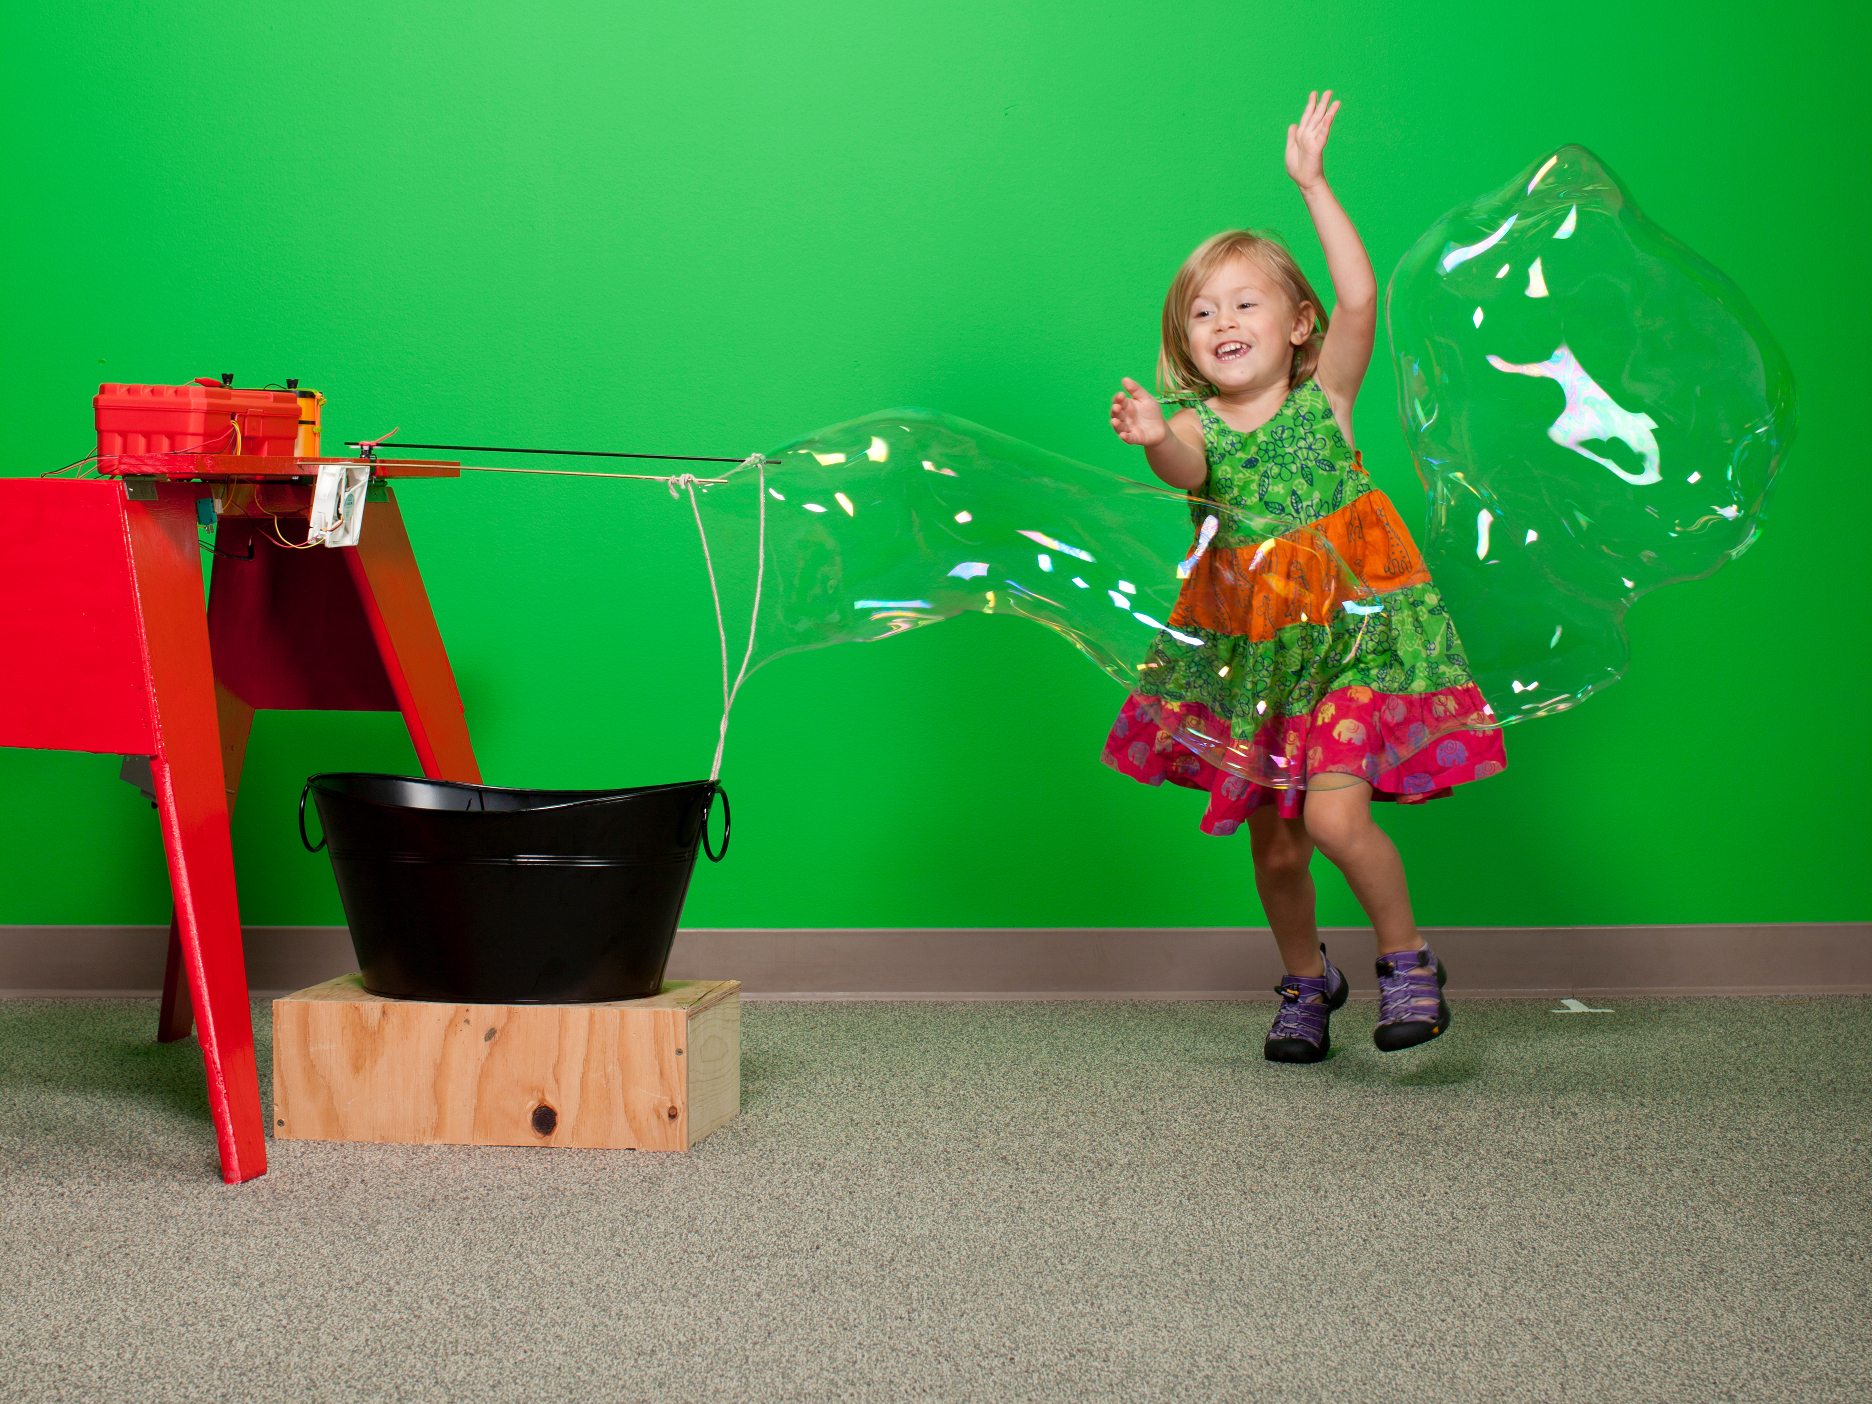
People typically blow giant bubbles through a loop of absorbent cord held between two sticks. On my Bubblebot, the sticks attach to a hinged shelf that a gearmotor tilts down and back up by reeling fishing line tied to a lever. After each dip, a servo spreads the sticks and a fan blows air through the loop.
Since Geekcon, I’ve built two more versions of the Bubblebot, written an Instructable about it, presented it at a local festival, and gotten many great responses to it from both adults and children. I’ve also learned that making gigantic soap bubbles under diverse wind and weather conditions requires a human touch and intuition that two motors and a fan can’t imitate consistently.
I recently added an arcade-style console for remote manual control. Whenever the Bubblebot is switched from automatic to manual mode, a siren sounds to alert everyone nearby that the bot will now be driven by a human rather than by a flawless microcontroller. You have to see people’s reactions when this happens.
Steps
Step #1: Set up the frame.
Next


- Start with a sawhorse or similar frame. Take the 1×4 shelf, measure about a third of the way down from the right side end, and saw a rectangular notch that exactly fits your servo body lengthwise. The servo will hold one of the cord sticks, and we’ll call this edge of the shelf the front.
- It probably makes more sense to buy a sawhorse, unless you enjoy just about any kind of woodworking (like me) — in which case, check out how I built mine.
- Attach 2 hinges along the back edge of the shelf, one at each end. Similarly attach the other sides of the hinges to the top of the sawhorse’s crossbeam, making sure that the shelf can swing 90° down — from flat horizontal to perpendicular to the ground.
- Drill pilot holes for the screws to prevent the wood from cracking.
- Along the front edge of the shelf, drill 2 pilot holes in the middle for attaching the fan, and another hole just past the fan mounting holes (opposite the servo notch) sized for the fixed cord arm. In the back edge of the shelf, drill a hole sized for the tilt lever about 2" from the end nearer the servo notch.
- Mount the fan angled down somewhat, so that it blows underneath the arms where the loop will hang.
Conclusion
Bubblebot Operation
Combine the ingredients for the bubble mixture and let it stand for 24 hours, ideally in a refrigerator. Fill a tub, place it below the Bubblebot, and power it up.
Watch how it works, and make adjustments by modifying the source code (speed and duration of arms spreading, number of spreading iterations), by raising or lowering the tub, or by setting up in different locations.
Tips for Happy Bubbling
- Pick a humid day, as cool as possible.
- Avoid direct sunlight on the bubbles.
- Pick places with steady wind flow or operate indoors. If you want to try for stronger wind, substitute a car fan for the computer fan, and experiment with different fan positions.
- To focus the air more efficiently into the cord loop, add a paper duct in front of your fan. Just roll up and tape a piece of printer paper or cardstock about the same size as your fan’s blade circumference, then tape this duct to the fan.
- Decorate your Bubblebot! I added color to mine by slitting foam pool noodles along their length, about 2/3 of the way deep, wrapping them around the sawhorse legs, and securing with zip ties. I cut and applied more noodle foam to other wood surfaces using hot glue.


