For my tiki head, I decided to use rigid urethane foam because it’s easy to cut with woodworking tools, and my surfaces didn’t need to be super smooth. But you can make your form out of nearly anything. Here are some other possibilities:
Wood is a good choice: it’s cheap; easy to drill, saw, and sand; and strong enough to form many parts.
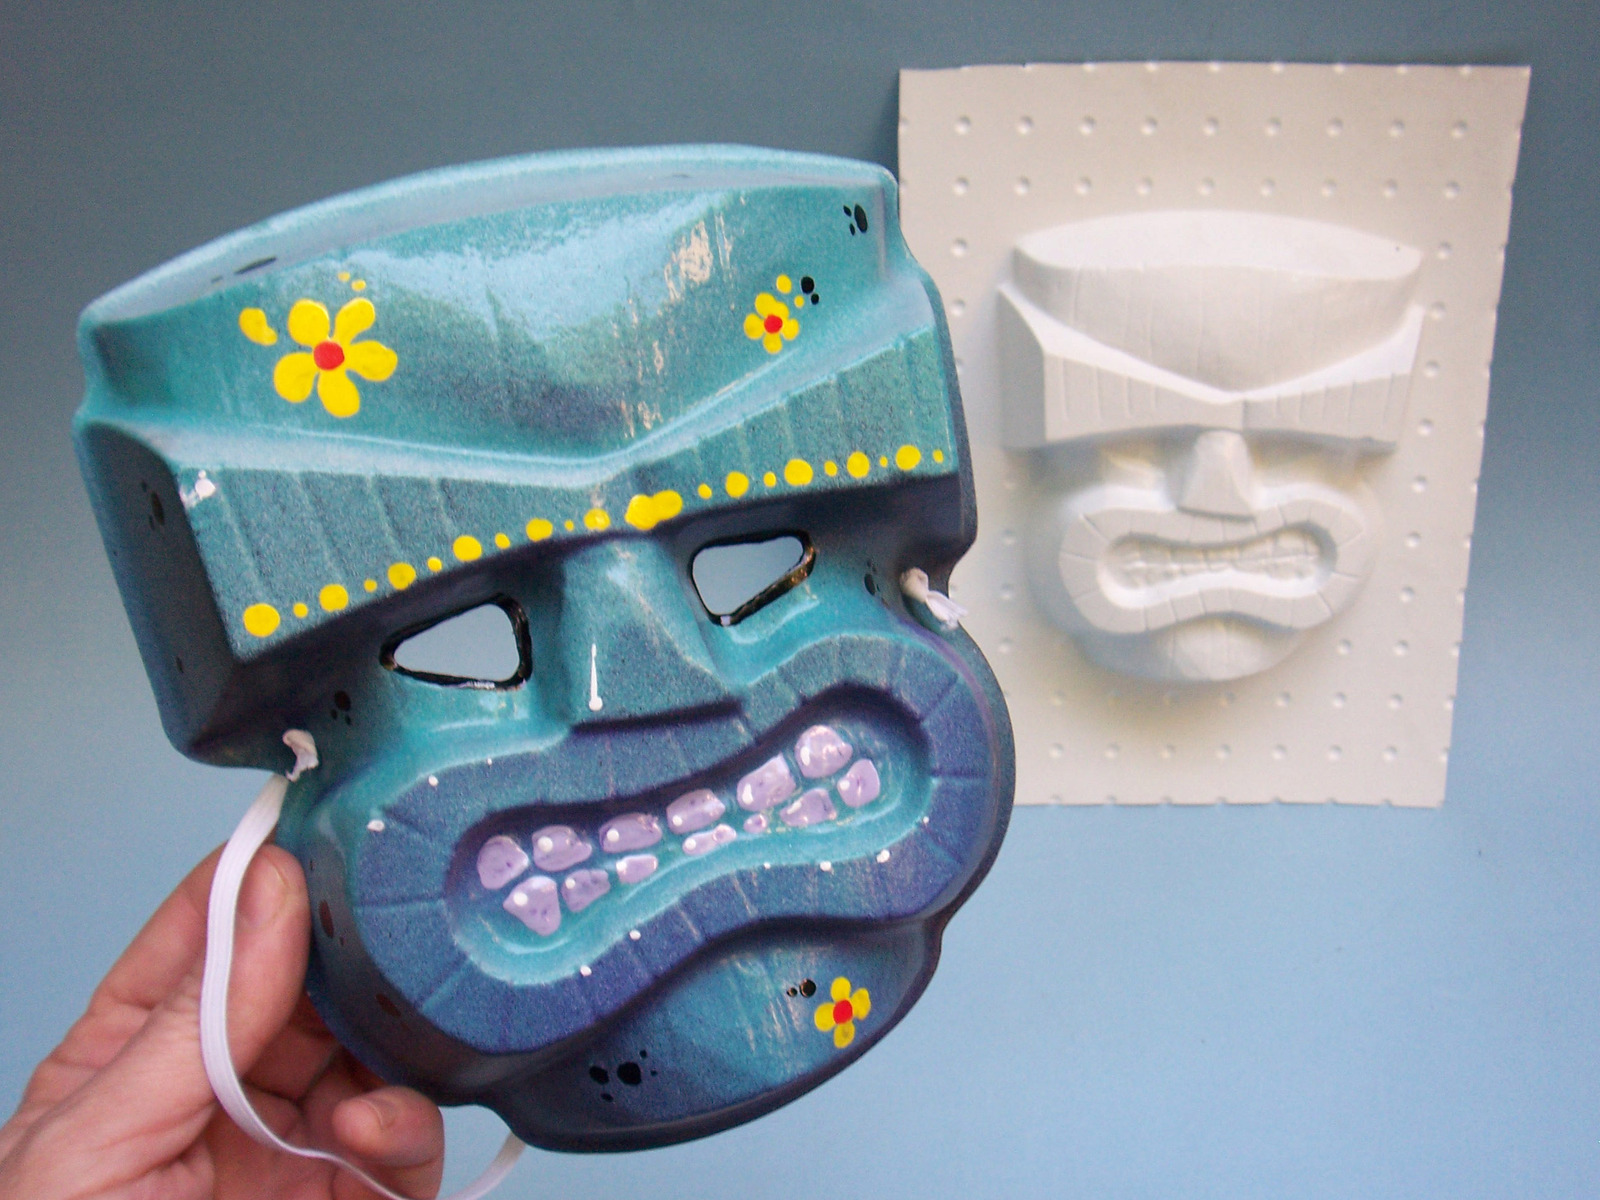
For finely detailed forms, you can sculpt clay and then cast liquid plaster all around it. After the plaster hardens, remove the clay and drill air vents (see the next step). Parts made with this “female” mold will have details that match your clay original perfectly.
Found objects are a great source of shapes and details. You can add small plastic letters, caps and lids, or pieces of toys onto forms.
When designing a vacuum-form mold, there are a few guidelines to follow:
Avoid undercuts. Otherwise the plastic will wrap around underneath your form, trapping it.
Maintain some draft. For easier part release, avoid using vertical sides. Make your form with a few degrees of angle (draft) on all sides.
Add height. If you’ll trim your part away from the sheet, add a little extra height to the form, so that your part won’t have any unformed edges.