Make: Projects

LED Shoe Clips

Soft circuit twinkle toes.

  • By Becky Stern
  • Category: Craft, Electronics
  • Time Required: 2 hours
  • Difficulty: Moderate
LED Shoe Clips

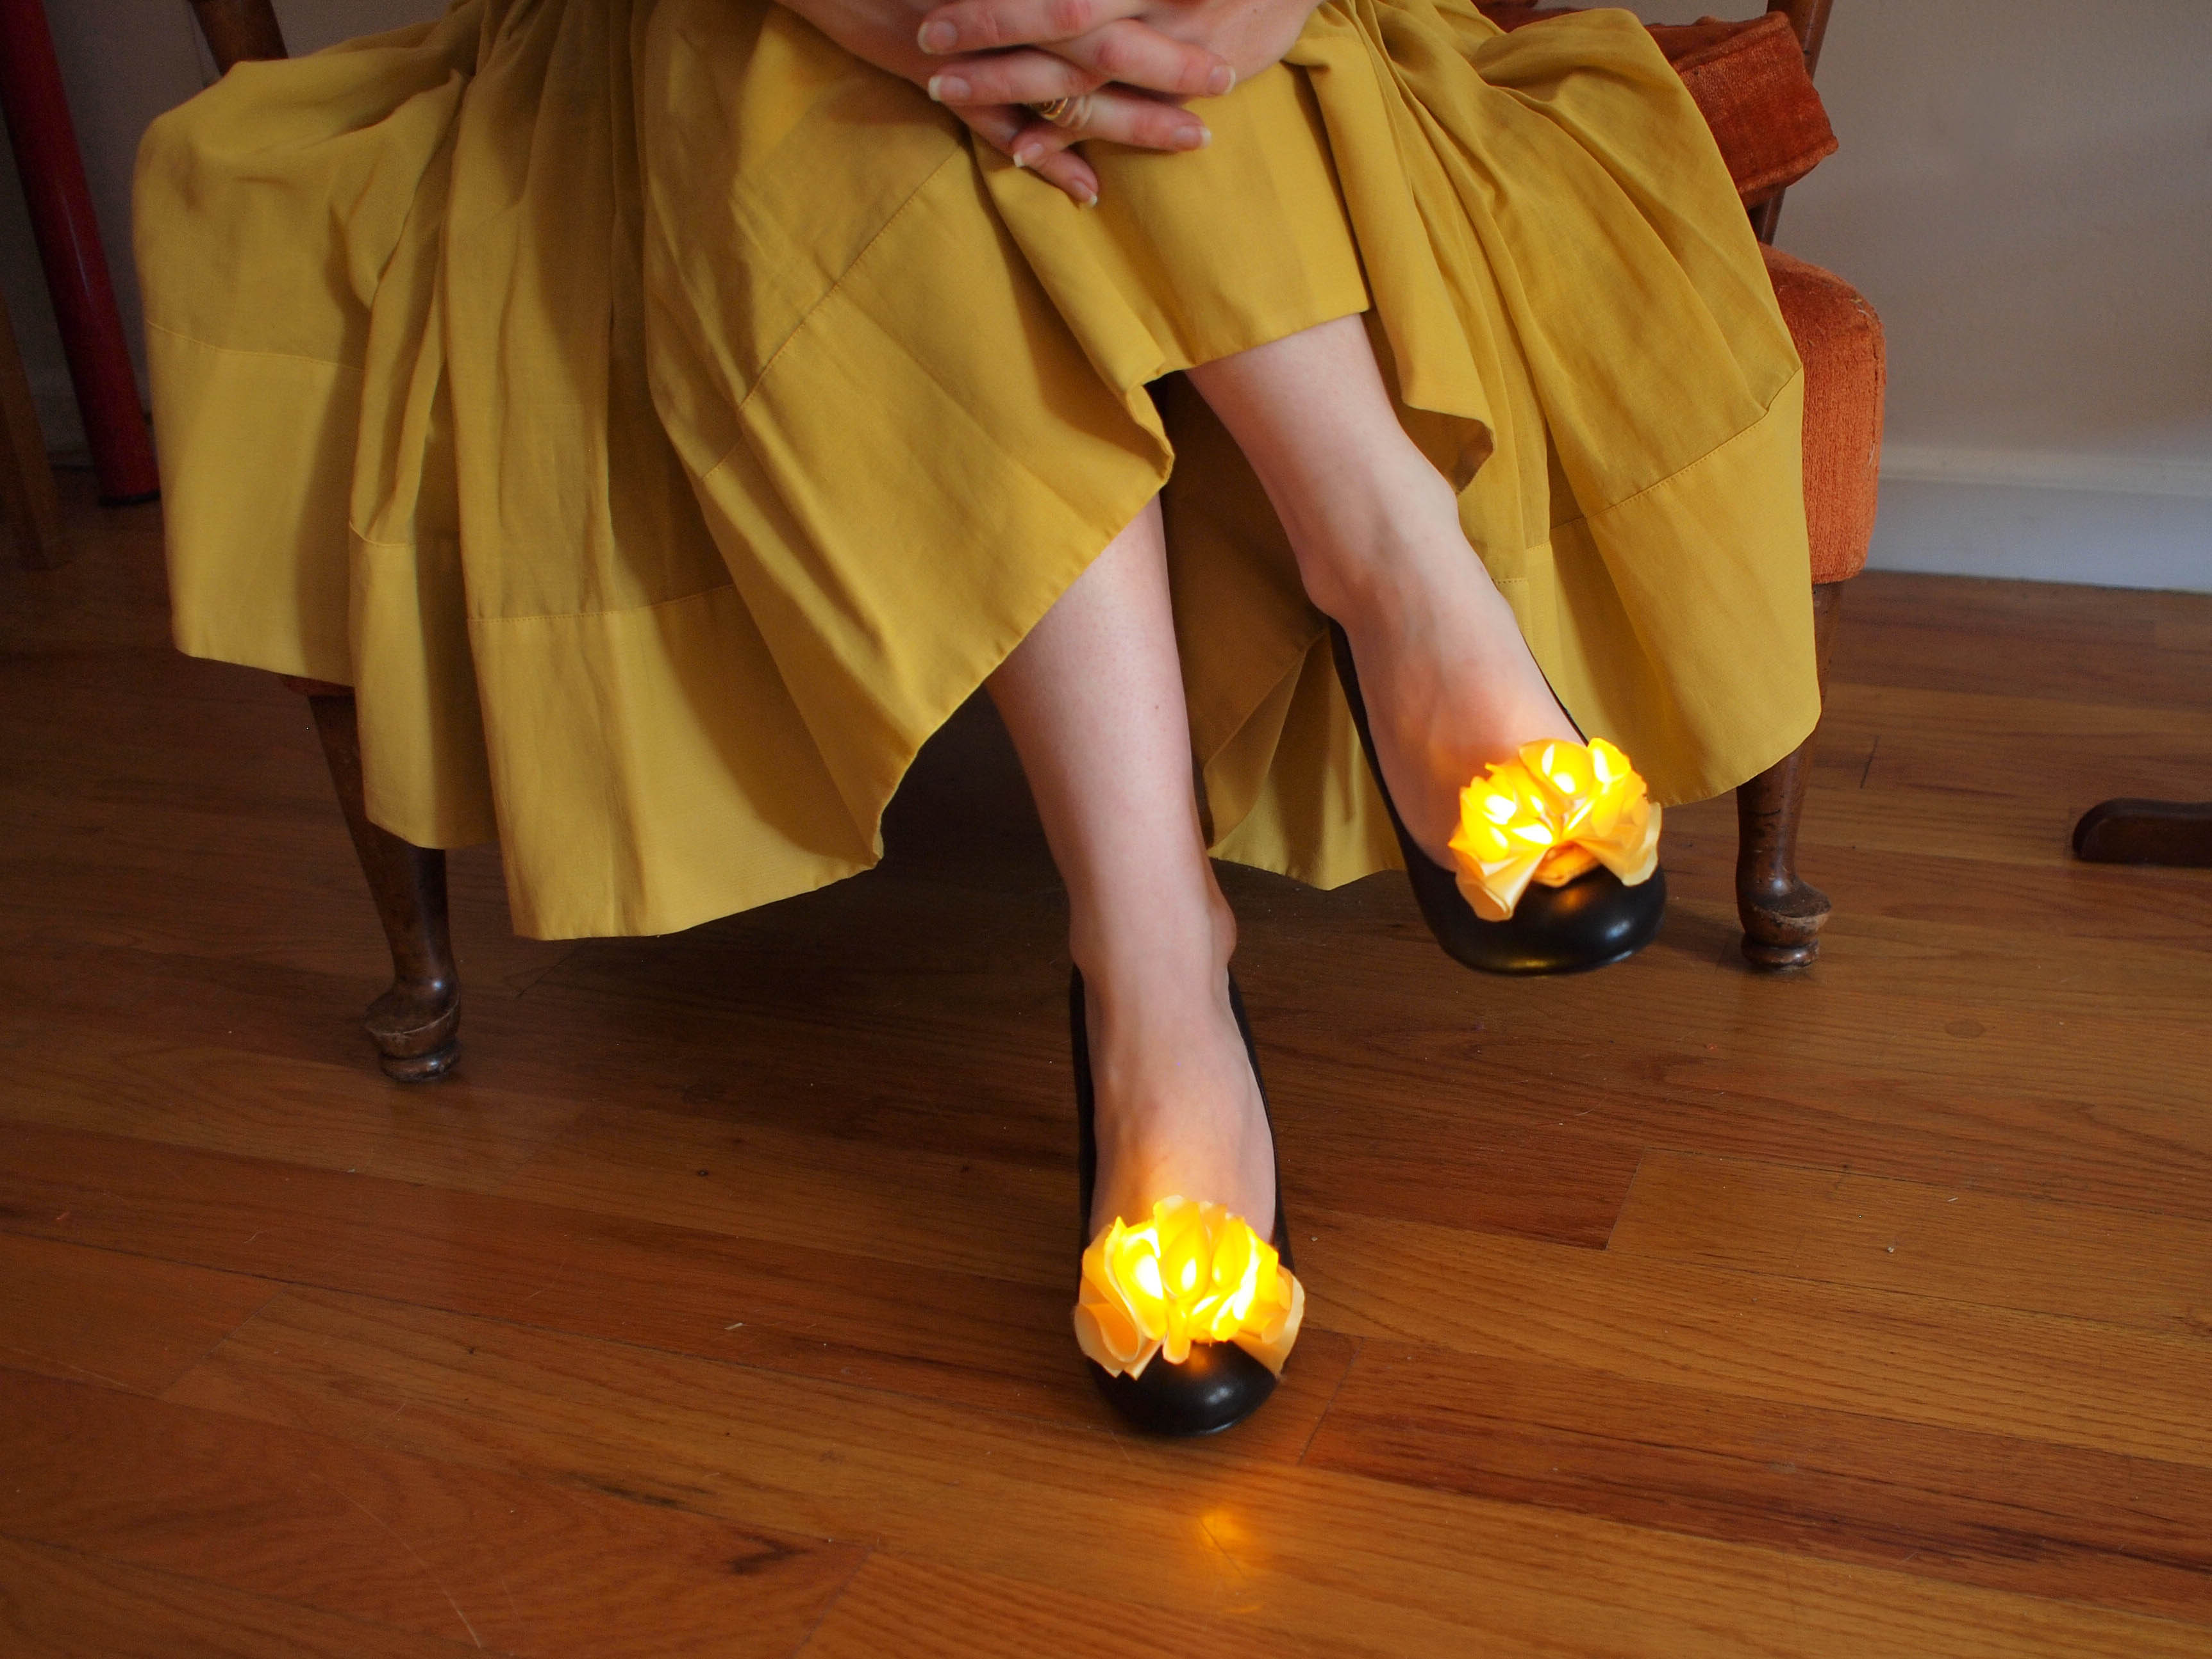
Twinkle toes! Make LED ruffles to customize your shoes in this CRAFT tutorial and video. This easy soft circuit project can get you started in wearable electronics and uses the LED Sewing Kit available in the Maker Shed.

Steps

Step #1:

Next
LED Shoe ClipsLED Shoe ClipsLED Shoe Clips
  • Gather materials and tools: you'll need a pair of LED sewing kits you can get from the Maker Shed, as well as some standard sewing supplies and a pair of paper clips.
  • I was trying to match these to my yellow dress.

Step #2:

Next
LED Shoe ClipsLED Shoe ClipsLED Shoe ClipsLED Shoe Clips
  • Trace and cut 16 fabric circles, eight for each clip.

Step #3:

Next
LED Shoe Clips
  • Gently singe the edges to prevent fraying.

Step #4:

Next
LED Shoe ClipsLED Shoe ClipsLED Shoe ClipsLED Shoe Clips
  • Pierce LEDs through the centers of two circles.
  • Fold the circles in half twice to form a wedge.
  • The wedges are then stacked up to form the ruffle.
  • I want the light to radiate from inside the ruffle, so I'm piercing the centers of two circles with the LEDs.

Step #5:

Next
LED Shoe Clips
  • Fold remaining circles into wedges and compile in a stack with the illuminated wedges evenly distributed in the ruffle stack.

Step #6:

Next
LED Shoe Clips
  • Be sure both longer positive leads are facing the same side of the stack, and stitch the fabric in place with plain thread.

Step #7:

Next
LED Shoe ClipsLED Shoe ClipsLED Shoe Clips
  • Splay the leads out and coil them up with pliers to make them easier to sew.
  • I like to make the positive leads square coils and the negative leads round coils so I can tell them apart.

Step #8:

Next
LED Shoe Clips
  • Start the soft battery holder with a piece of felt shaped to double over the coincell battery.

Step #9:

Next
LED Shoe Clips
  • Using two pieces of conductive thread, sew a pad at the center of each felt circle with leads hidden in the felt sprouting from one outer side.

Step #10:

Next
LED Shoe ClipsLED Shoe ClipsLED Shoe Clips
  • Sew the battery holder shut around the edge with regular thread.
  • Leave enough space to snugly insert/remove the battery.

Step #11:

Next
LED Shoe Clips
  • Stitch the ruffle assembly to the top of the battery holder with standard thread.

Step #12:

Next
LED Shoe Clips
  • Stitch the remaining tails of conductive thread to connect with their respective polarity leads of the LEDs.
  • Stitch the positive thread to both positive LED leads, and stitch the negative thread to the negative leads. Don't let them touch!

Step #13:

Next
LED Shoe ClipsLED Shoe ClipsLED Shoe Clips
  • Insert the battery. If it doesn't light up immediately, try flipping the battery the other way.
  • If it still doesn't light up, whip out your multimeter and check for shorts!

Step #14:

Next
LED Shoe ClipsLED Shoe ClipsLED Shoe Clips
  • Stick a paperclip in the back of the battery holder and clip onto your shoe!

Step #15:

LED Shoe ClipsLED Shoe ClipsLED Shoe Clips
  • You're finished! Repeat for the other shoe.

Leave a Reply

Fill in your details below or click an icon to log in:

WordPress.com Logo

You are commenting using your WordPress.com account. Log Out / Change )

Twitter picture

You are commenting using your Twitter account. Log Out / Change )

Facebook photo

You are commenting using your Facebook account. Log Out / Change )

Connecting to %s

%d bloggers like this: