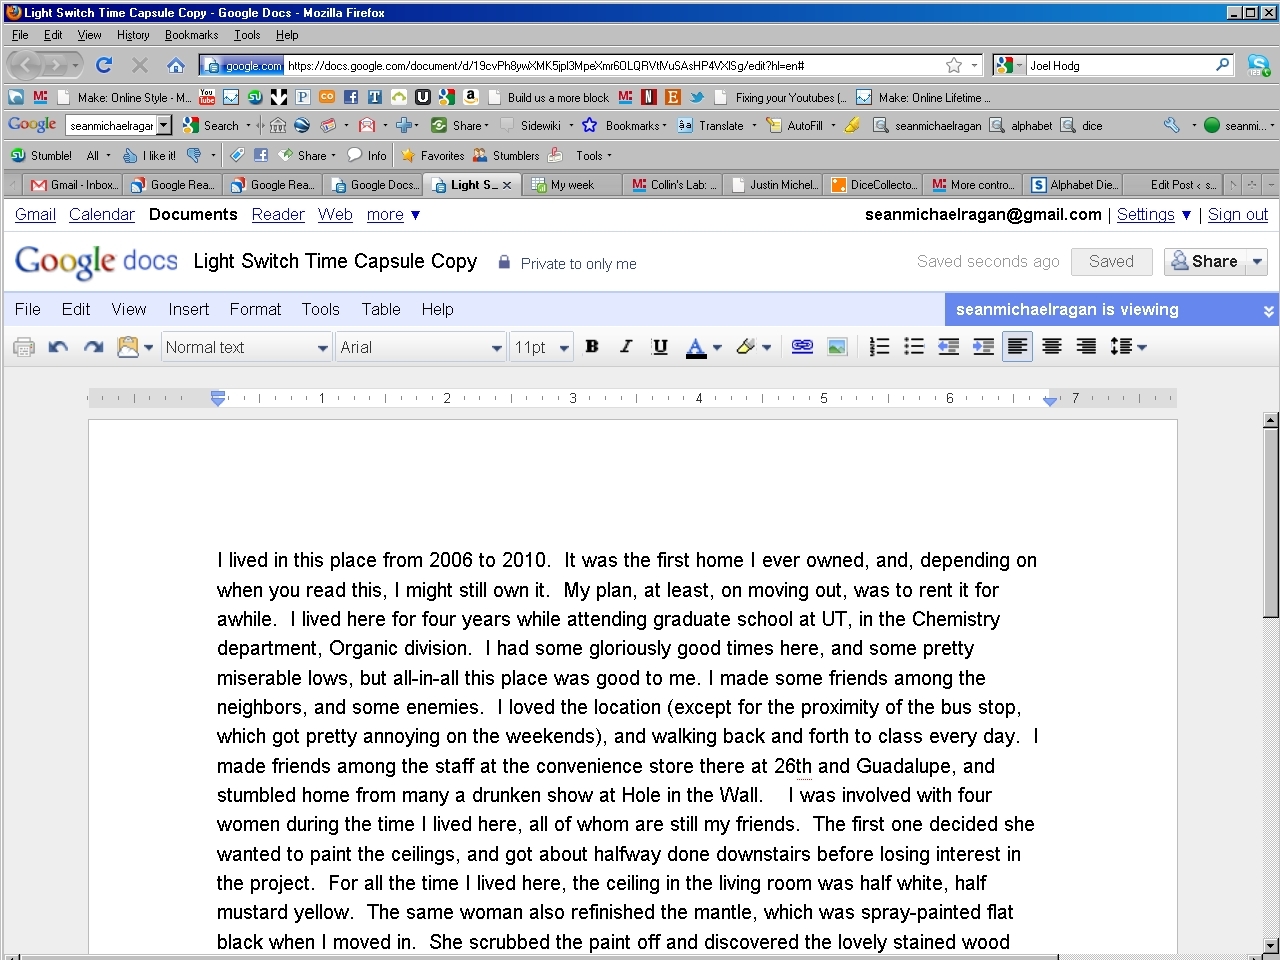
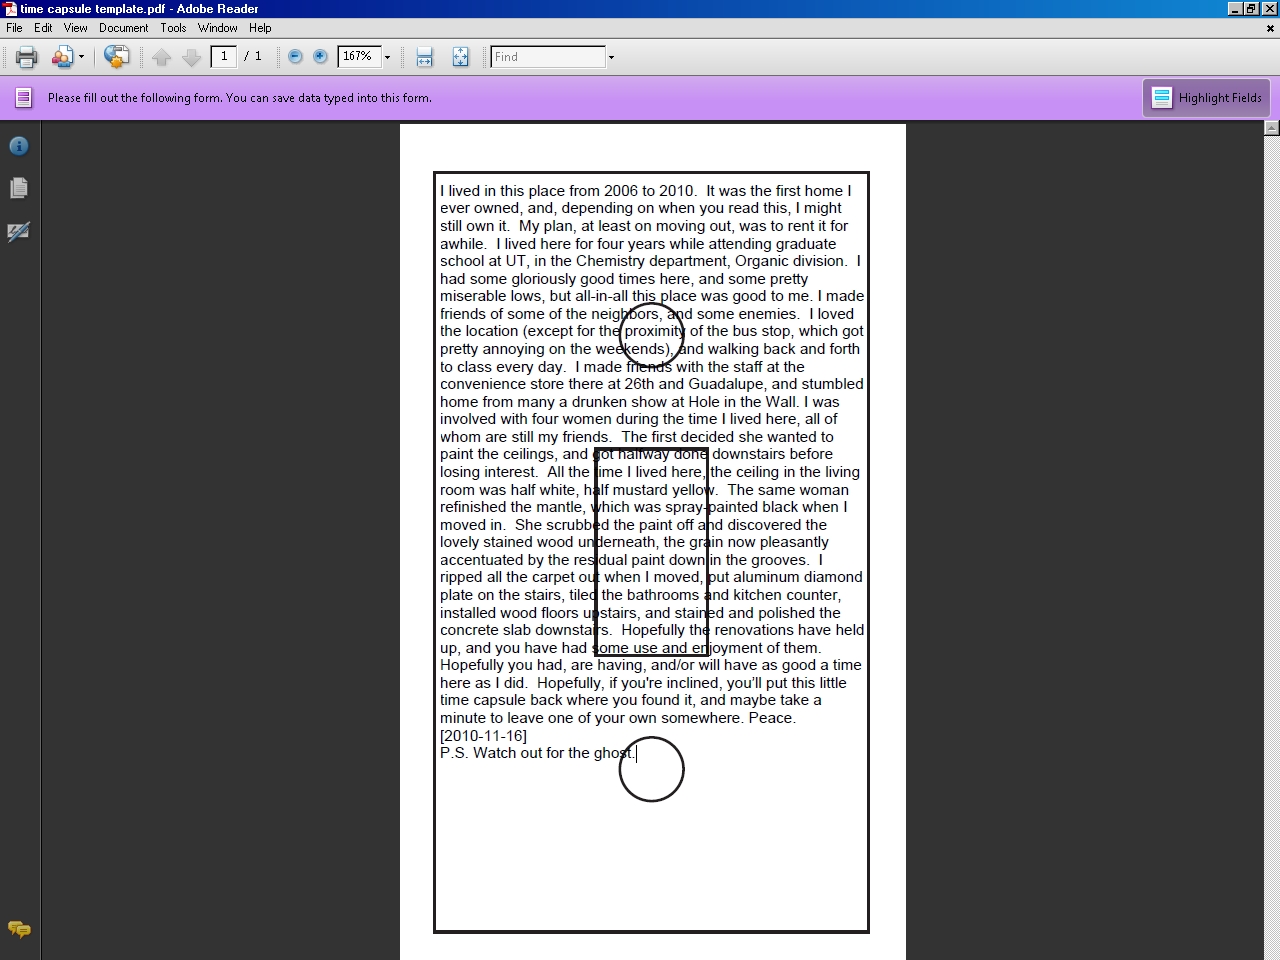
I get nostalgic when I move out of a home, especially if it’s one I’ve lived in awhile. Leaving a secret treasure or two, stashed here and there, seems to help me get closure. Unlike, say, dropping a note down inside the wall, a note on the back of a switch plate is likely to be found sooner or later, but not right away. I’ve included a PDF template with a tiny font that makes it easy to fit a 500-word message on the back of a standard light switch plate.
Update: Thanks to reader Cornflower who created an OpenOffice version of the template for those of you who prefer it. Also, his version automatically wraps text across the openings!
Like this:
Like Loading...
Step #1: Write message
Next
- Write your note to the future in your text editor of choice. The template should accept about 500 words.
- Be sure to include the date!
Step #2: Copy, paste, and format text
Next


- In your text editor, select all text, and copy it to the clipboard.
- Open the PDF template attached to this project in Adobe Reader, click on the form, and paste the text into the single field.
- Try as I might, I couldn't figure out how to make the form text wrap around the screw and switch holes in the template. So you'll have to space your text around them manually using the space bar.
- Thanks to reader Cornflower, who produced an OpenOffice version of this template that automatically wraps text across the holes. See link above.
Step #3: Print template
Next


- Open the print dialogue in Adobe Reader.
- Make sure "Print Scaling" is set to "None."
- Print the PDF onto a full-page, adhesive-backed mailing label.
Step #4: Cut out label
Next


- Use a hobby knife with a straightedge to cut around the perimeter of the template, and to cut out the switch hole.
- Use the knife free-hand to cut out the circular holes for the mounting screws.
Step #5: Remove plate
Next
- If the plate is sealed in place with paint, first cut through the paint around the edge with a hobby knife.
- Remove the screws from the light switch plate and set them aside.
- The plate should come off the wall with very little prying. If it appears stuck, check again for a bead of paint around the edge.
Step #6: Apply label
Next


- Remove the backing from the cut-out label and set it aside.
- Carefully apply the label to the back of the switch plate, being sure to avoid wrinkles.
- Smooth the label down using the waxy side of the scrap backing; this will help to prevent smearing the ink or toner.
Step #7: Reinstall plate

- Put the plate back in place over the switch.
- Insert the screws and tighten down.
Please. Your criticism is irrational and vulgar. Even if it were true that this project creates some kind of fire hazard, which I think is a serious, serious stretch, calling someone a “dickhead” is certainly not the right way to persuade anyone of anything.
This isn’t really much of a fire hazard. In fact you could take a piece of paper that size light it and hold it so that it all burns the same spot and you still aren’t going to catch the wall on fire. They often times use paper to insulate household ground wires because it is a cheap insulator. Many electrical components are actually made with paper. Batteries, resistors, capacitors and many more are all often made with paper. Look at this: http://www.youtube.com/watch?v=BwKQ9Idq9FM . Ignore what he is saying because he keeps using the word resistor incorrectly. Look at the circuits he is making and you’ll notice that the paper is actually a great insulator and the graphite is a poor but still good enough conductor. BTW, inkjet ink and laser toner are nonconducting as well. IDK much about the glue used on shipping labels but I’d bet it doesn’t alter the flammability or conductivity much.
This isn’t really much of a fire hazard. In fact you could take a piece of paper that size light it and hold it so that it all burns the same spot and you still aren’t going to catch the wall on fire. They often times use paper to insulate household ground wires because it is a cheap insulator. Many electrical components are actually made with paper. Batteries, resistors, capacitors and many more are all often made with paper. Look at this: http://www.youtube.com/watch?v=BwKQ9Idq9… . Ignore what he is saying because he keeps using the word resistor incorrectly. Look at the circuits he is making and you’ll notice that the paper is actually a great insulator and the graphite is a poor but still good enough conductor. BTW, inkjet ink and laser toner are nonconducting as well. IDK much about the glue used on shipping labels but I’d bet it doesn’t alter the flammability or conductivity much.
I found a time capsule in my old attic (walk up style) bedroom at mom’s house. It was tucked away in a “hidden” crawl space left behind by the boys who grew up in the house from the first owners. It was neat to hear their story and it was a super secret spot that you would not stumble across it unless you were curious children (how they found it!) or doing maintenance (like us).
Since we didn’t move into the home until I was a teenager mom & I didn’t find it until we decided to insulate between the walls. The home inspector did not even find it before we moved in!
Before mom moves out of the house I plan on opening it back up and adding to it like the guys suggested. Mom’s house is special to me & my kids. As a kid we moved around a lot and every school or house I’ve ever lived in (besides mom’s) is no longer standing. It’s like the world is trying to erase my existence!
When we remodeled our bathroom, in-between one of the walls was a newspaper and an empty (clean) can of Balentine Beer. It was a lot of fun to read the paper and wonder who the person was that left the treasures. We assume it was from the original builder as the house was about 40 years old and the original structure.
We left the newspaper and added one from the day we put up the new sheetrock and added a note. We also allowed the kids to write & draw on the inside with permanent marker. We did keep the beer can, it has a special place in my china closet.
I absolutely LOVE this idea of the switch plate. I too doubt this would be a fire hazard….after all, sheet rock has ‘paper’ on it.
I can’t seem to find the template…does anyone have a link??
// What's Trending
Raspberry Pi Design Contest
Maker Faire: Day Two
Seventeen Sneaky Secret Hides
10 Things to Connect to Your Raspberry Pi
Maker Faire: Day One
DIY Hacks & How To’s: Swiss Army Key Ring
47 Raspberry Pi Projects to Inspire Your Next Build
// What's Shared
A better way to slice a pumpkin
DIY Nerf Darts
In the Maker Shed: Minty Boost USB Charger
100 Dollar Store Organization Ideas for Craft Rooms and Beyond
Mad’s Mouse House
Lace Princess Crowns
I Have a (Puzzling) Dream
Play the Rings of a Tree Trunk Like a Record
// Most Commented
DIY Hacks & How To’s: Get Emergency Power from a Phone Line
Resin Casting: Going from CAD to Engineering-Grade Plastic Parts
Ten Tips for Screws and Screwdrivers
Ten Tips for Better Measurement
Makers on TV: Big Brain Theory
Arduino Announces New Wireless Linux Board
Build a “Boomcase” and Upcycle that Old Suitcase
Tool Review: BioLite CampStove
Trending Topics
Get our Newsletters
About Maker Media
Subscribe
to MAKE!
Get the print and digital versions when you subscribe