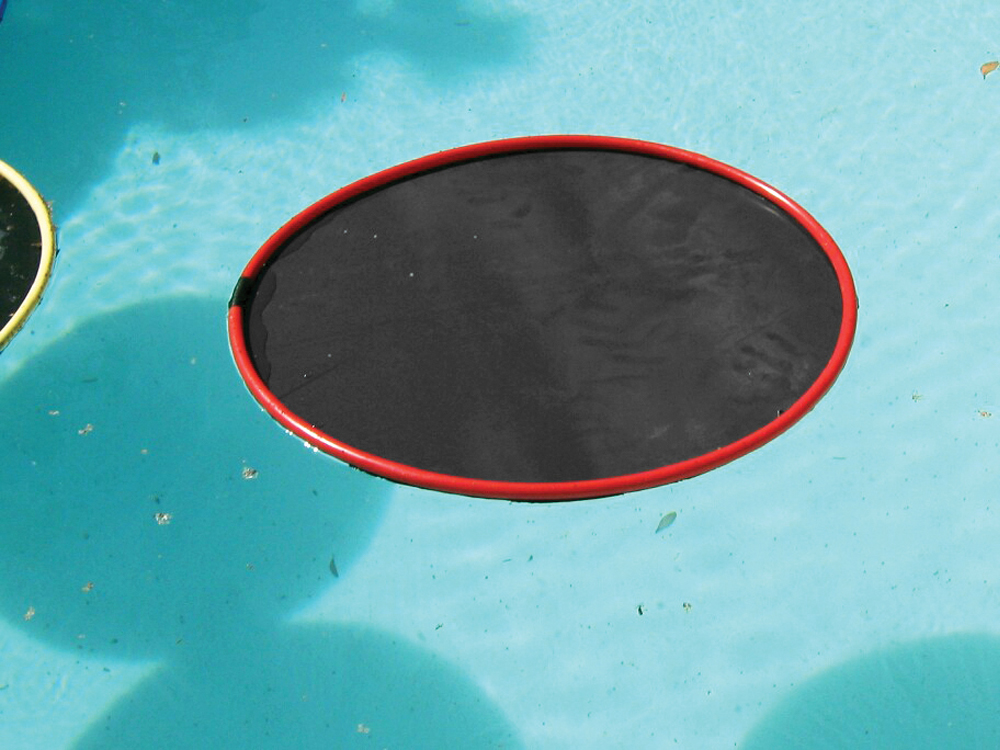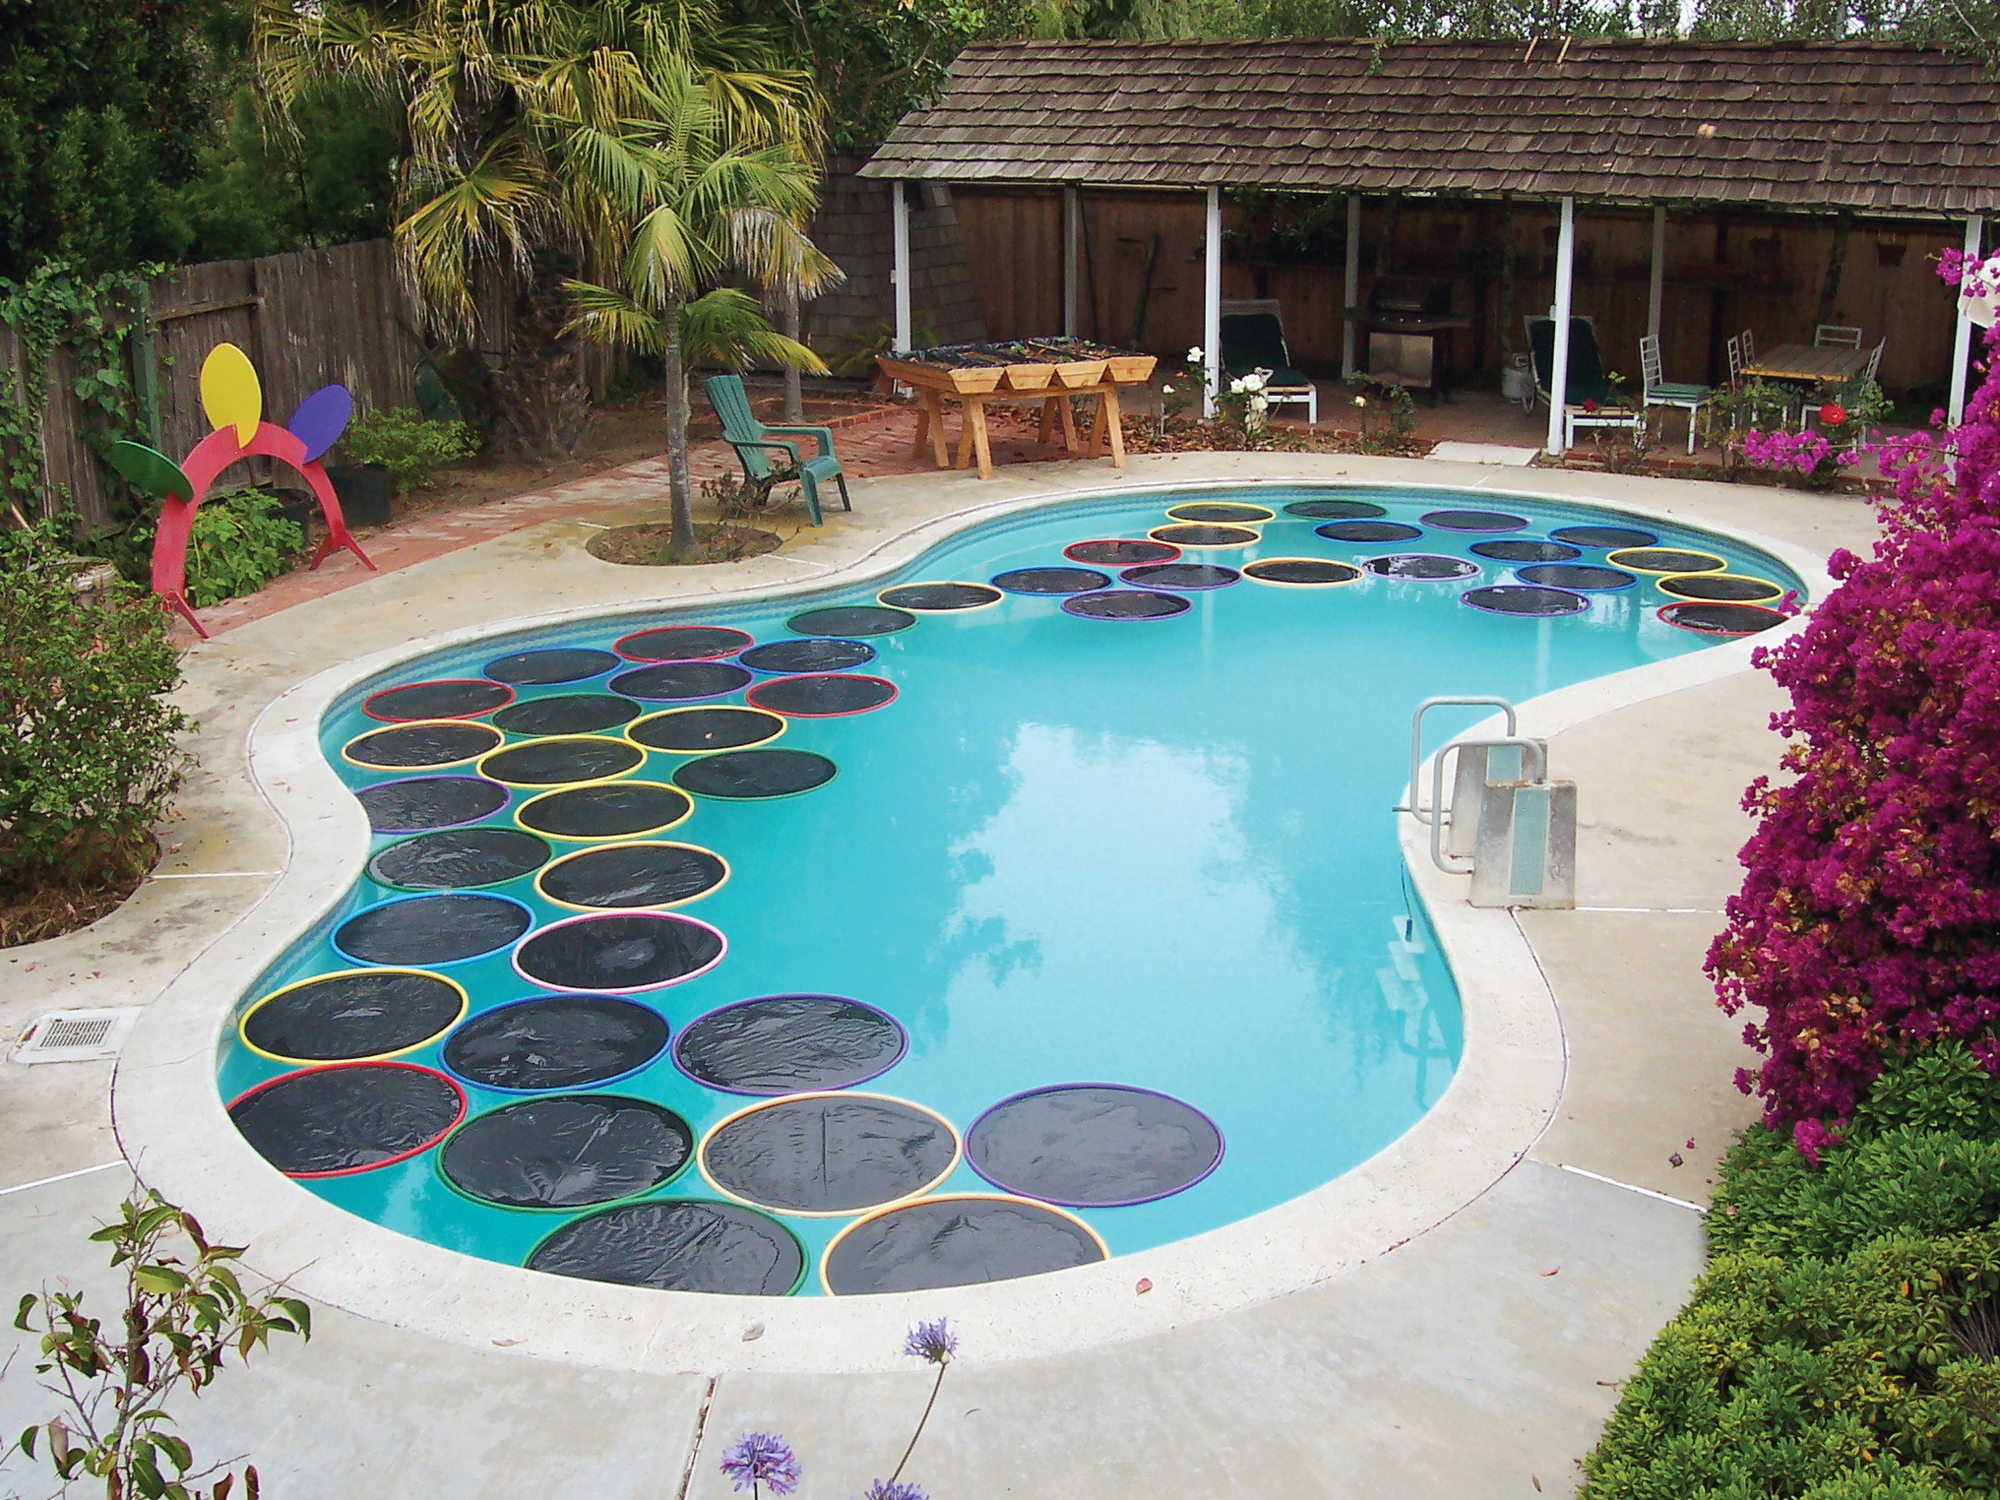
Here’s an easy way to warm your pool that’s efficient, low-cost, safe, and actually enhances the beauty of the pool. The Lily Pad pool warmer doesn’t need to be removed to swim, sweep, or vacuum, and it meets new requirements in water conservation areas to keep at least half of a pool’s surface covered.
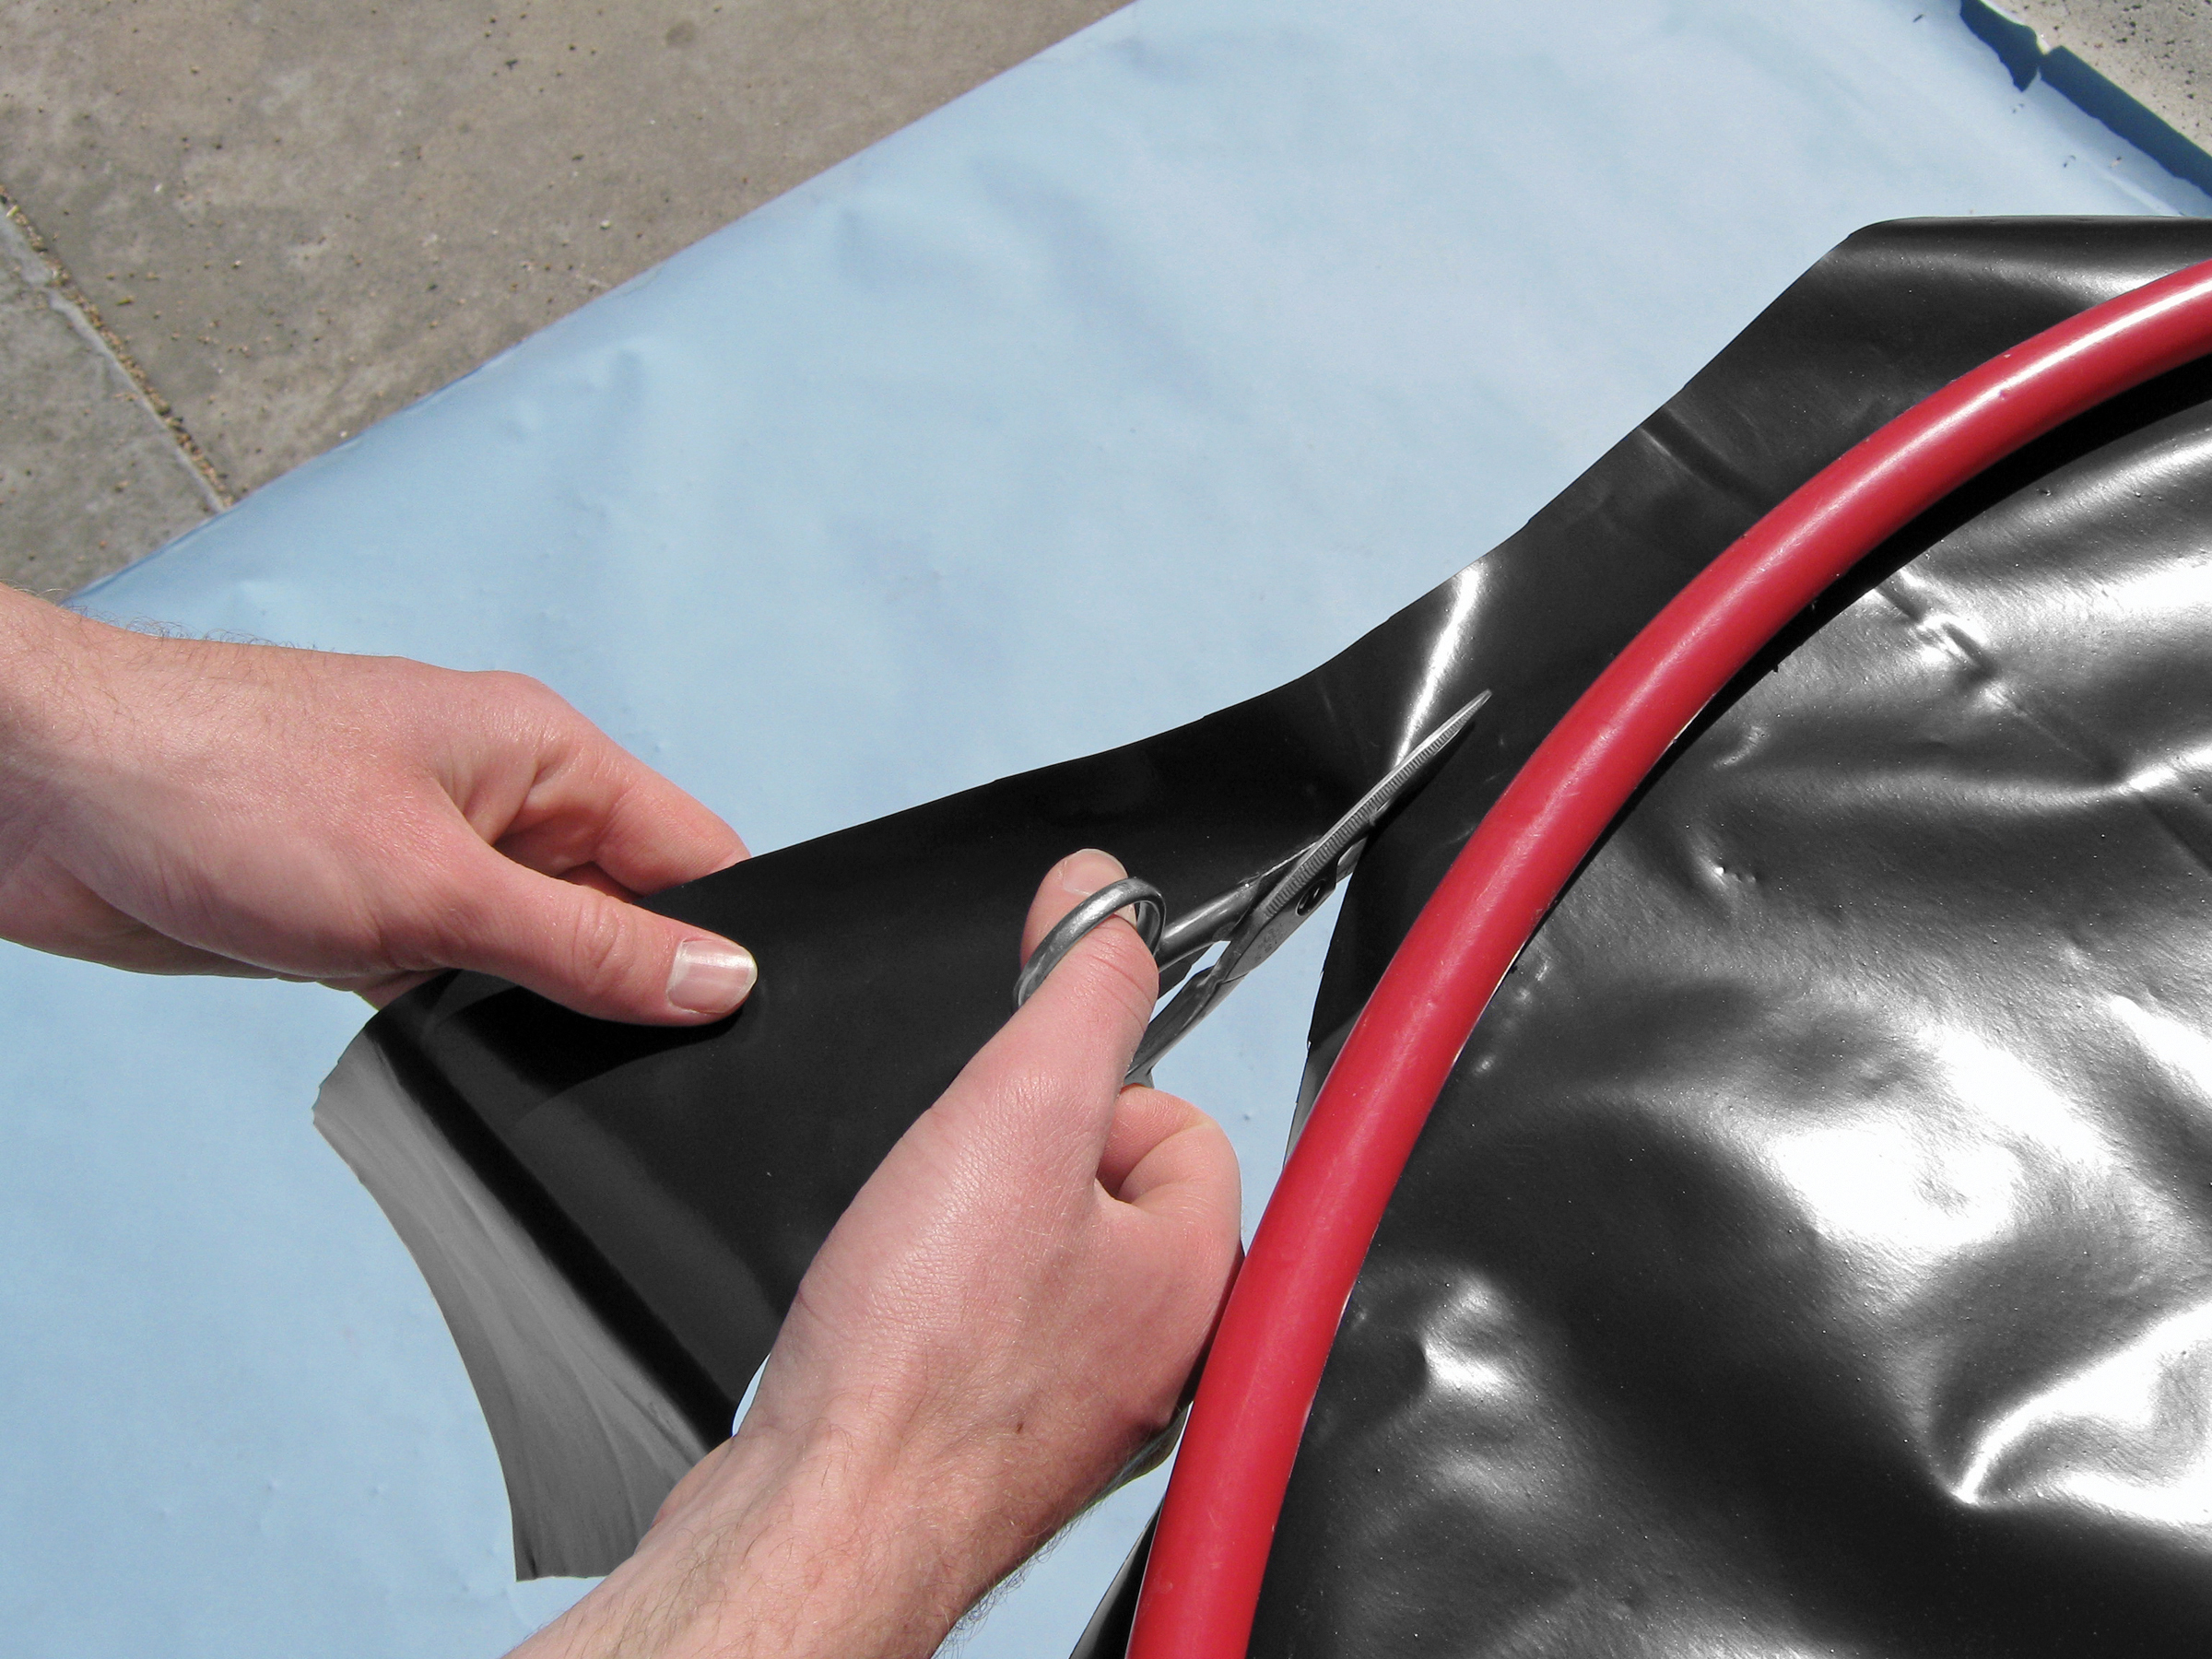
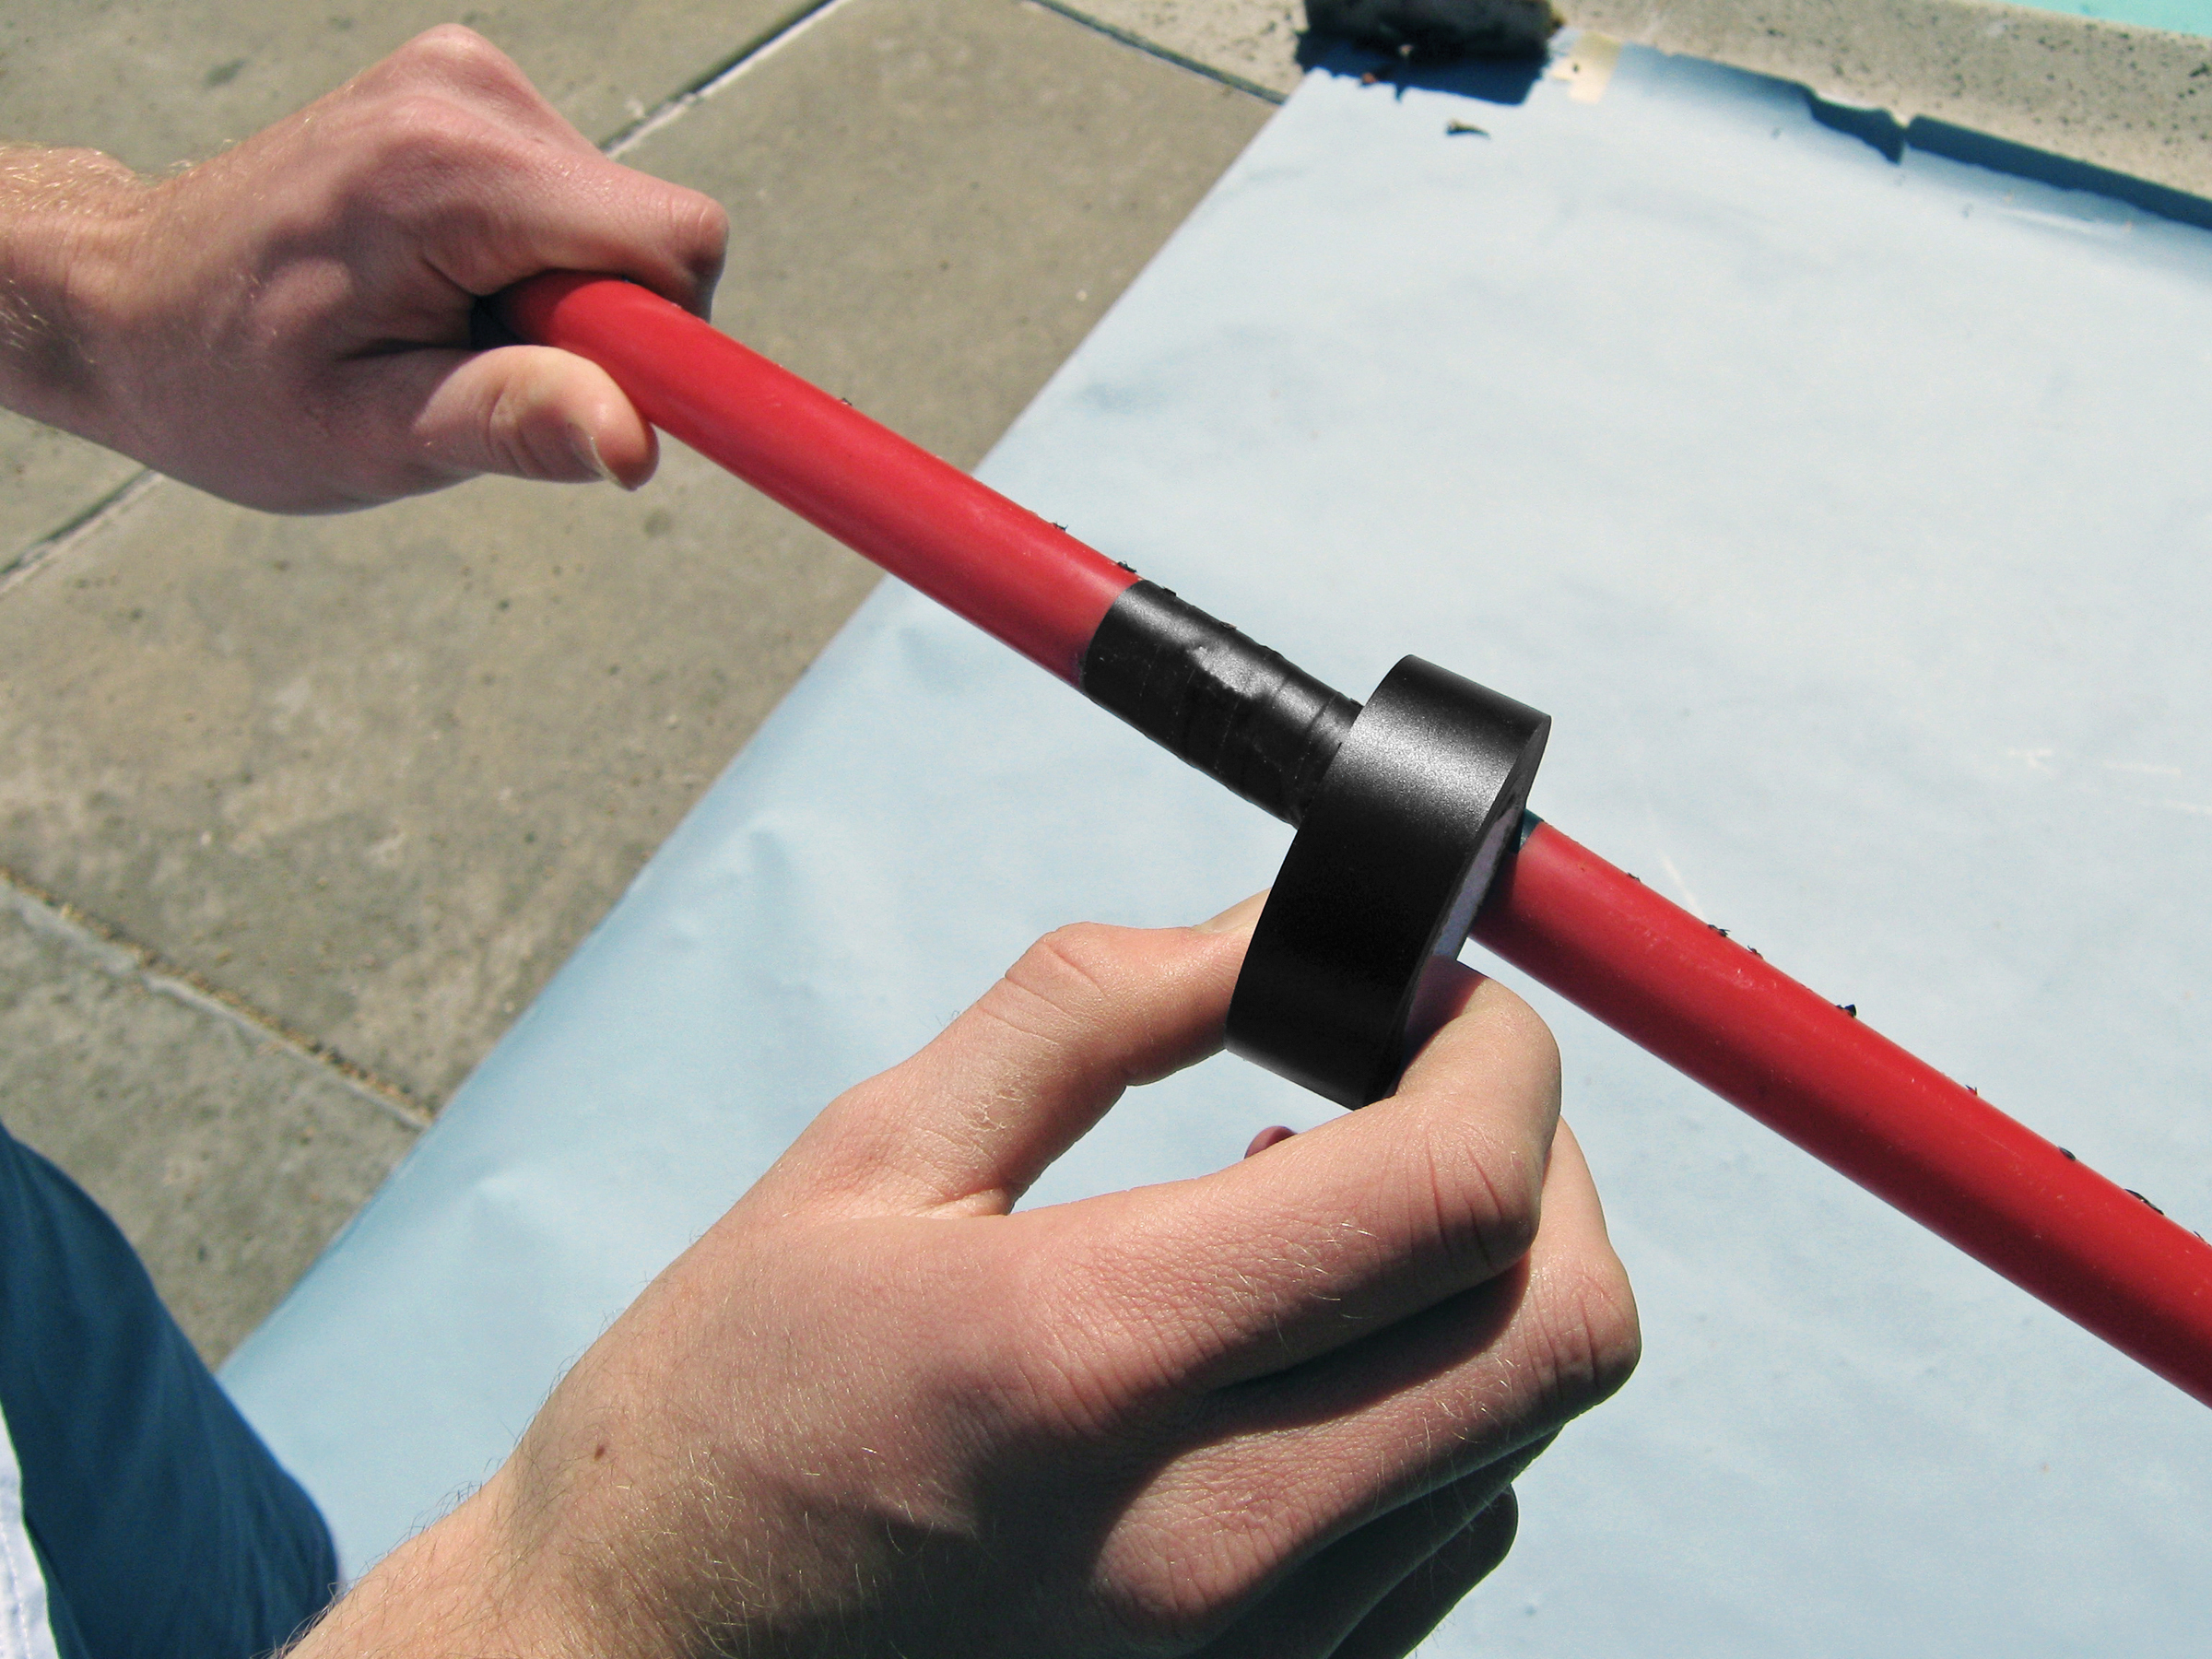
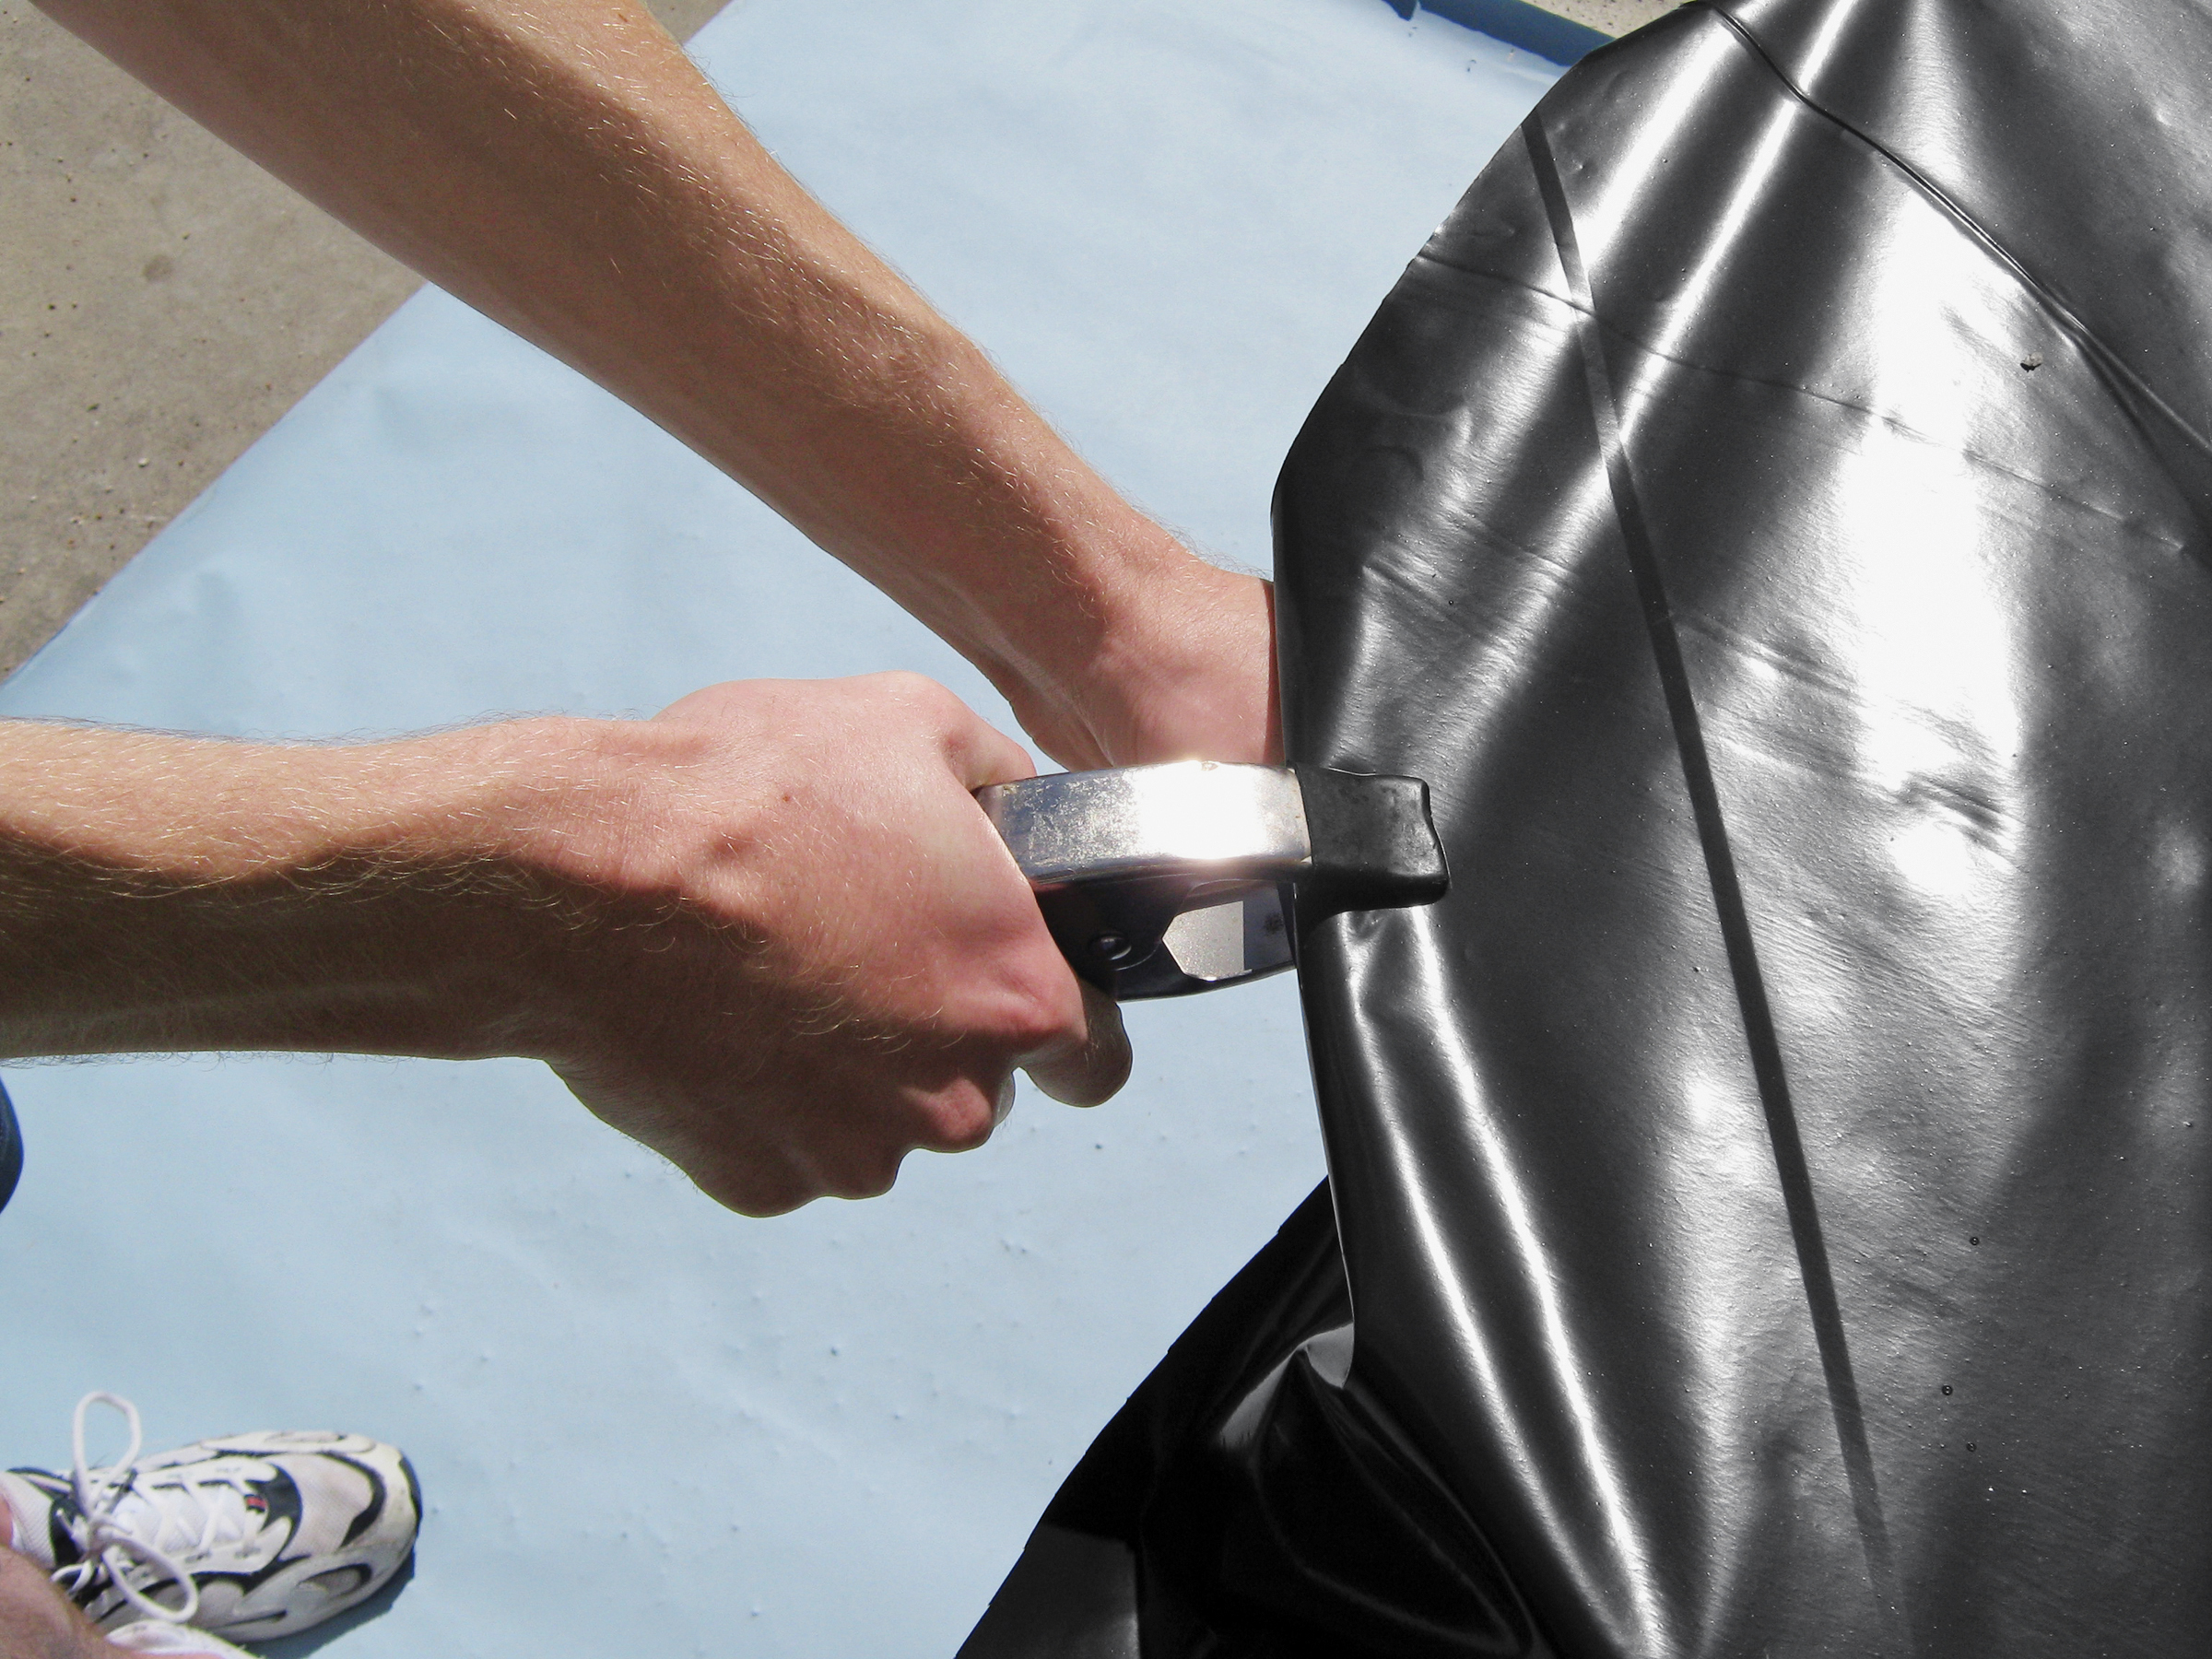
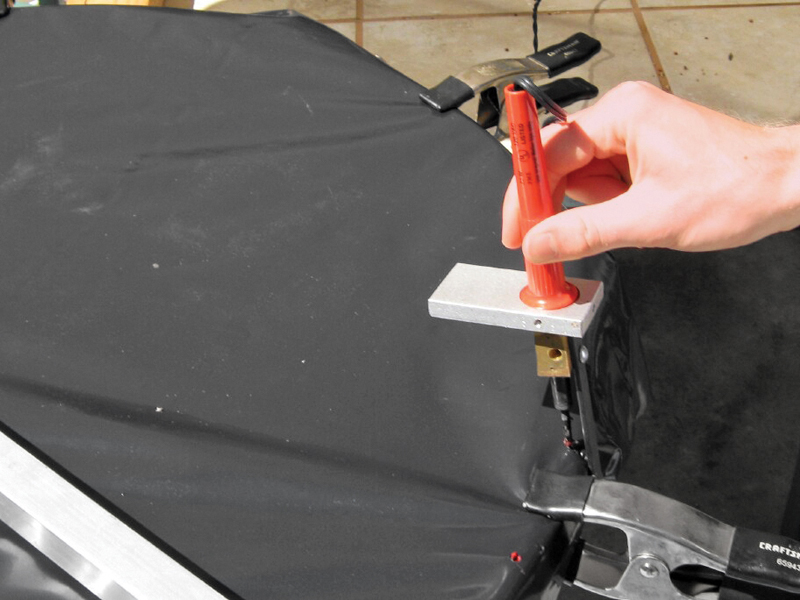
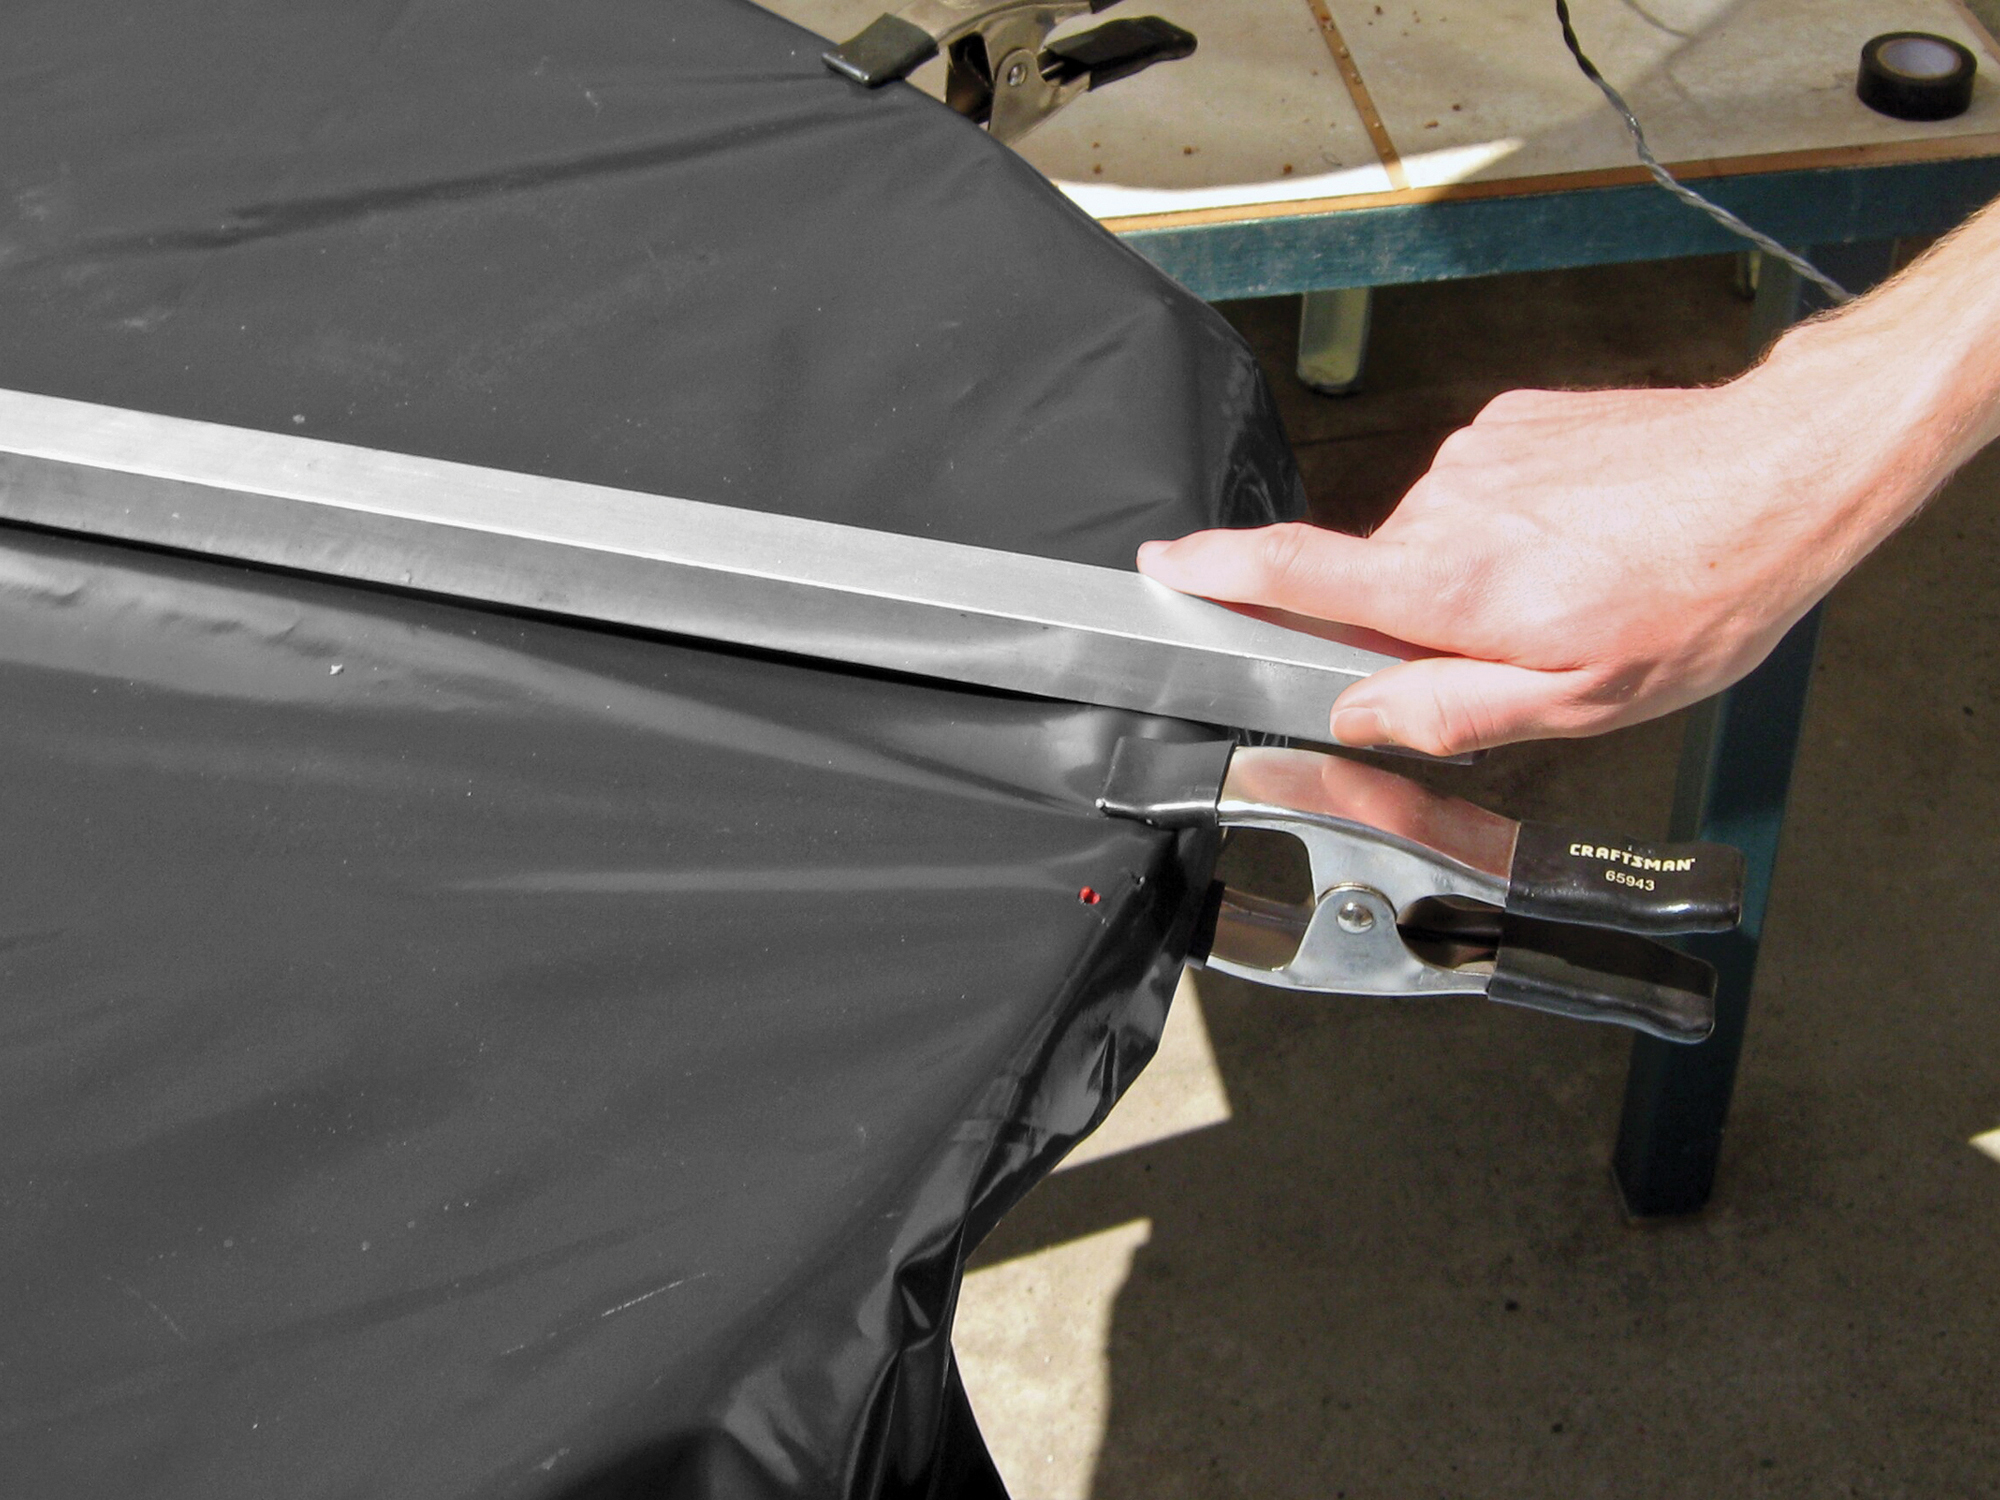
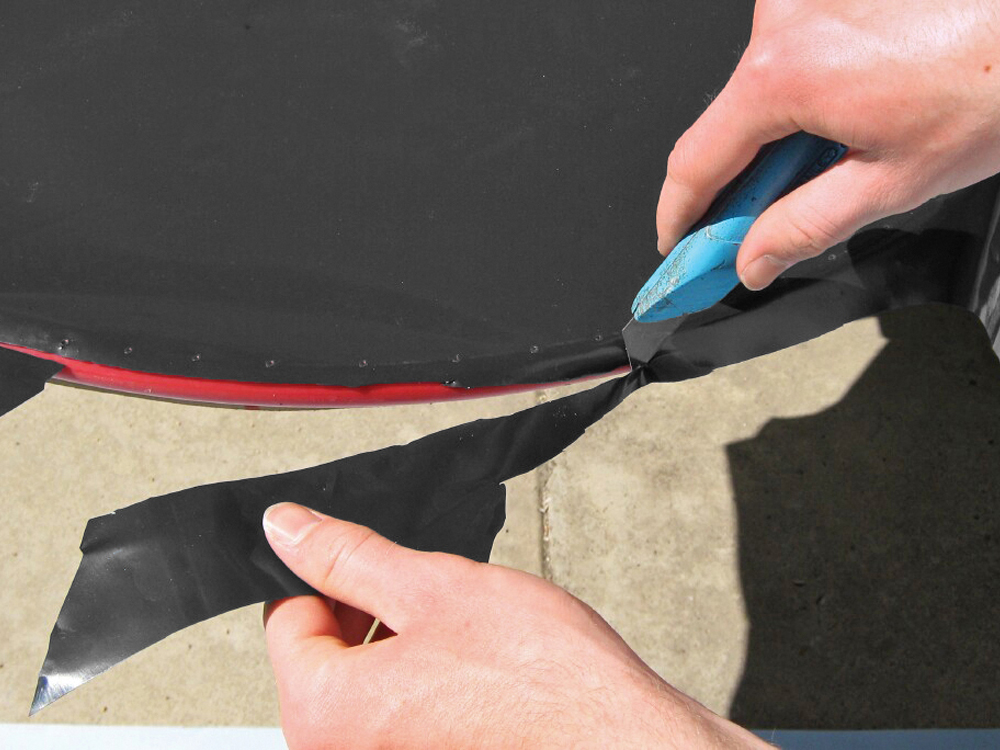
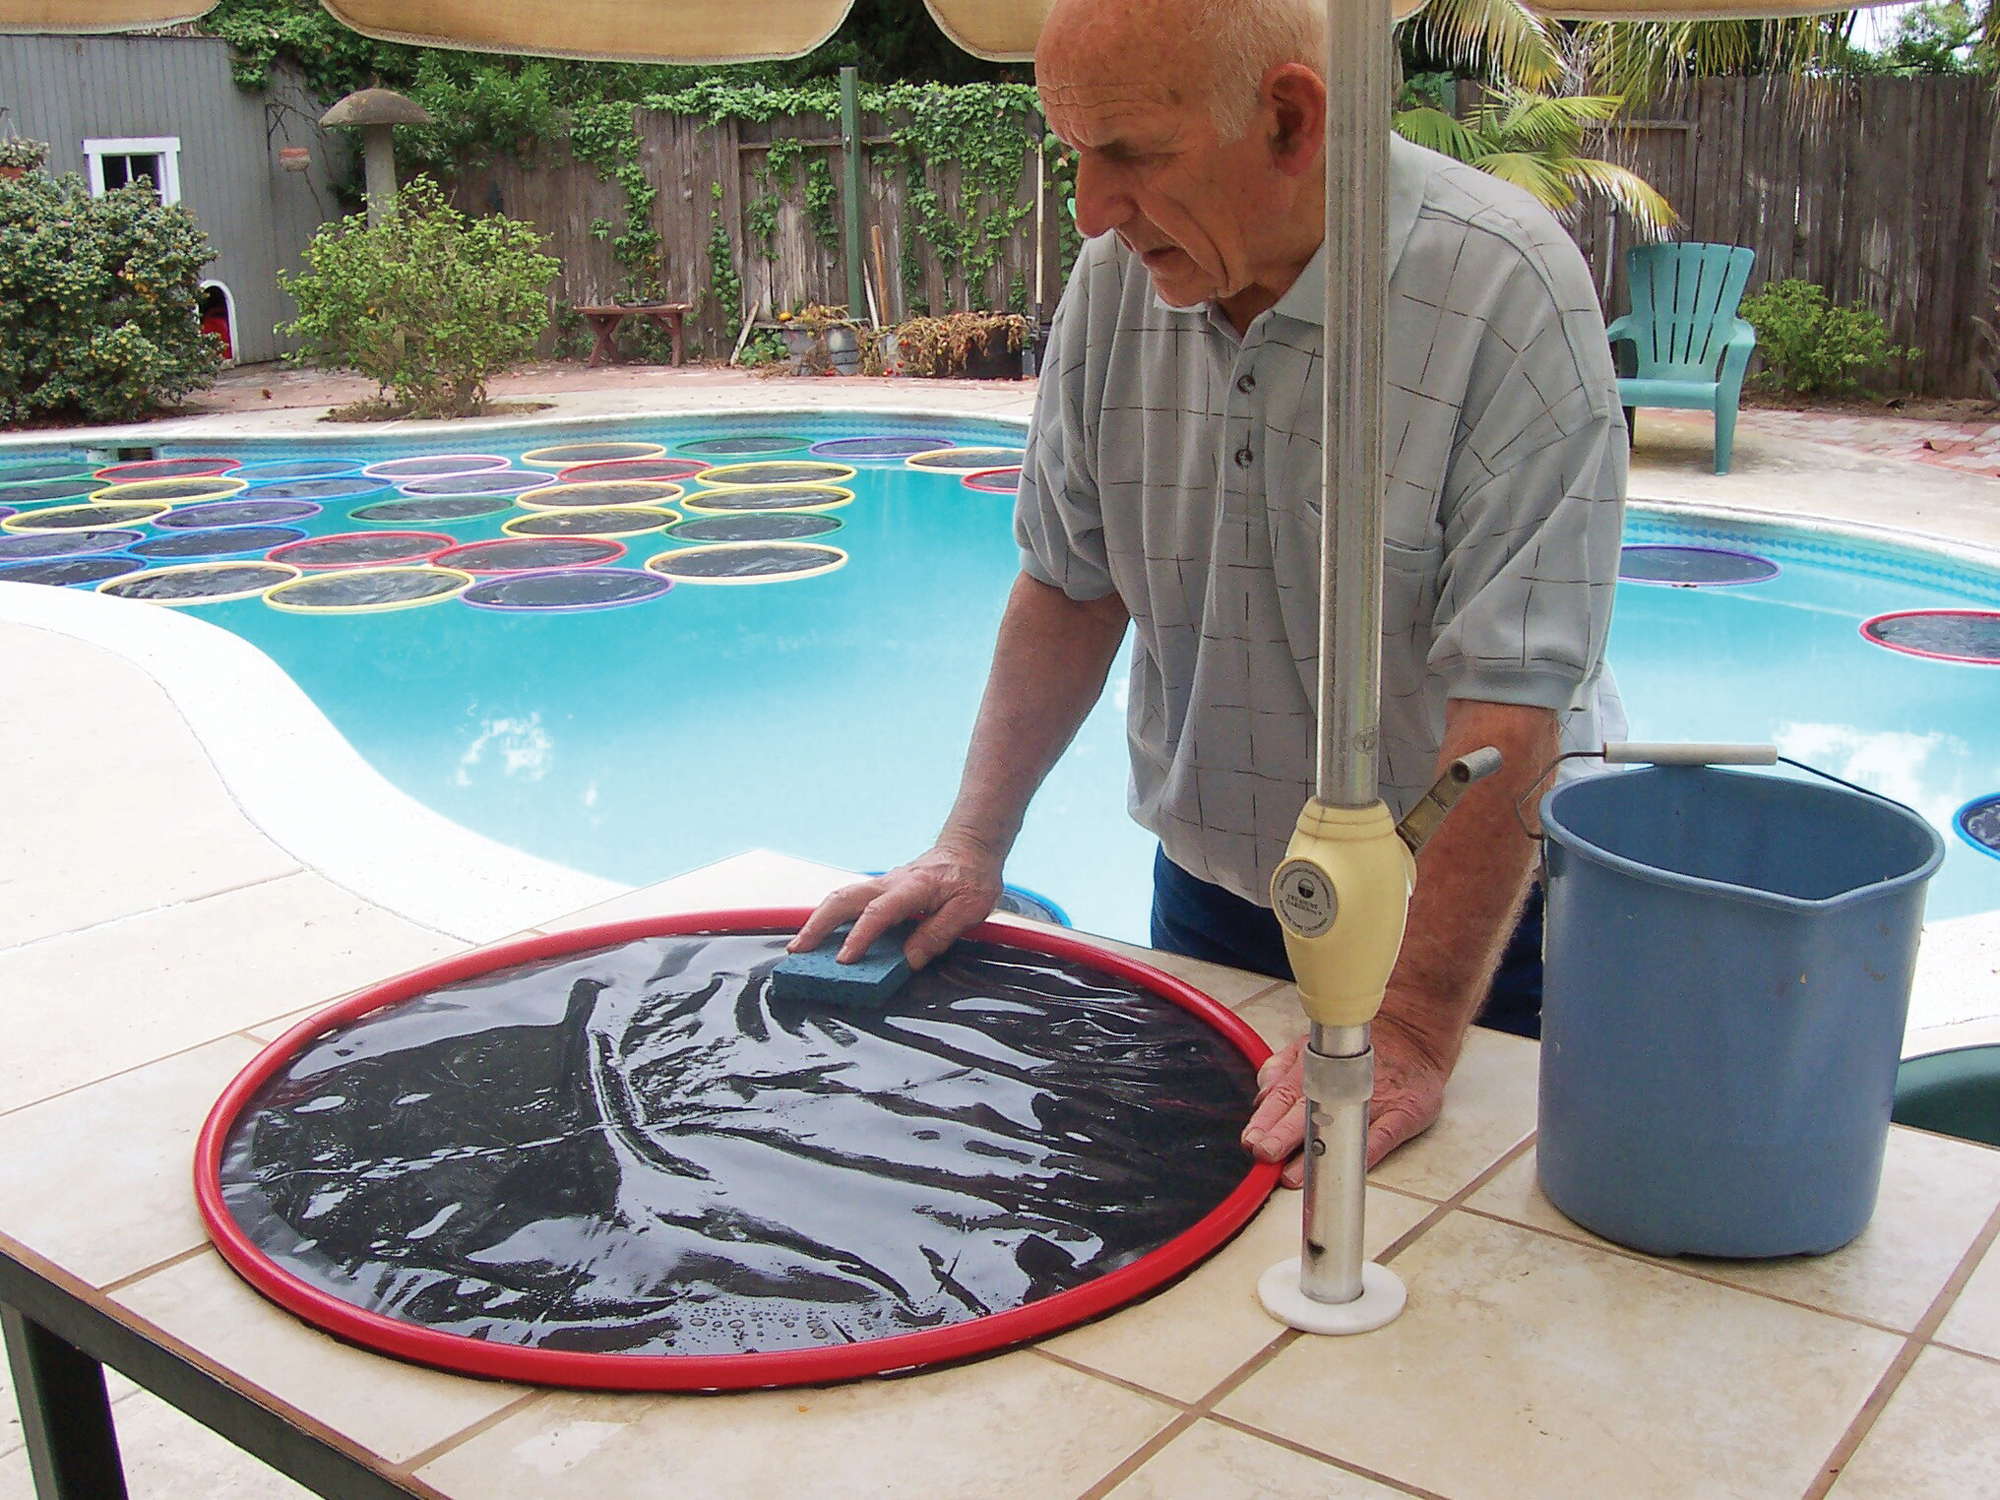
Best of all, the Lily Pad pool warmer can be made by anyone who’s just a bit handy with tools. It’s made of hula hoops, with black polyethylene film stretched over them to actually warm the water they come in contact with.
The Attractive Solution
The Lily Pad pool warmer uses black (low albedo) polyethylene film stretched over hula hoops. The film is in contact with the water, so it captures and transmits most of the sun’s incoming radiation directly into the pool, warming the surface of the water. Calorimetric tests have shown that at high noon, a single Lily Pad will transmit more than 500 BTU per hour.
As a bonus, this solution is highly attractive. Since it doesn’t need to cover the entire pool, it gives the appearance of a dynamic sculpture as the pads nudge each other and form constantly varying patterns across the surface.
To swim, it’s not necessary to remove the pads. Half the pool area is open, and the bow wave ahead of a swimmer causes the pads to float aside. If you want to open the entire area for swimming, the pads can be removed in less than 5 minutes. And they can be seasonally stored in the boxes in which the hula hoops are shipped. My experience has shown that it’s also not necessary to remove the pads for sweeping or vacuuming the pool.