


Before Chester Carlson invented photocopying, inventors engineered various mechanical devices to replicate images. With a few everyday items found in the home, you can make a pantograph, an image duplicator that allows you to use one pencil to trace an image while another pencil follows its path in parallel to produce a near-identical copy.
Projects from Make: Magazine
Mechanical Image Duplicator
Ditch that temperamental color copier for something a little more hands-on.
Cut out and position cardboard strips.

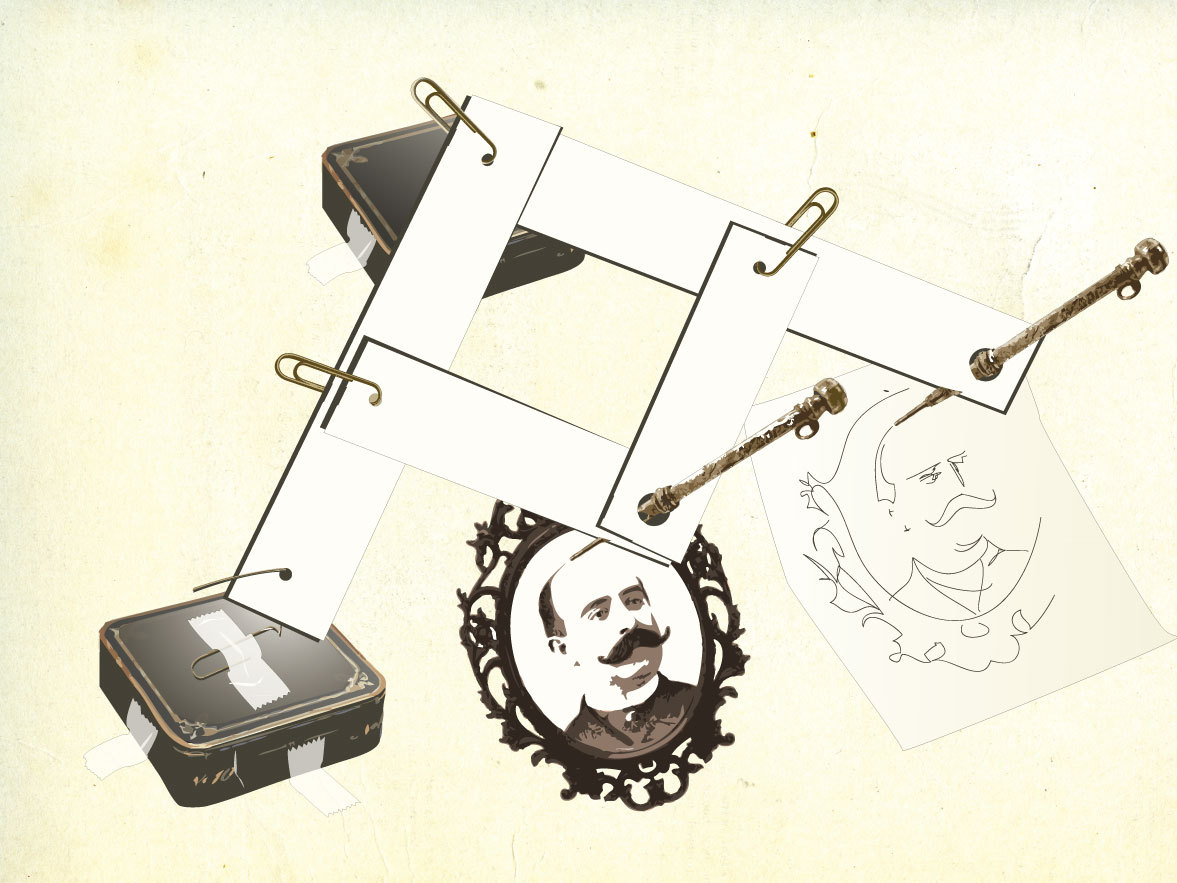
You’ll need 4 cardboard strips. Cut 2 strips measuring 2″×4″ and another pair 2″×8″, as shown in the picture.
Place the 2 pairs of strips at right angles to each other, with the smaller pair lying on top of the larger pair.
Link cardboard strips with paper clips.
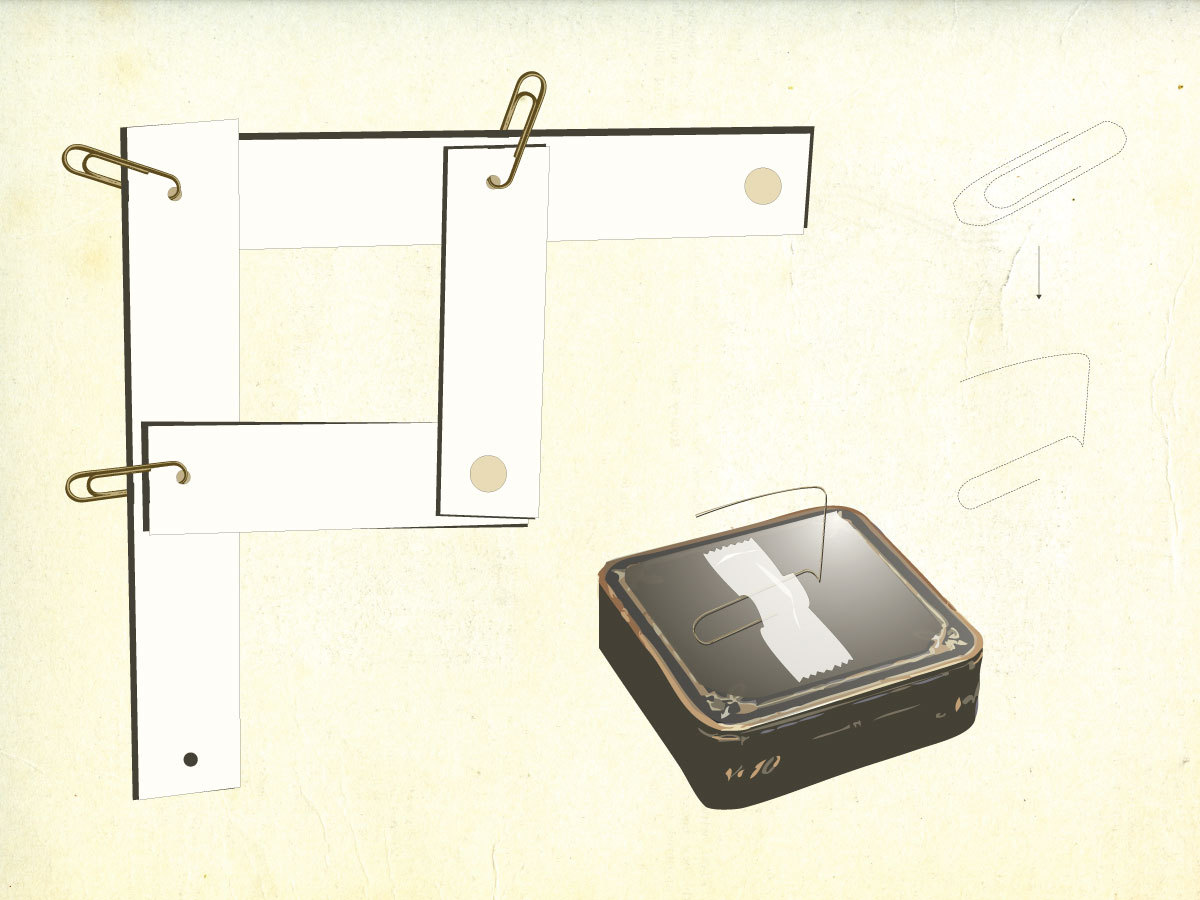
Cut 4 holes in the strips and slip 3 paper clips into them, as shown in the picture.
Bend up the end of another paper clip, as shown, and tape it to the top of a paper clip box.
Add pencils and secure to table.

Cut 2 holes in the image duplicator strips large enough for 2 pencils to fit snugly and stand erect, as shown in the picture. Turn the cardboard strips over and slip the hole at the end of the left-hand strip over the paper clip that’s taped to the top of the paper clip box.
Place a second paper clip box under the image duplicator where the 2 large strips meet, to keep it level.
To ensure that the drawing pencil (pink) presses against the paper properly, you can add weight to the cardboard strip by taping a AA battery underneath it.
Place the original image under pencil A (blue), and a blank sheet of paper under pencil B (pink). Trace the original design with pencil A. Pencil B will follow along, drawing the image on the paper.
Experiment with different lengths of strips to make larger and smaller copies of the original design.
Conclusion
This project first appeared in MAKE Volume 17, page 136.


