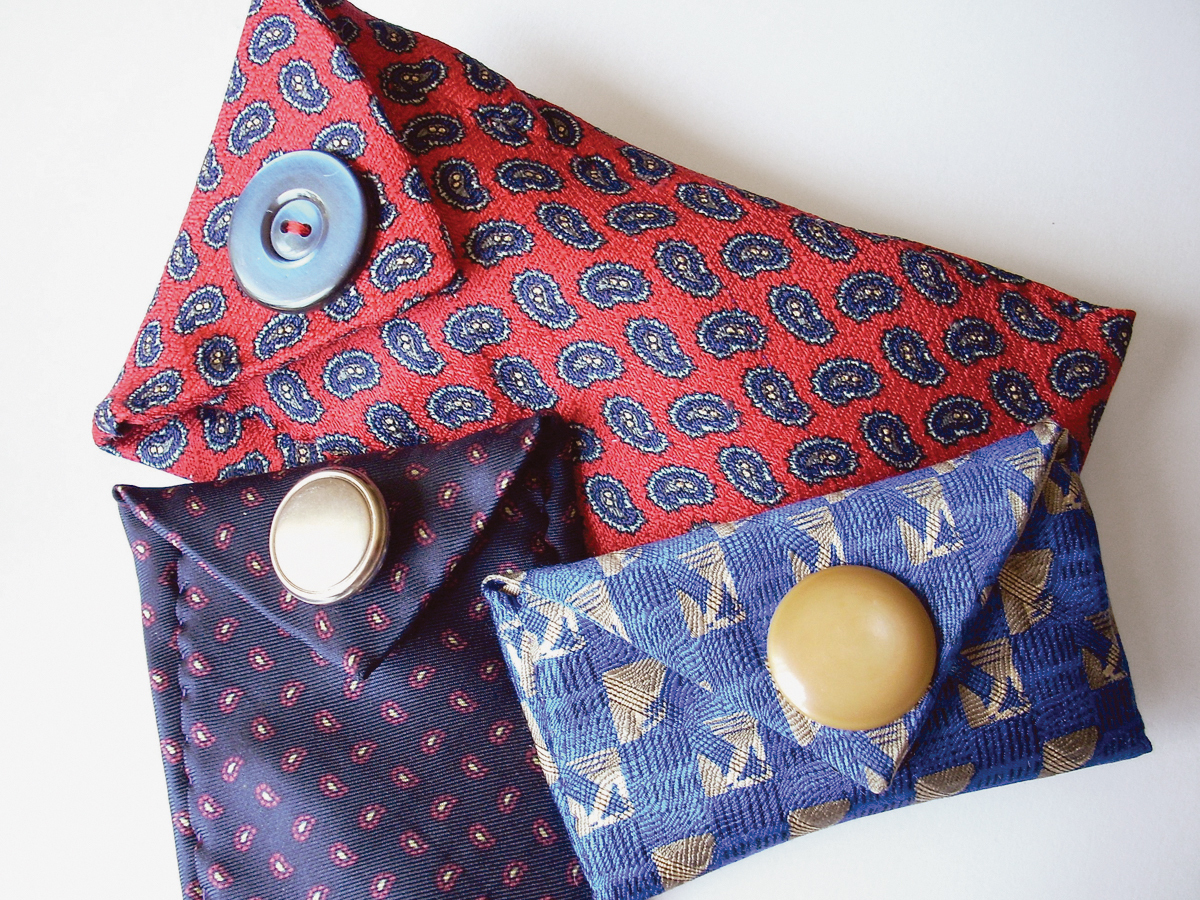
A thrift store necktie is the perfect raw material for a carrying case: it’s elegant and comes with its own padding to protect your valuables. Plus, you need only a few minutes and a little hand-sewing to whip one up. Although this project shows you how to make a case for eyeglasses, they’re also great for crochet hooks, scissors, business cards, and pens.
Like this:
Like Loading...
Step #1: Measure your case.
Next
- Lay the necktie flat, backside facing up. Place your folded glasses on top. The top of the glasses should line up with the inside of the tie. Fold the rest of the tie over the glasses, and cut it so it extends 1" beyond the top of the glasses.
Step #2: Finish the cut edge.
Next
- Fold 1" of the cut edge toward the back of the tie and whipstitch it in place. If the tie’s internal padding sticks out, turn that under as you stitch.
Step #3: Open up the inside.
Next
- Most ties are made with a hand-sewn center seam — you’ll need to remove some of this seam in order to fit things inside your case. Use a seam ripper to remove the stitching. You only need to remove enough stitching to accommodate your glasses. If your tie has a label, remove this too.
Step #4: Sew the side seams.
Next
- Set your glasses aside and fold the tie as shown. Pin the 2 layers together and hand-sew them along both sides with a hemstitch or a tiny whipstitch. Stitch only through the topmost layers of fabric — you don’t want to sew the front and back of your case together!
Step #5: Add a closure.

- Fold the tip of the tie over to make a flap. Sew a button on the outside of this flap. Glue velcro dots under the button to hold your case closed. Once the glue is dry, your glasses are good to go.