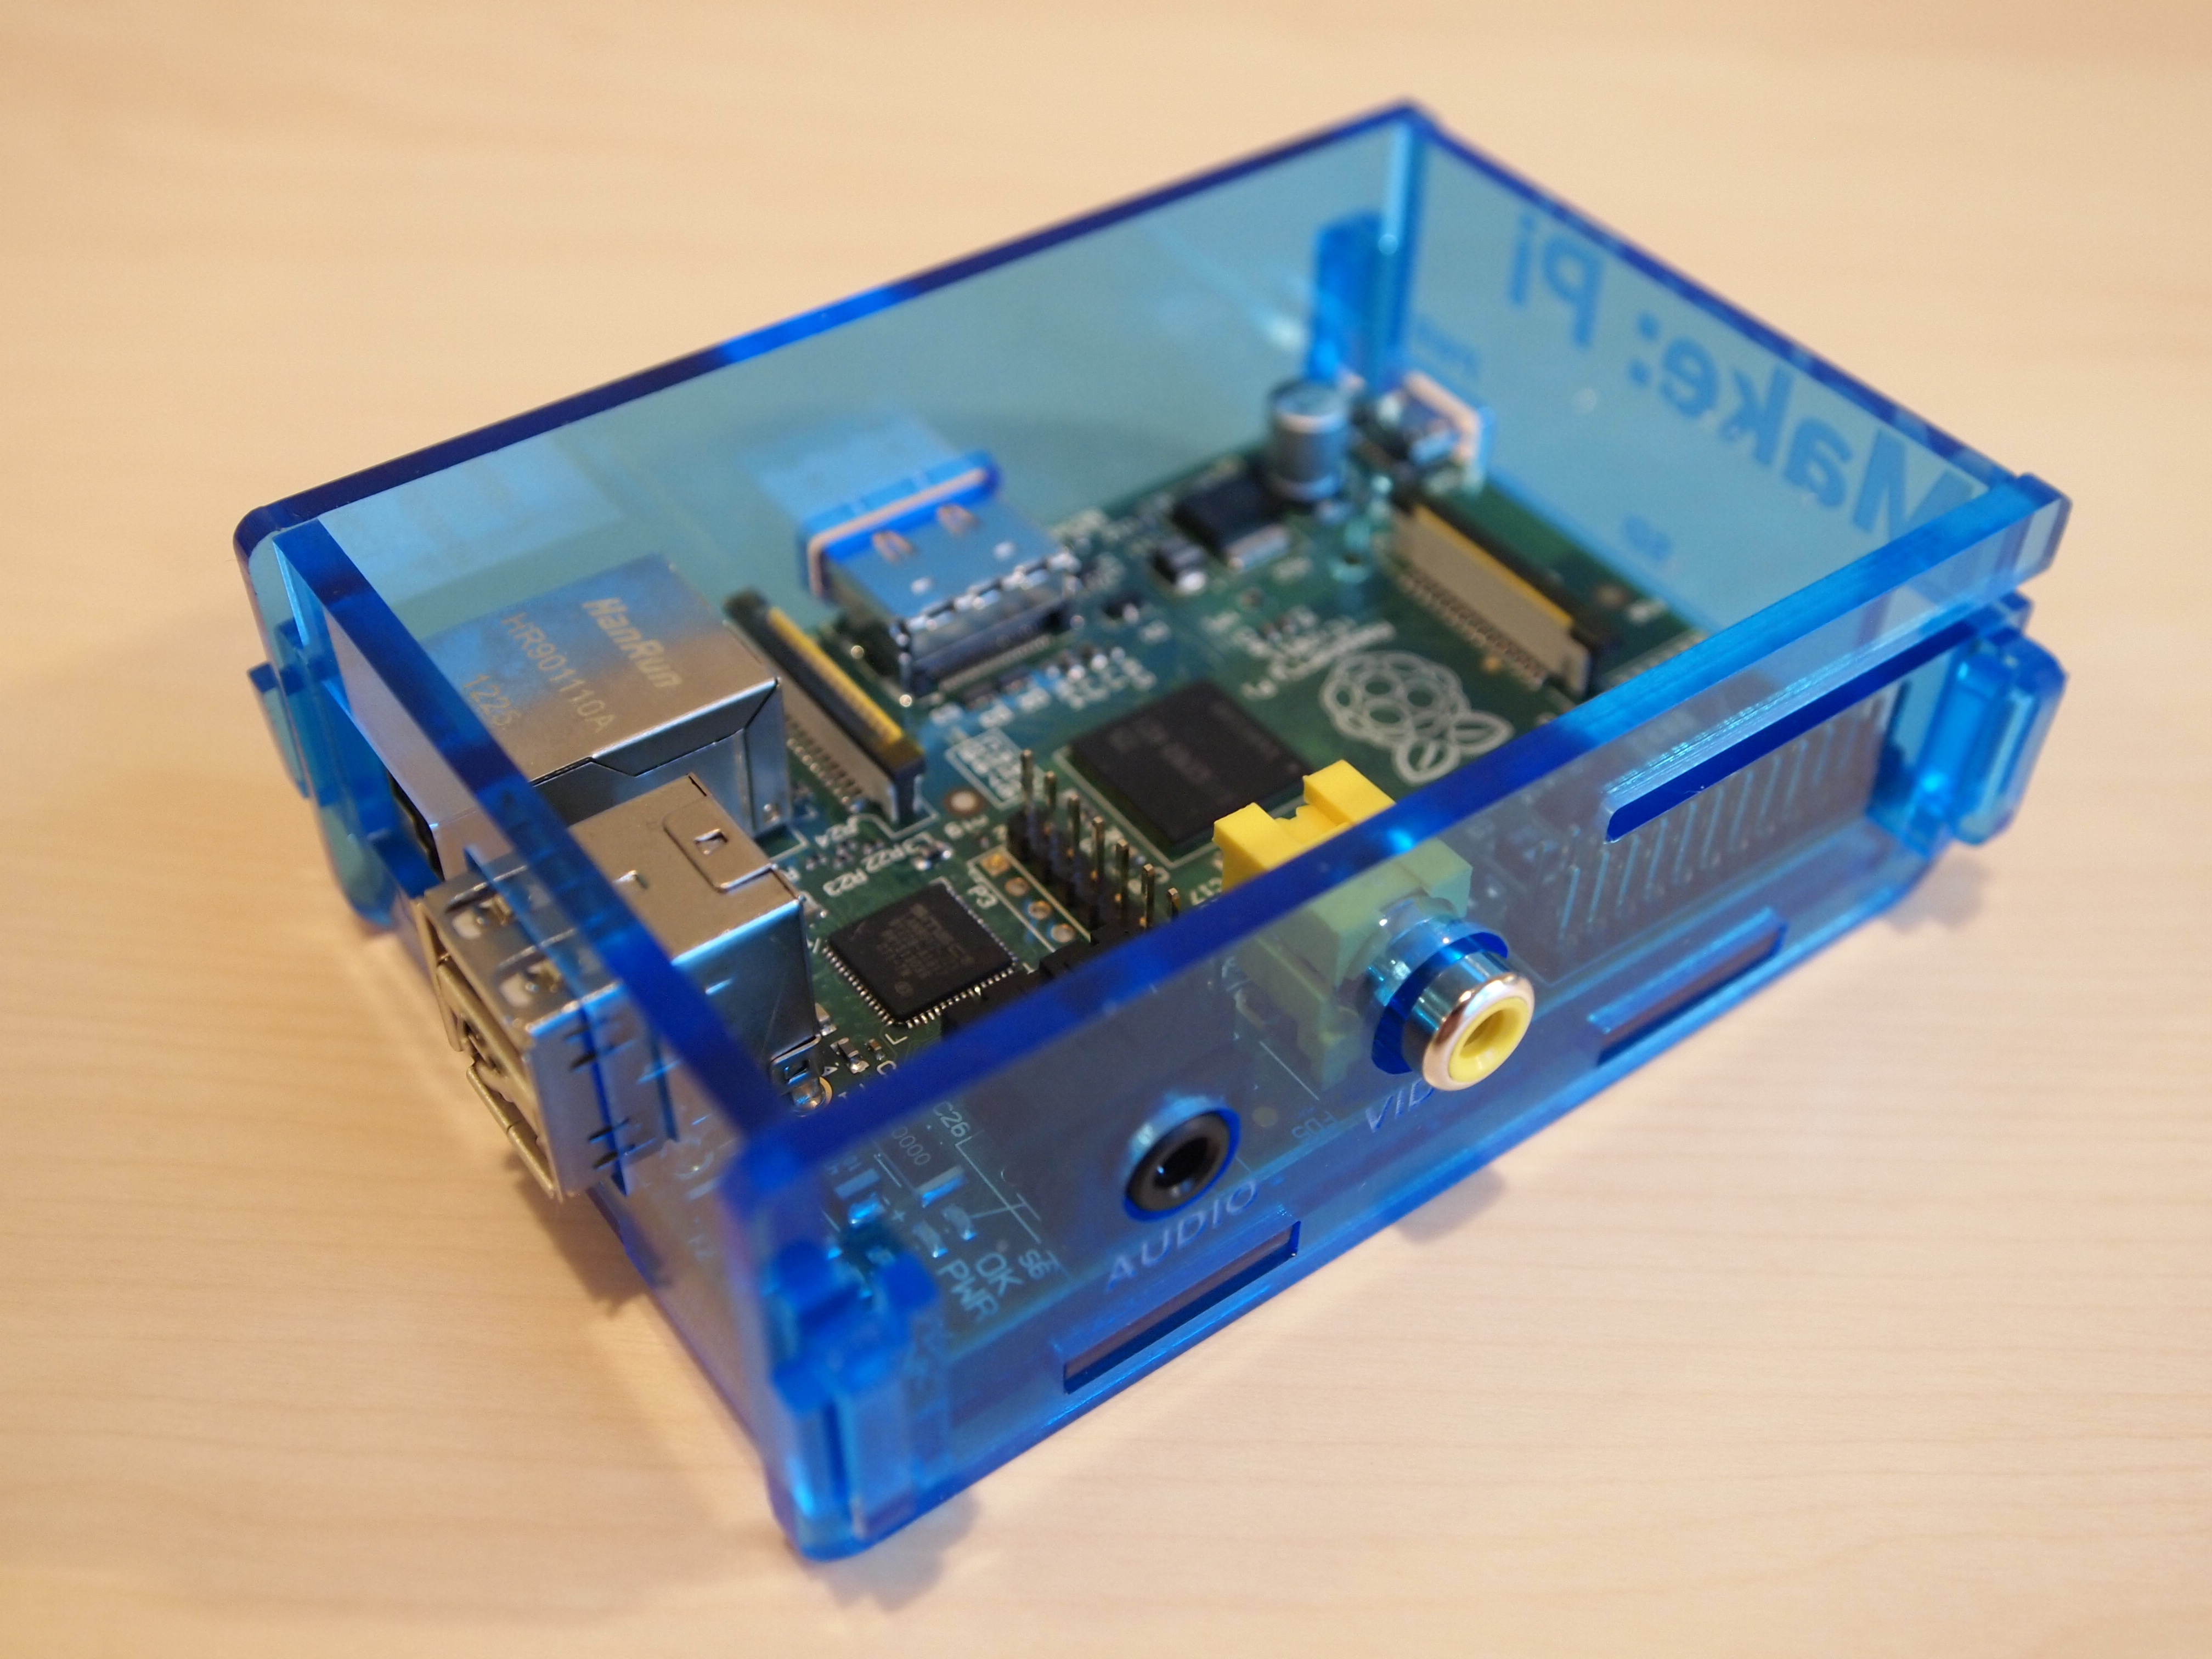
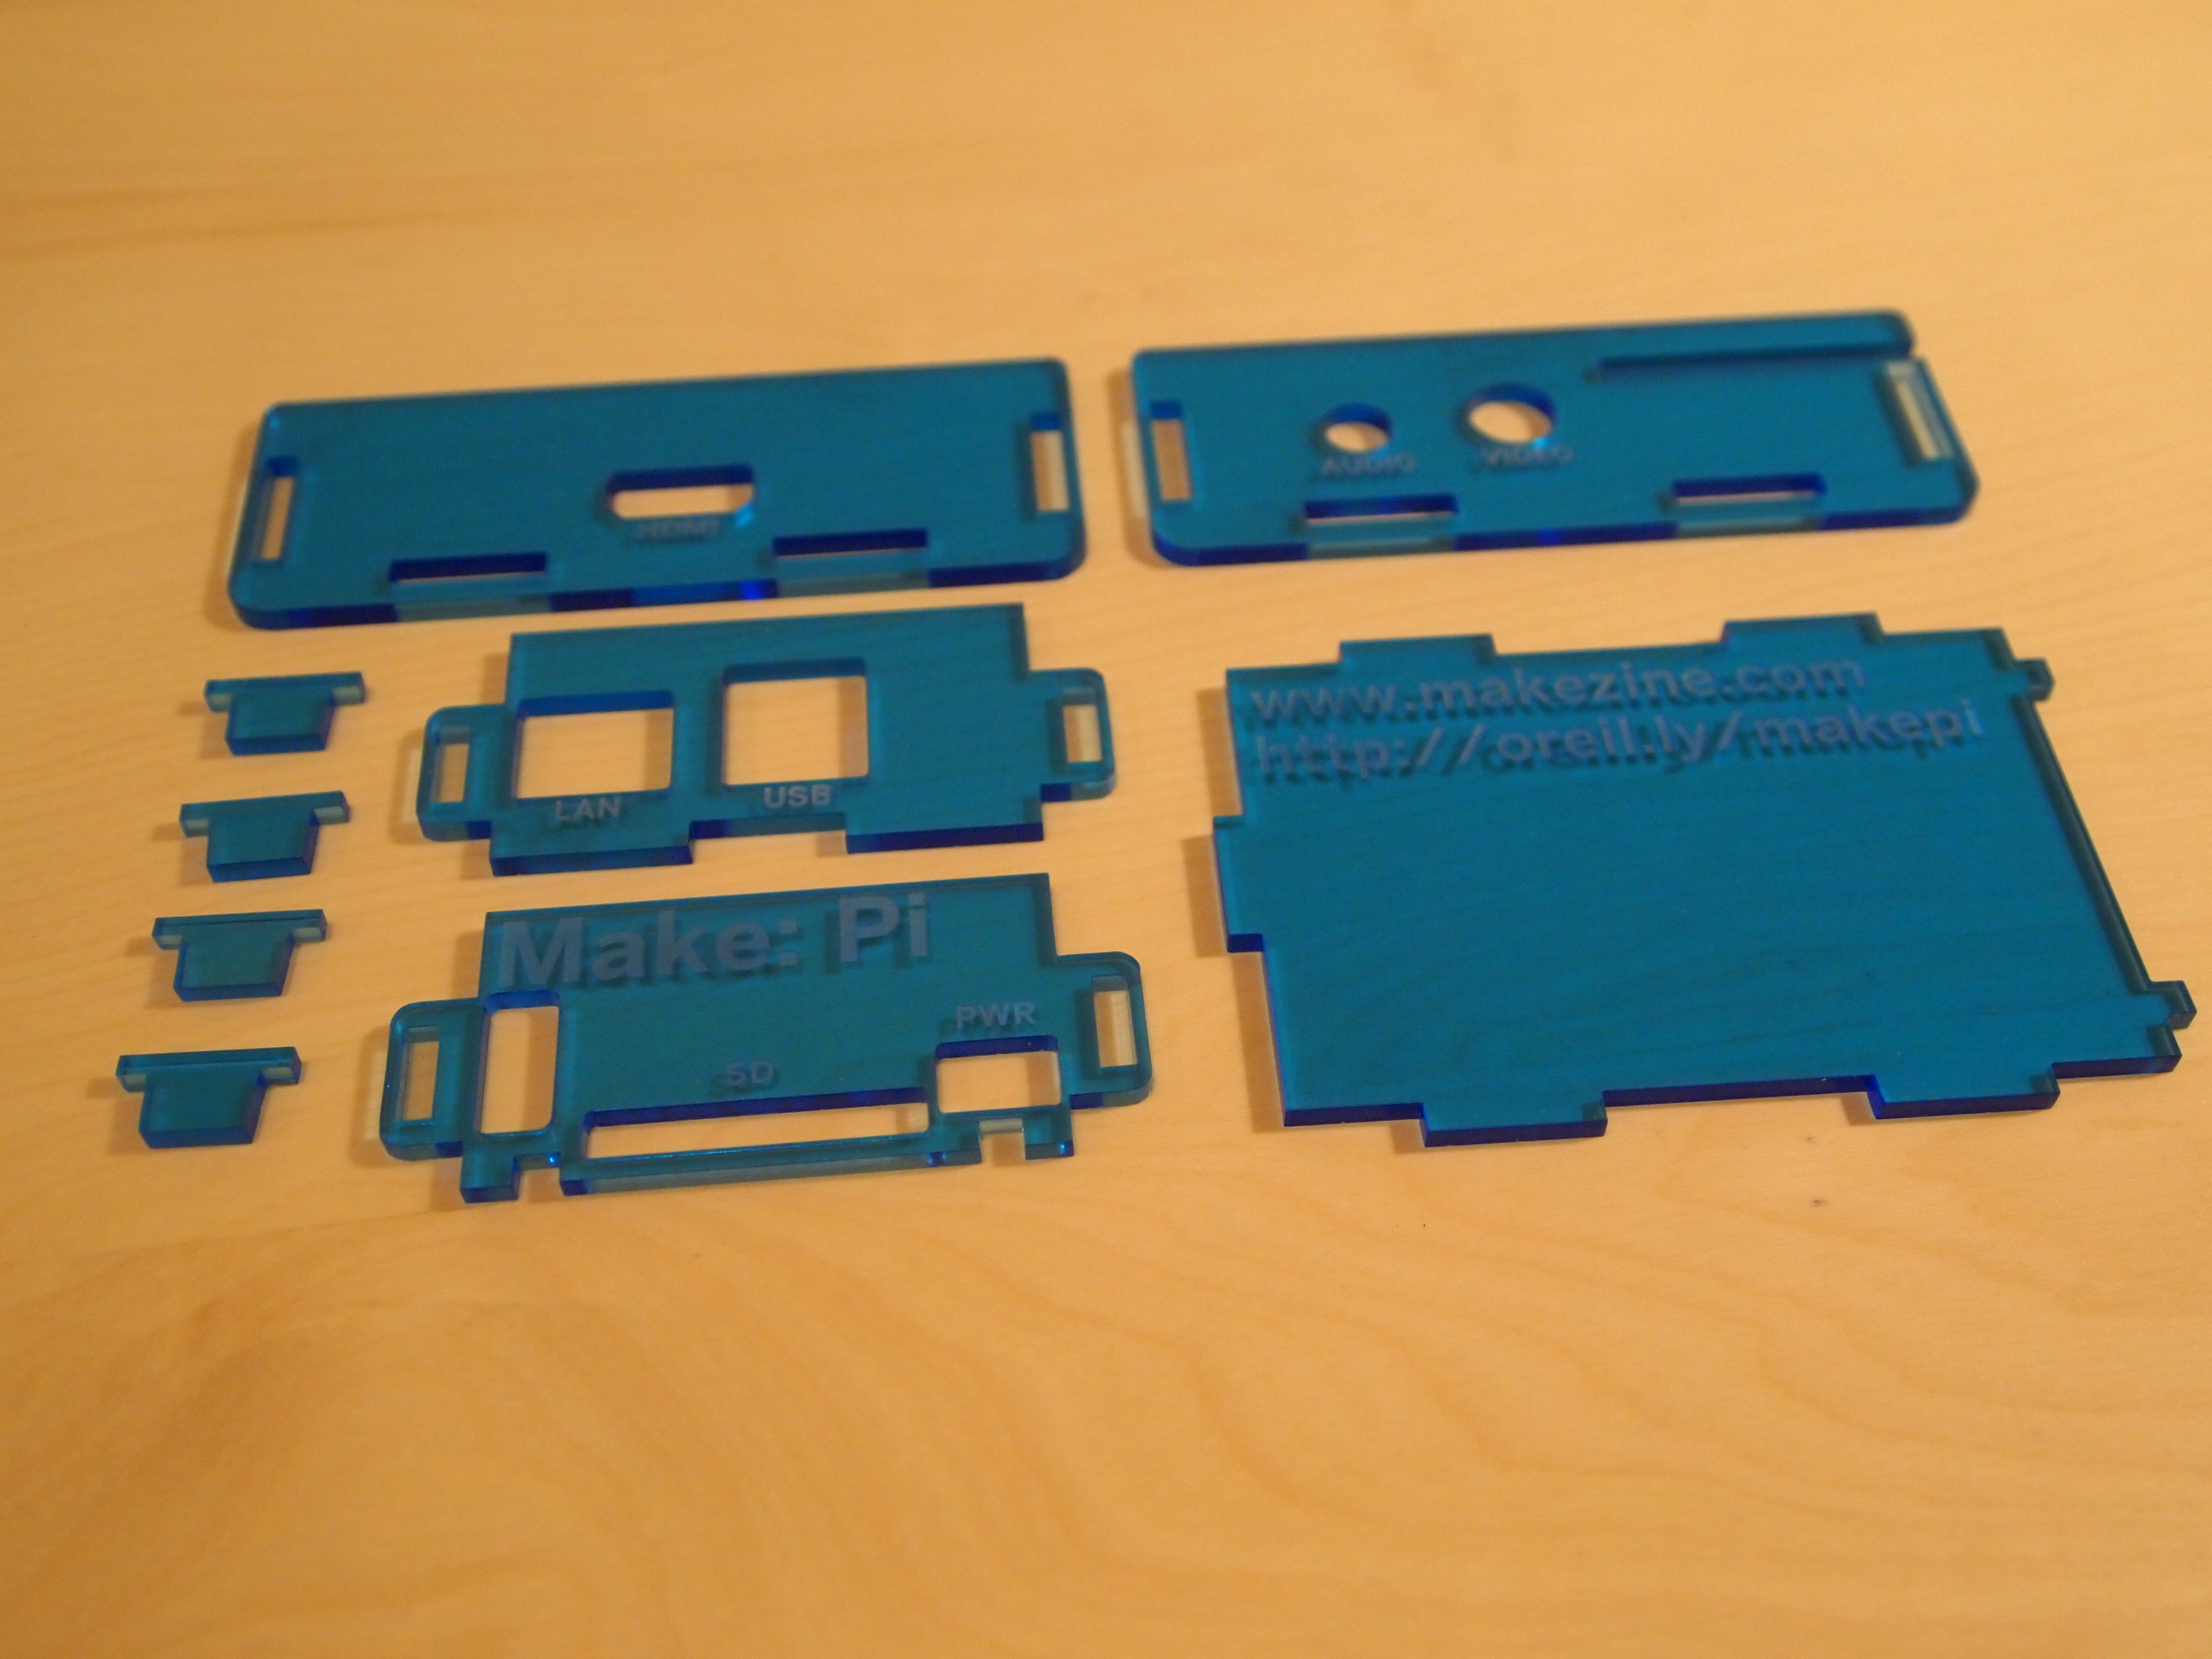
This guide will show you how to assemble the simple Pi enclosure that’s included in the Maker Shed Raspberry Pi Starter Kit.
Like this:
Like Loading...
Step #1:
Next
- You should have nine parts in total: four side pieces, one bottom piece, and four small locks.
- Your parts may look slightly different.
Step #2:
Next
- Place your Raspberry Pi onto the bottom piece. The headers, SD card slot, and USB power port should be above the side with the two small rectangles.
Step #3:
Next


- Now attach the two smaller sides, and hold the whole assembly in your hand as shown.
- The side piece with the "Make: Pi" engraving should line up with the SD card slot on your Pi - you may have to push the Pi into place.
Step #4:
Next


- Now slide the two larger side pieces into place. It doesn't matter what order you assemble them in.
- You may have to put some pressure on the side pieces to get everything to fit together nicely, but that's ok, it's supposed to be a tight fit.
- If you're using the included Pi Cobbler, install it on the headers and slide the ribbon cable through the side piece before assembling.
Step #5:

- Now insert the four small lock pieces into their slots.
- That's it, you're done!