Make: Projects
Solar Food Dryer
This guide will show you how to build a solar food dryer which you can use to dry-out your fruits and vegetables.
If you’re growing your own fruit and vegetables, or just trying to eat food that’s produced locally, you come across one obvious problem: when something is in season, you have more than you can handle, and then there’s nothing for the rest of the year.
The obvious solution is to preserve your food when you have it in abundance, and drying with the sun is one of the easiest, most energy-efficient ways to do so. It also maintains a lot more of the original nutrients than canning or freezing.
The concept of a solar dryer is simple: move warm air over thinly sliced food. The warmer the air, the more moisture it can remove from the food. However, you don’t want the air to move too quickly, as it will cause the temperature to decrease. Our design creates just enough air movement and warmth to dry food quickly.
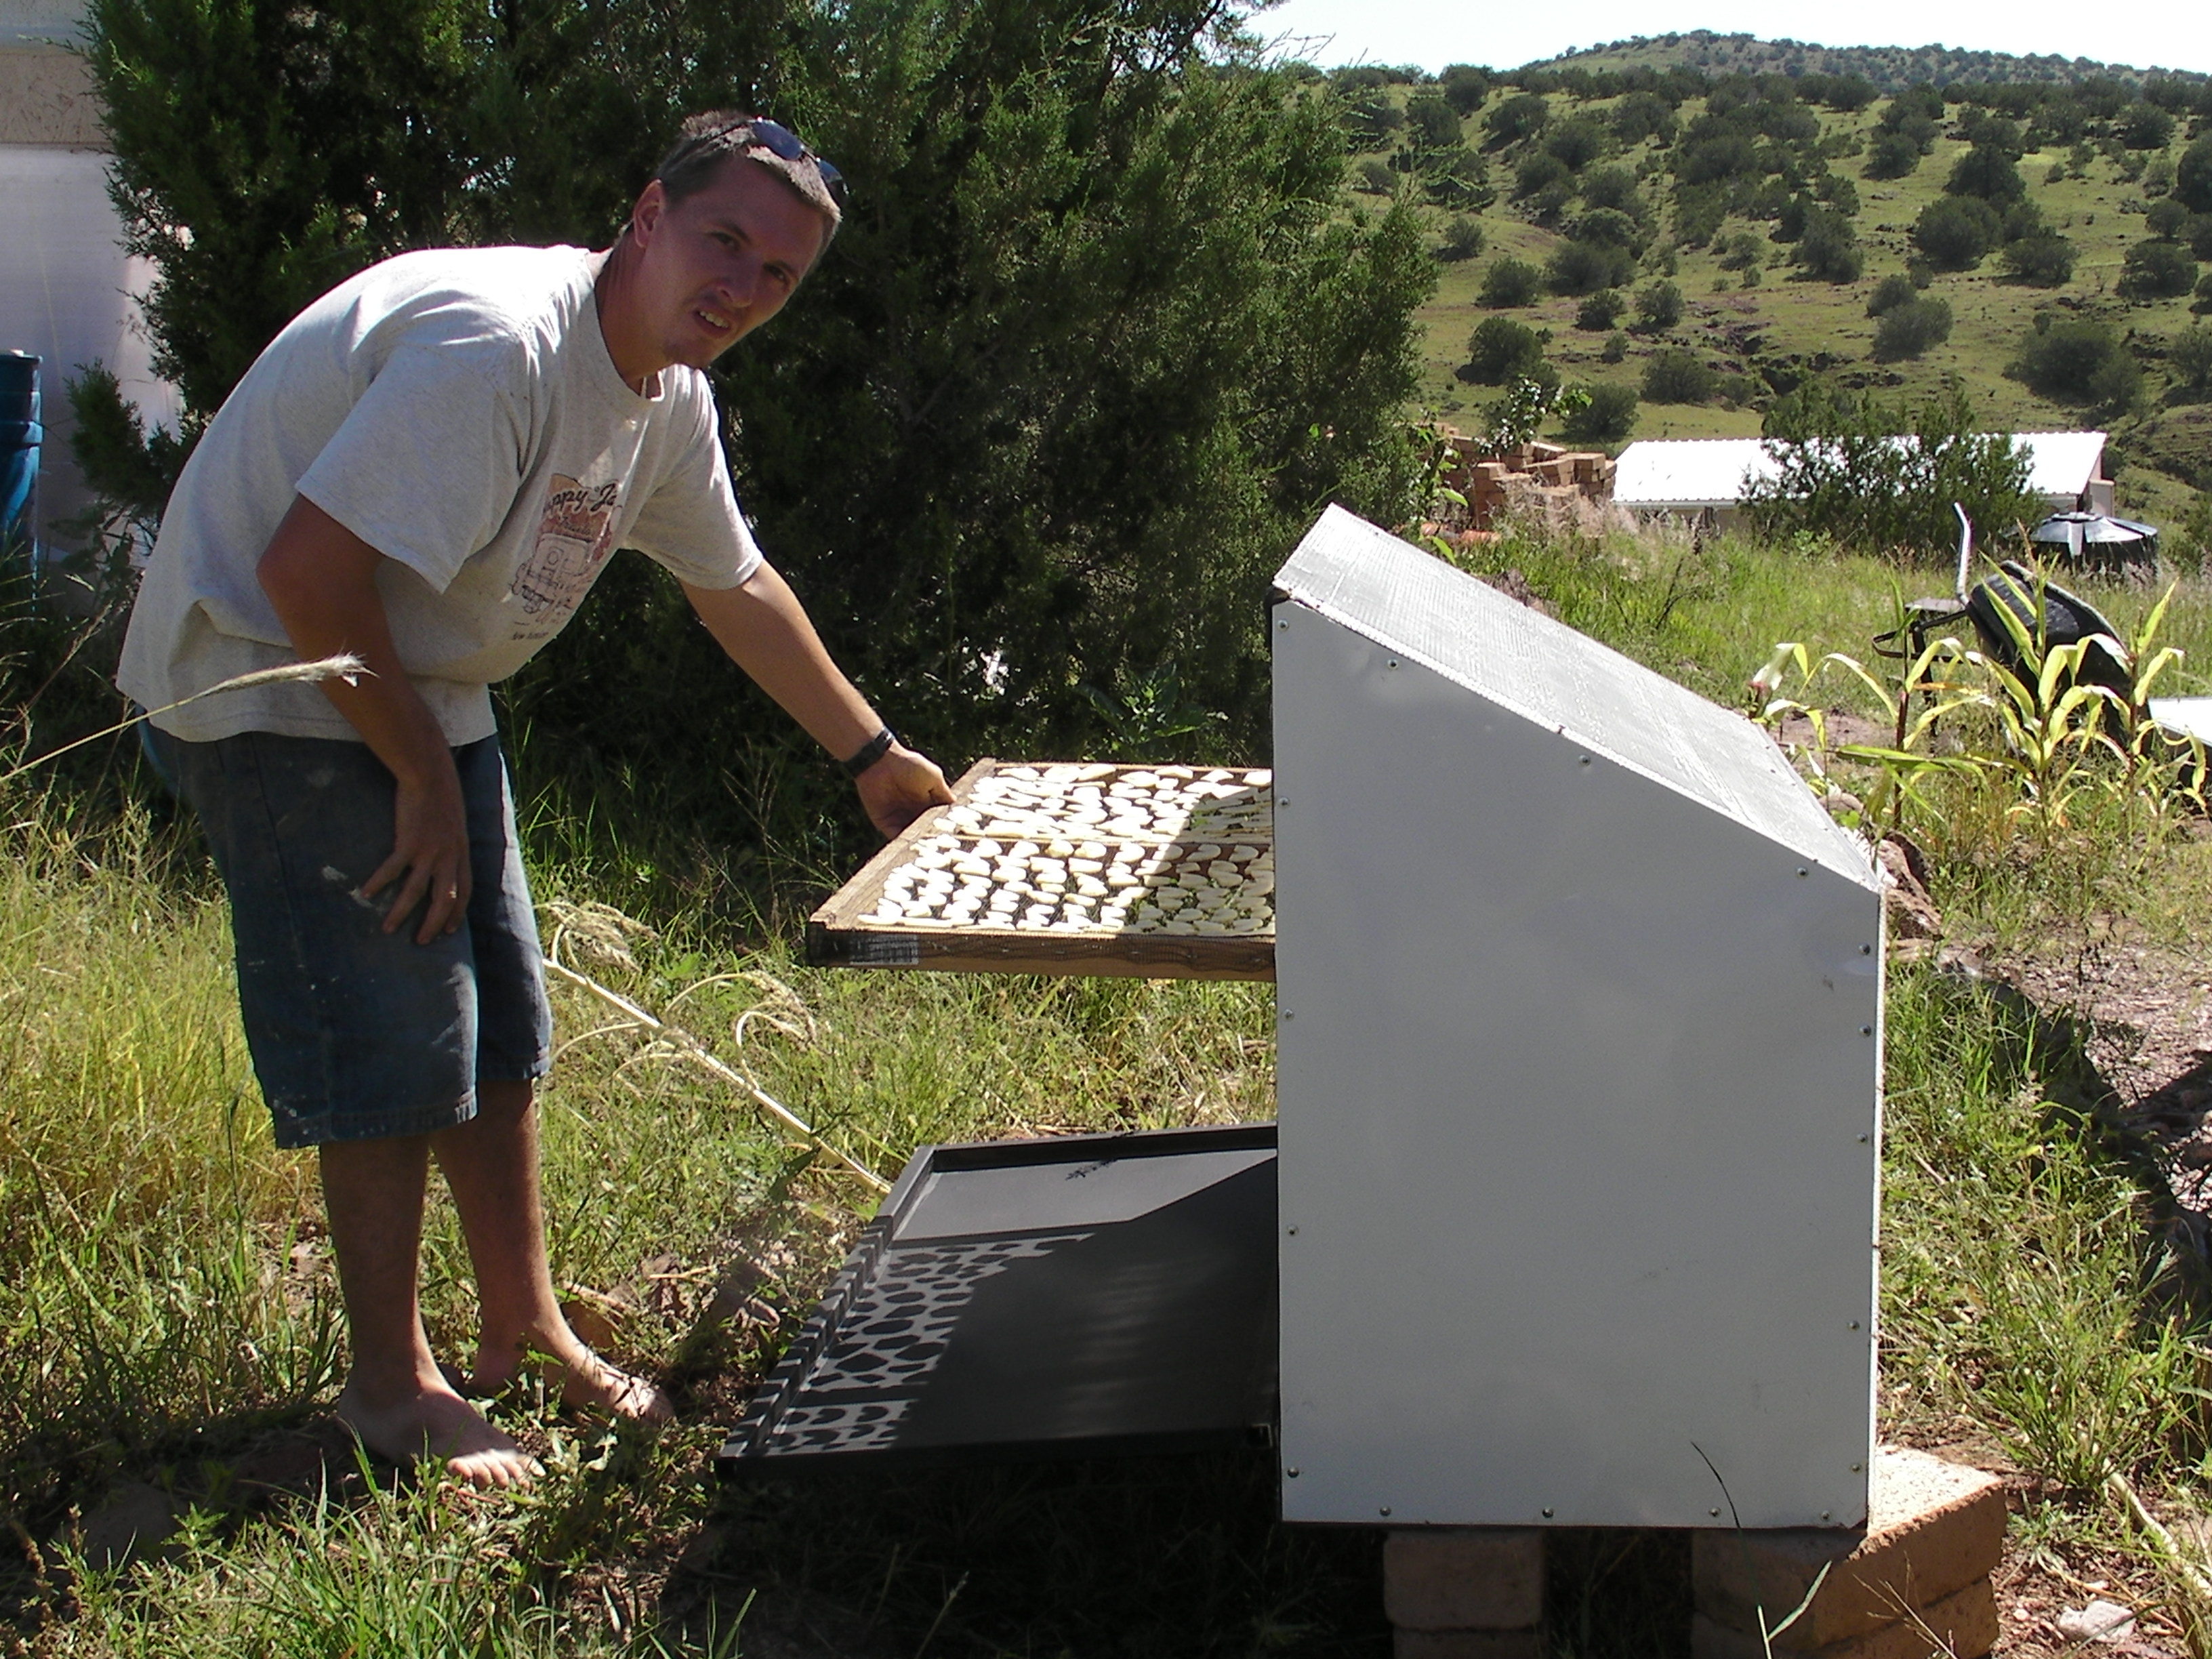
The food is laid out on trays, which sit behind a transparent polycarbonate sheet. Below the trays there’s a metal shelf, painted black, that serves as a heat absorber. As heated air rises through the food, cool air is drawn in through the bottom vent, and the heated, moisture-laden air flows out the exhaust at the top.
Because the dryer is something we plan to use for many years to come, we decided to make ours out of metal. If you don’t have access to a welder, you can make the frame out of wood, but you’ll need to adjust these plans accordingly.
Steps
Step #1: Make the frame.
Next


- You can make the frame any size you want, but I settled on 48" long by 18" wide. This was the size that I could cover with one sheet of 24"×96" polycarbonate.
- Cut 3 lengths of square tubing 46" long, and 2 lengths of 48". These will be the horizontal beams of the frame.
- Cut 2 lengths 34" long and 2 lengths of 22", for the upright pieces of the frame.
- Place the two 34" uprights on a level surface. Mark each one 3" from the bottom and 10" from the top. Place a 46" beam between the 2 uprights, below the 3" mark, and weld it in place. Place another beam between the 2 uprights, above the 10" mark, and weld it in place. This is the front (or door) panel.
- Weld the 22" uprights between the 48" beams to form a big rectangle. Be sure to put the beams above and below the uprights, not between them, so that everything will come out to be 48" long. This is the back panel.
- With the back and front panels welded, it’s time to lay out the sides. Stand the back panel up vertically on a level surface. For the bottom sidepieces, cut two 20" lengths of square tubing and lay them down, butted against the back panel, one on each side. Stand the front panel up vertically on top of these sidepieces. (Clamp or tie both vertical panels to something to keep them upright.) Square the bottom sidepieces with the uprights and clamp them all in place.
- Now cut 2 lengths of square tubing that will connect the tops of the front and back panels. Because the front is taller than the back, these 2 top sidepieces will be angled. Hold a piece of square tubing roughly in place and mark it so that it fits in between the front and back panel. Repeat for the other side. If your panels are level and square, these top sidepieces should be the same size.
Conclusion
This project first appeared in MAKE Volume 26.


