At BeatBots, we believe that dancing is one of the most worthwhile occupations a robot can have. We like making cute characters move in interesting ways, and as you’ll see, this doesn’t require expensive components or complicated programming. For Spazzi here, we decided to forego the rotational motors (servos and steppers) that many robots use. Instead, we went with solenoids, for movement that is fast, linear, and percussive.
We designed our popular teleoperated robot Keepon for research and the rigors of a child-filled playroom, so he’s made from high-end components and custom-machined metal parts. (A toy version, My Keepon, comes out later this year, and a portion of sales will subsidize the distribution of research robots to autism therapy practitioners.)
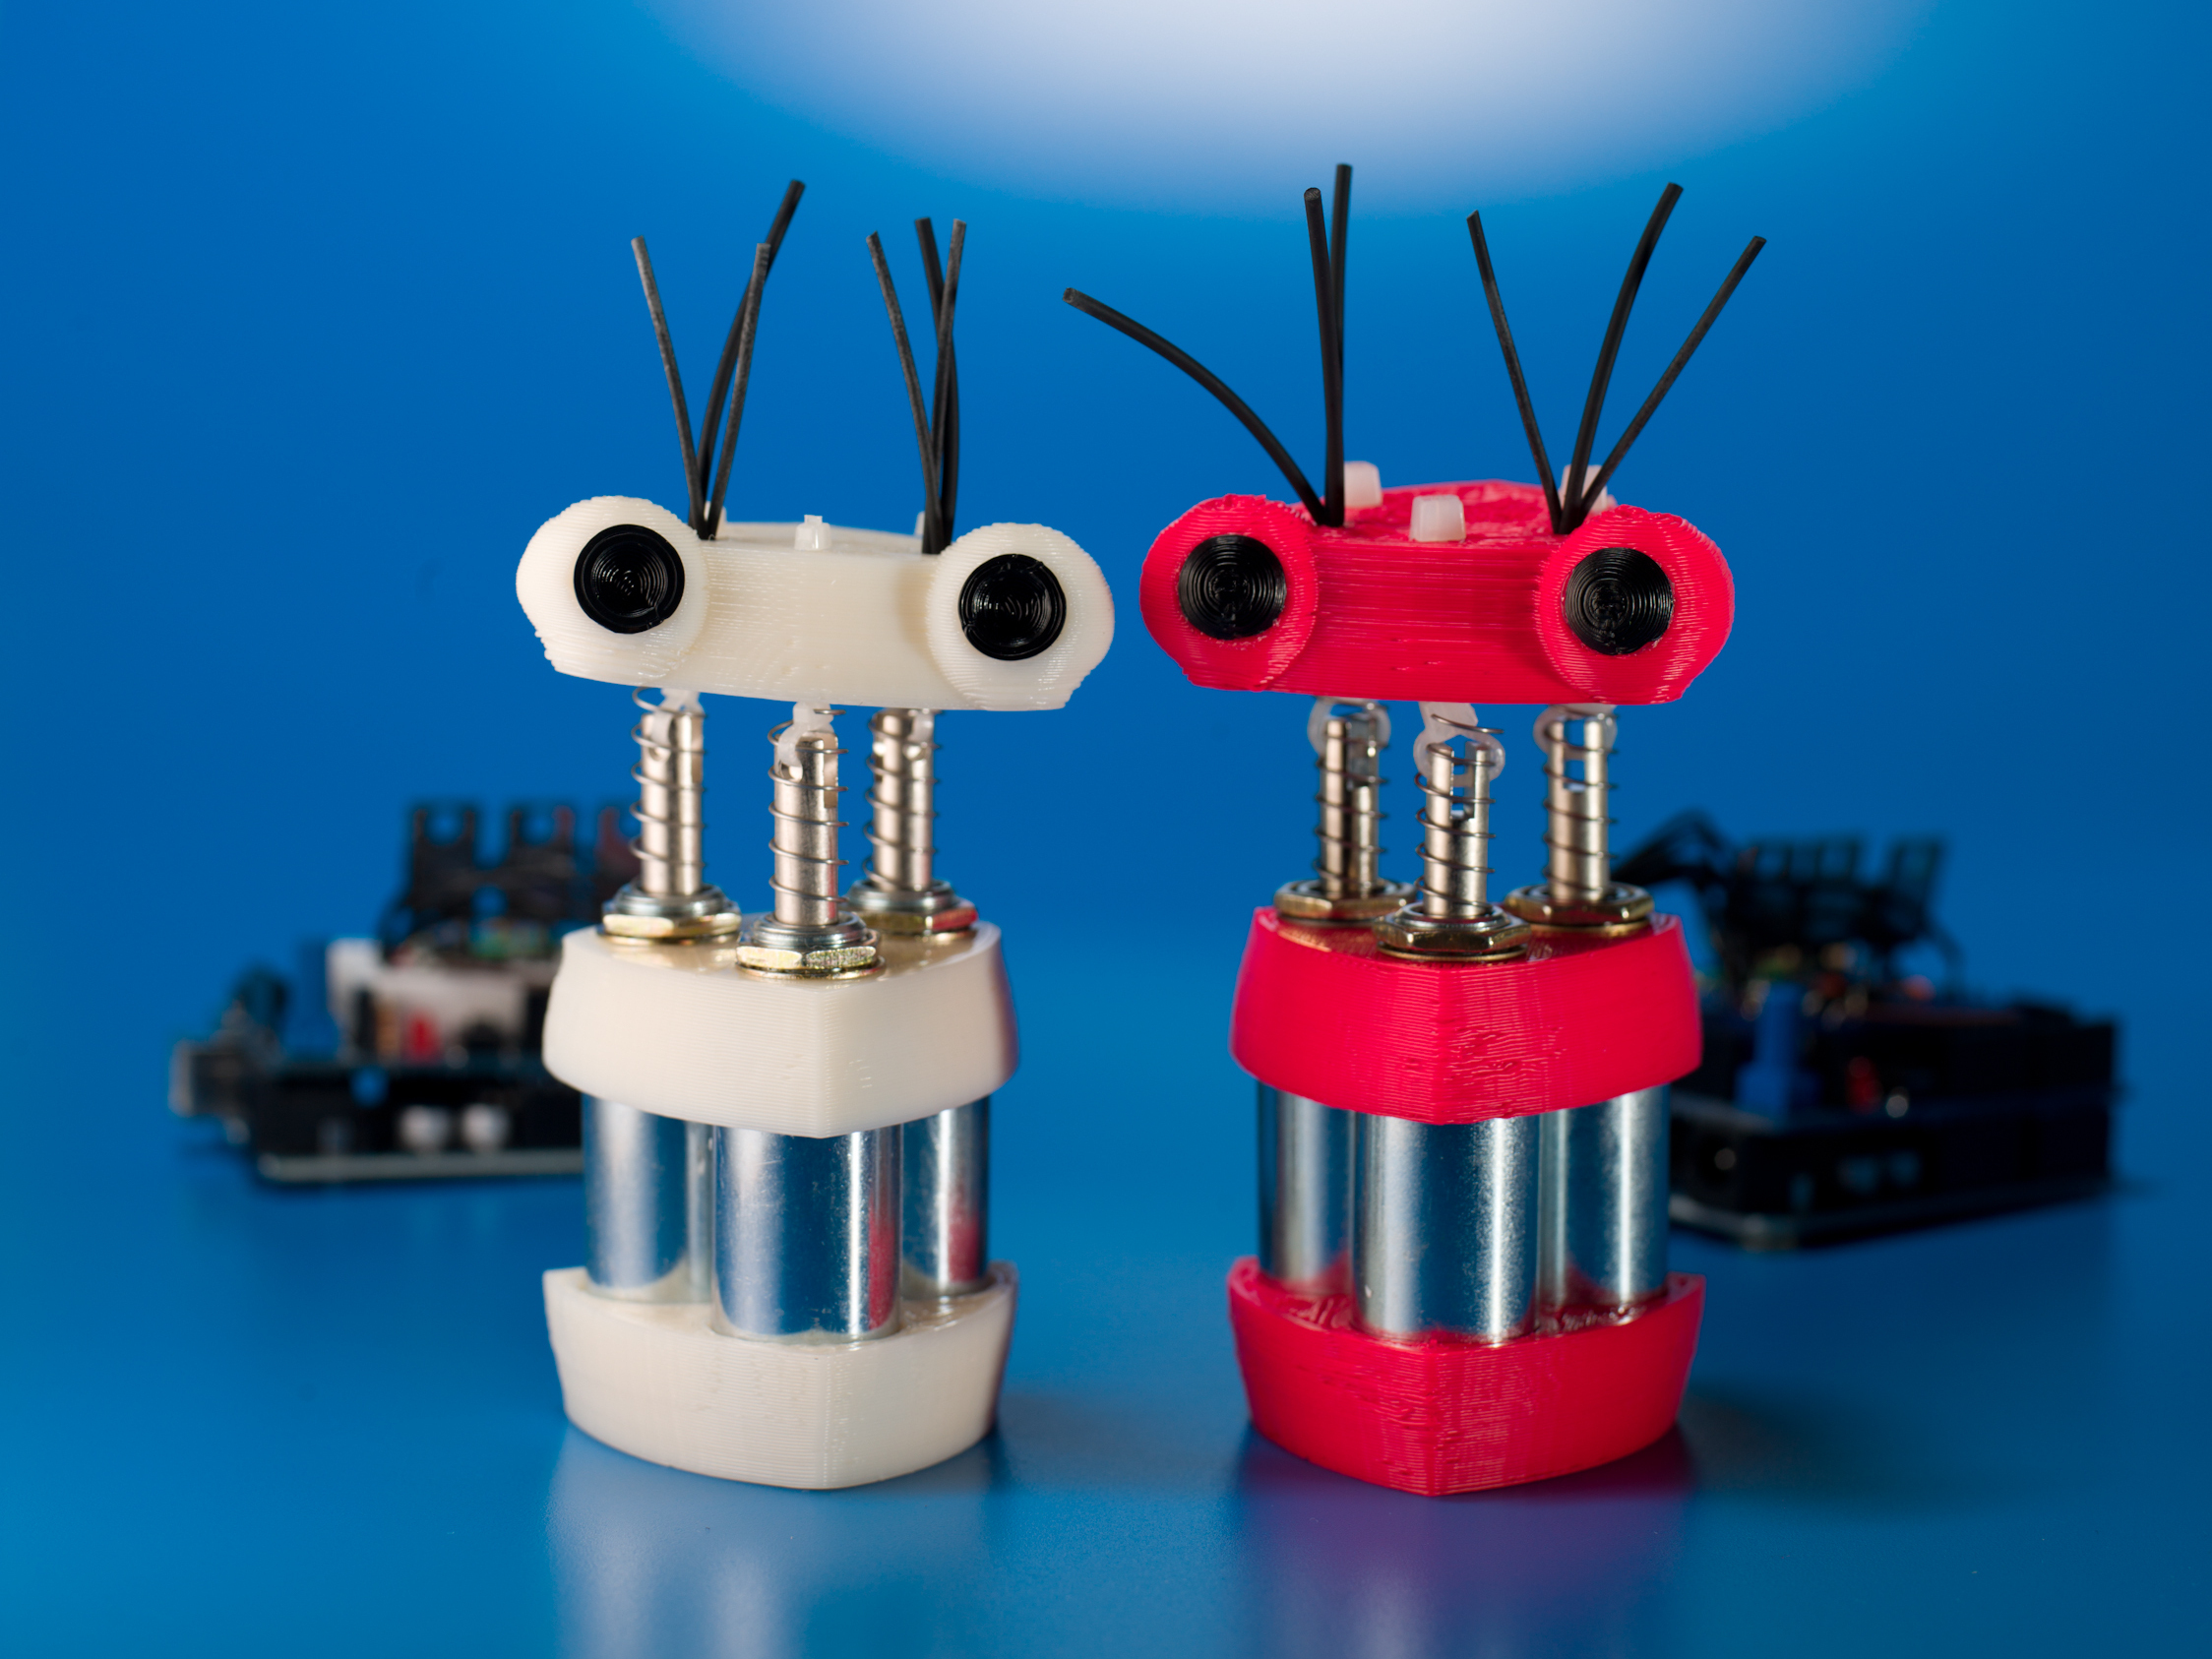
We designed Spazzi as a bouncy and easy to build robotic character that achieves the same adorable bounciness as Keepon through a simpler mechanism: solenoids and springs controlled by an Arduino microcontroller connected to a computer.
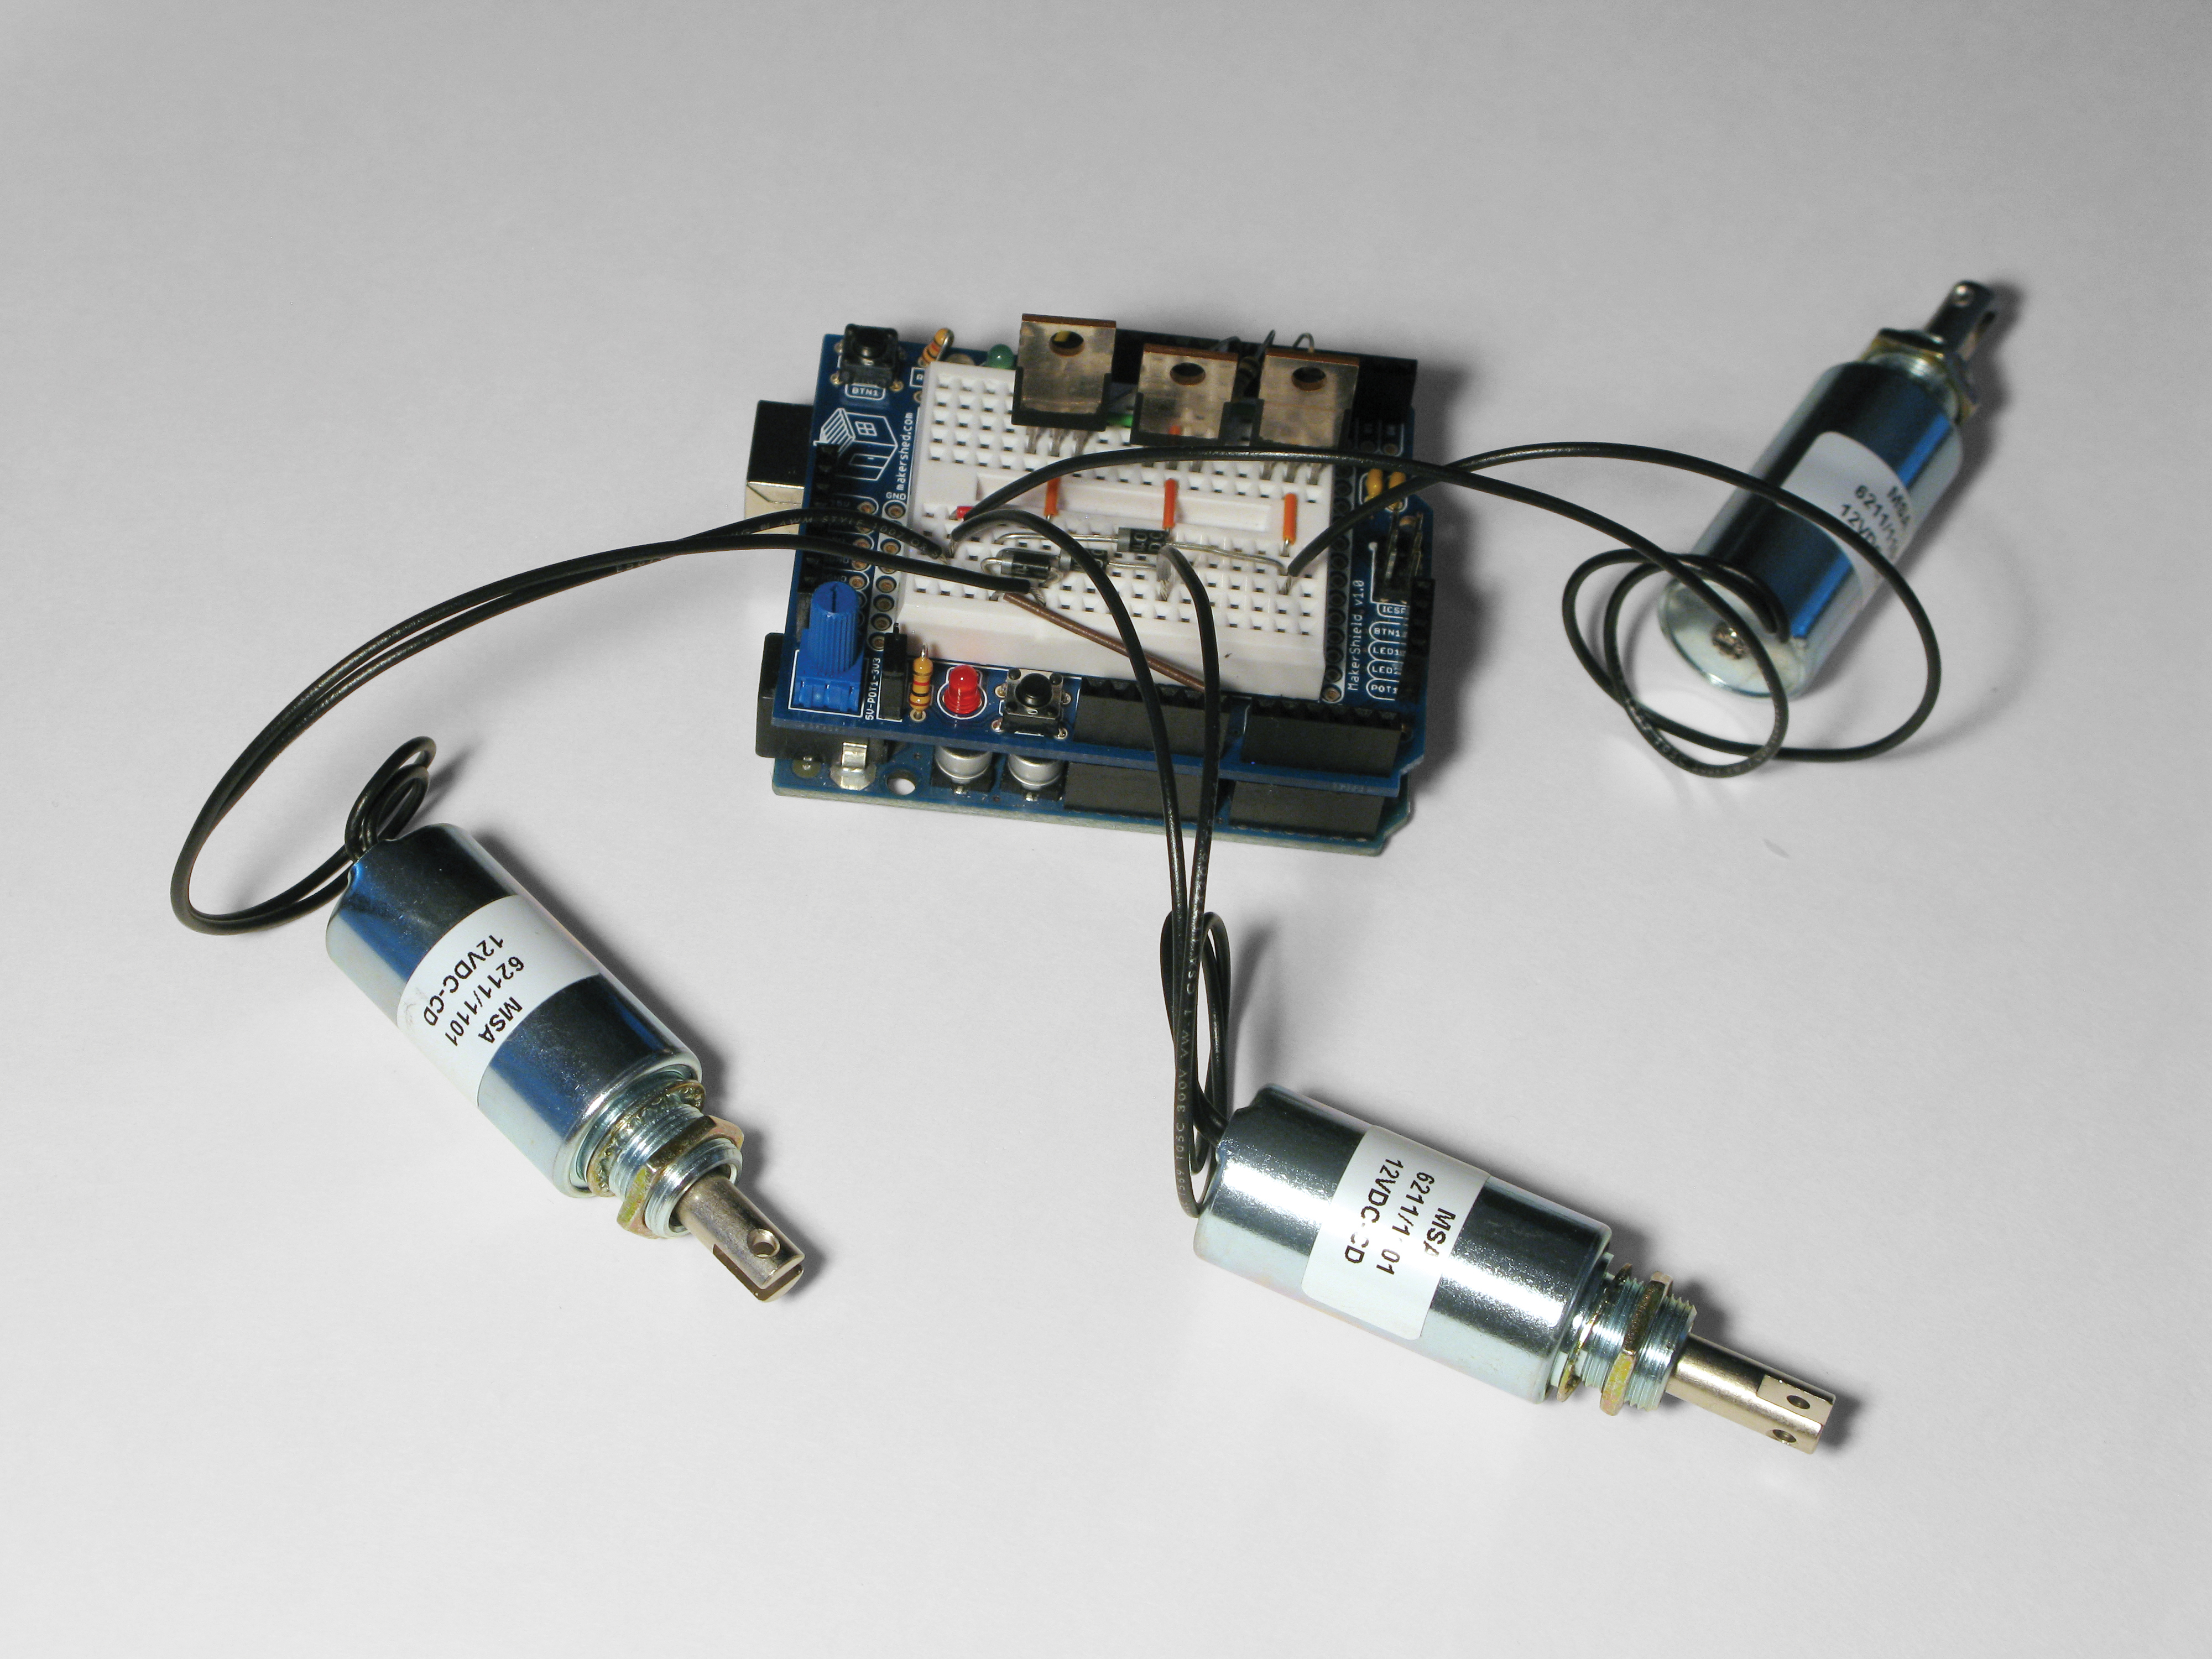
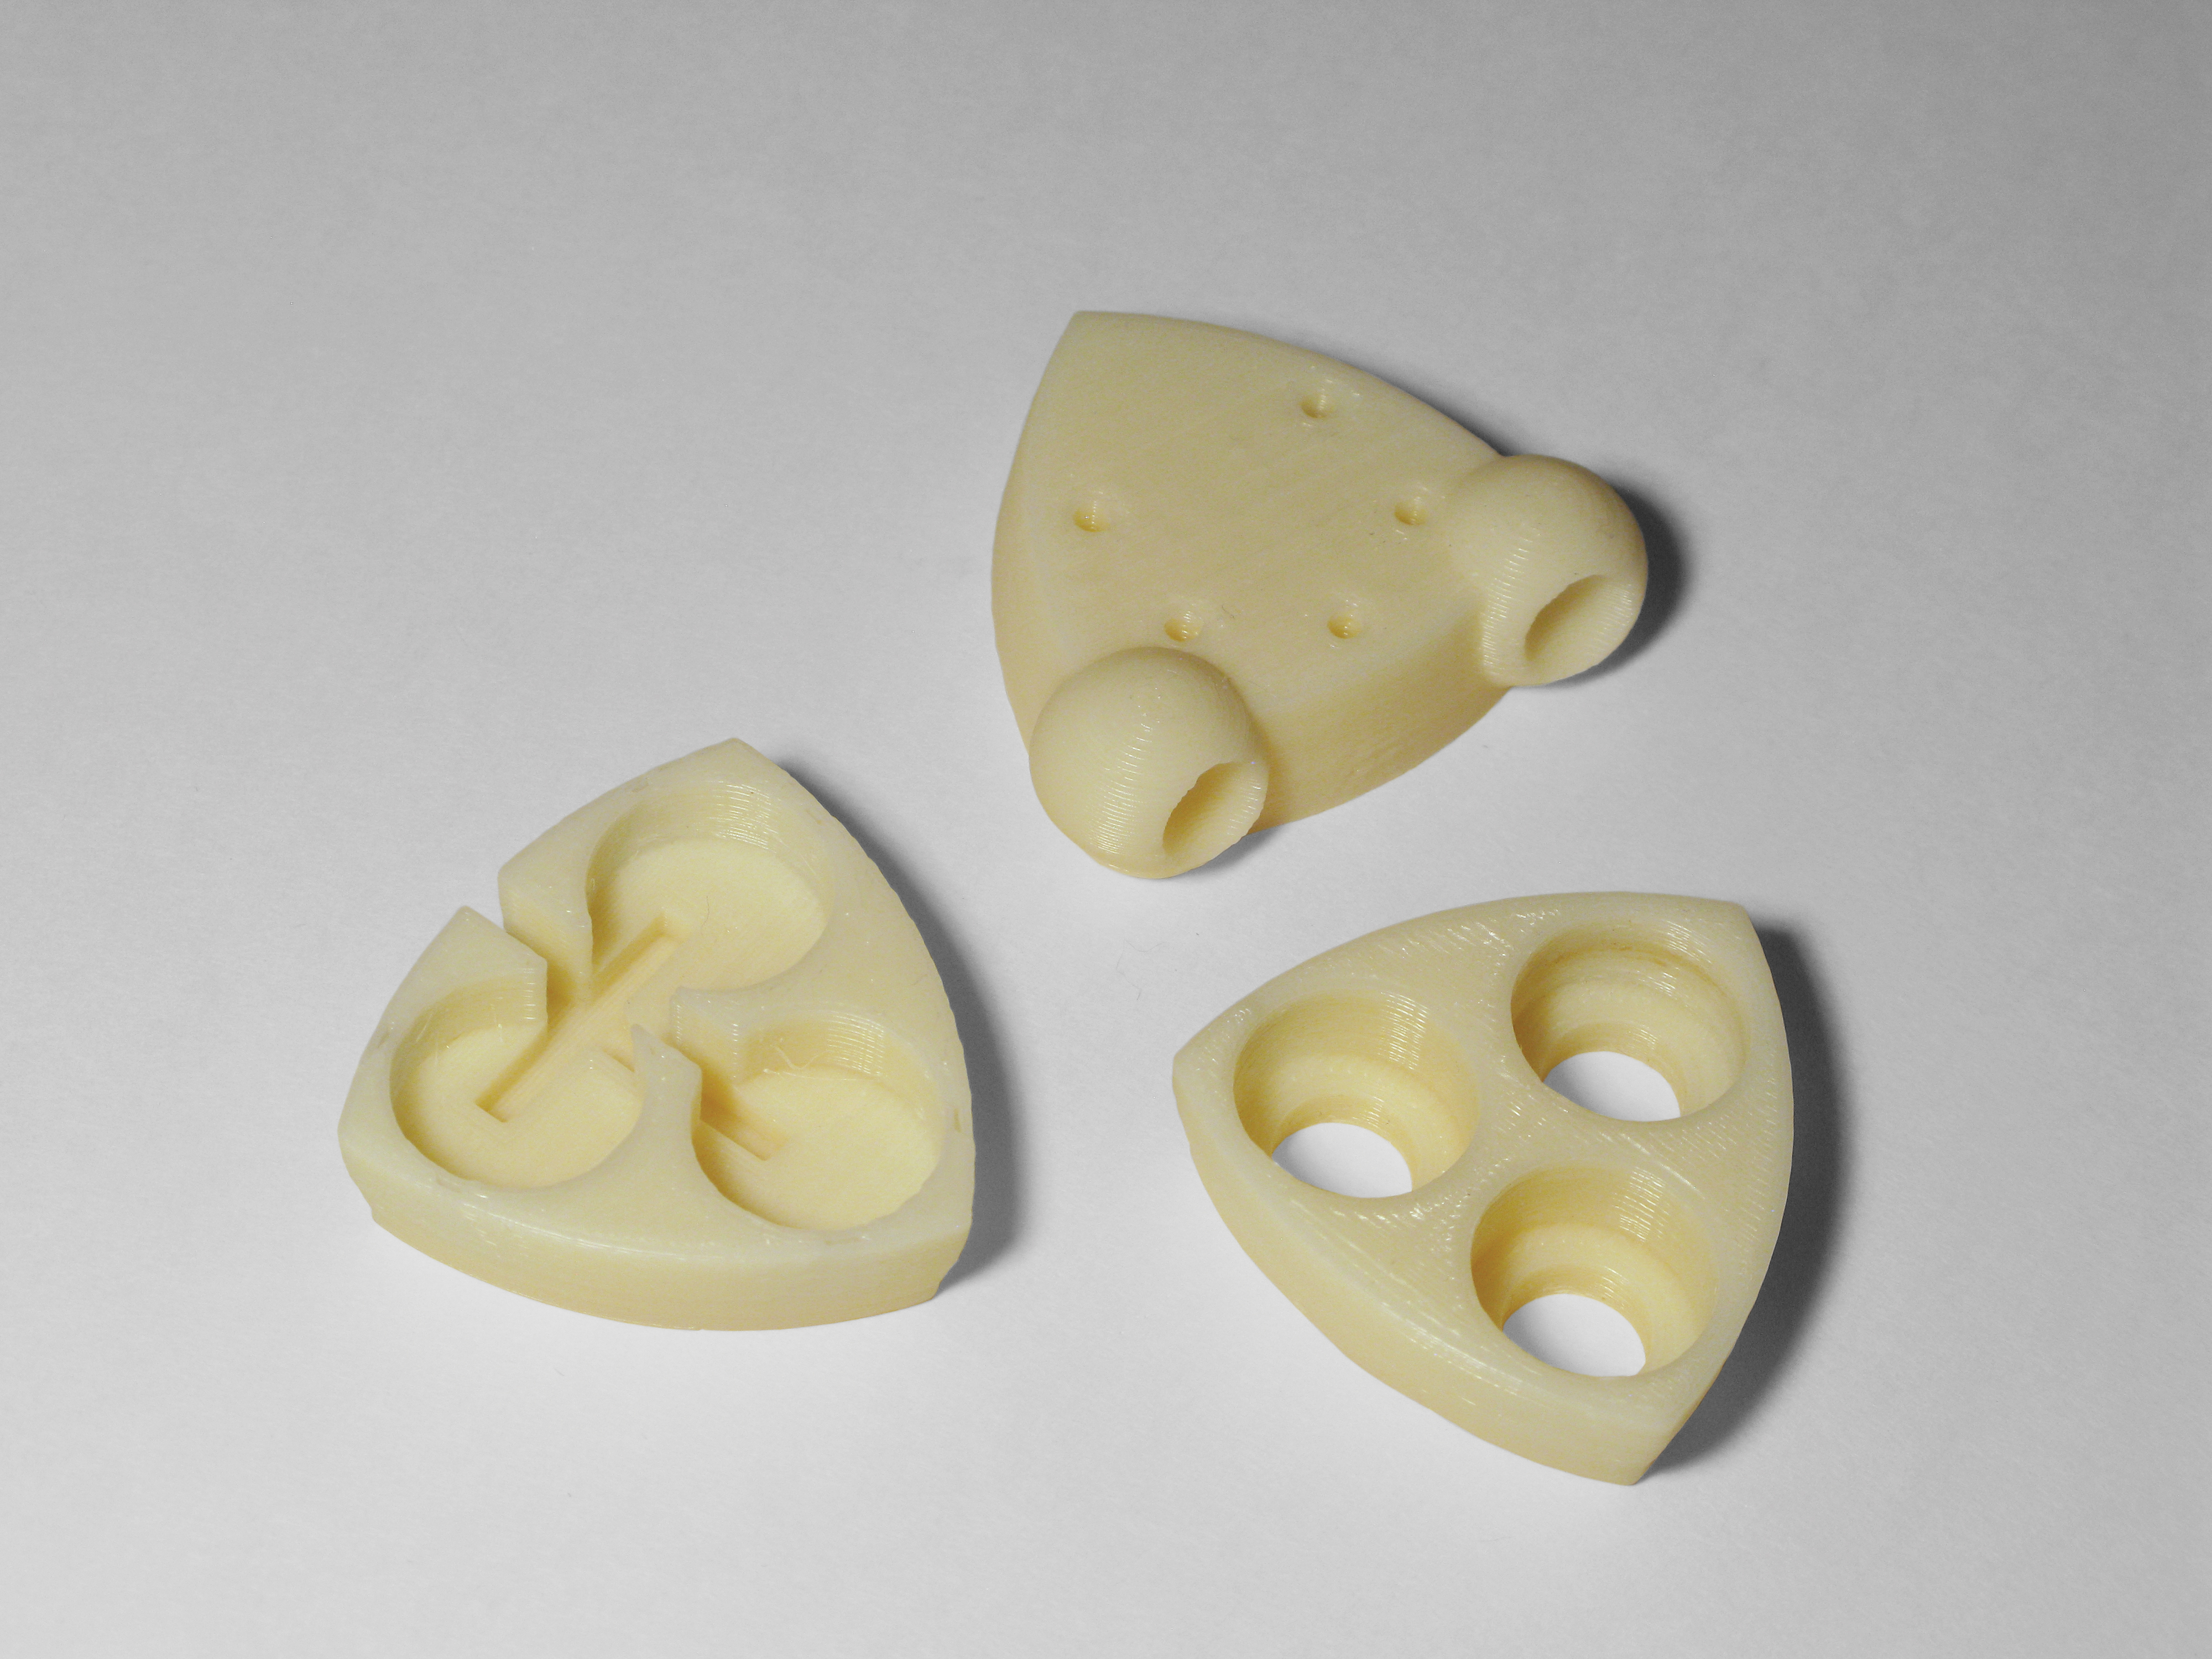
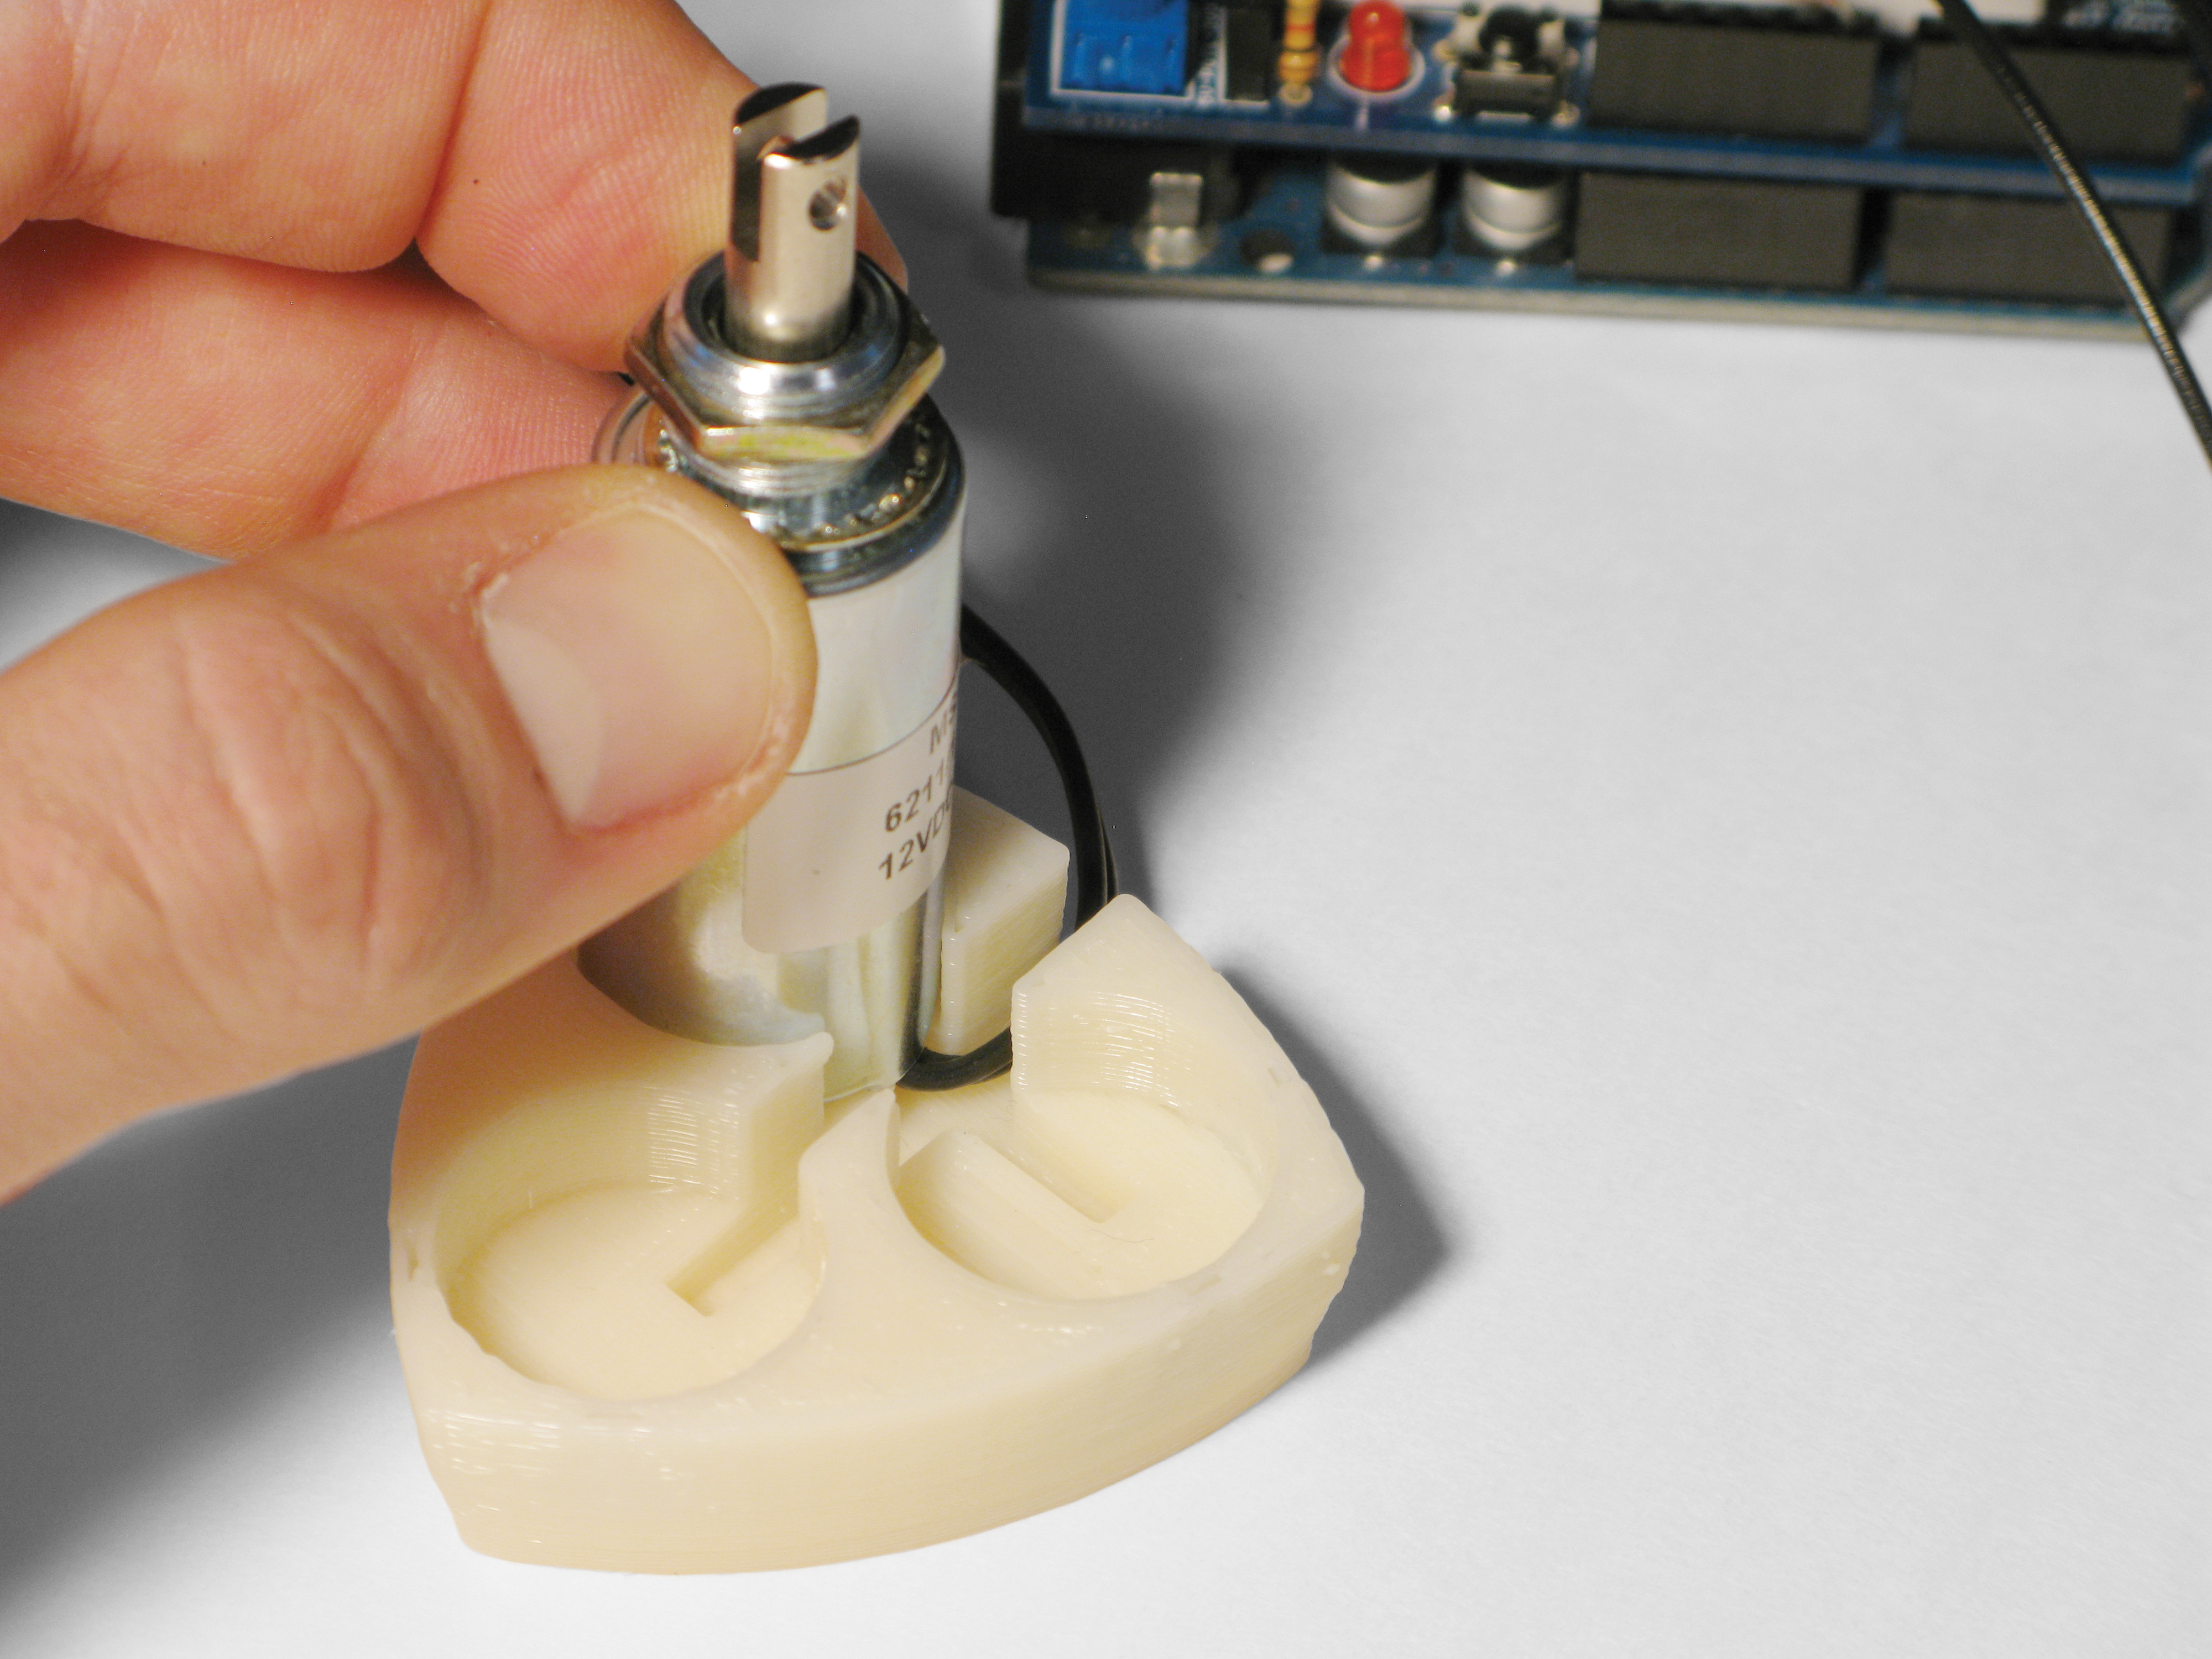
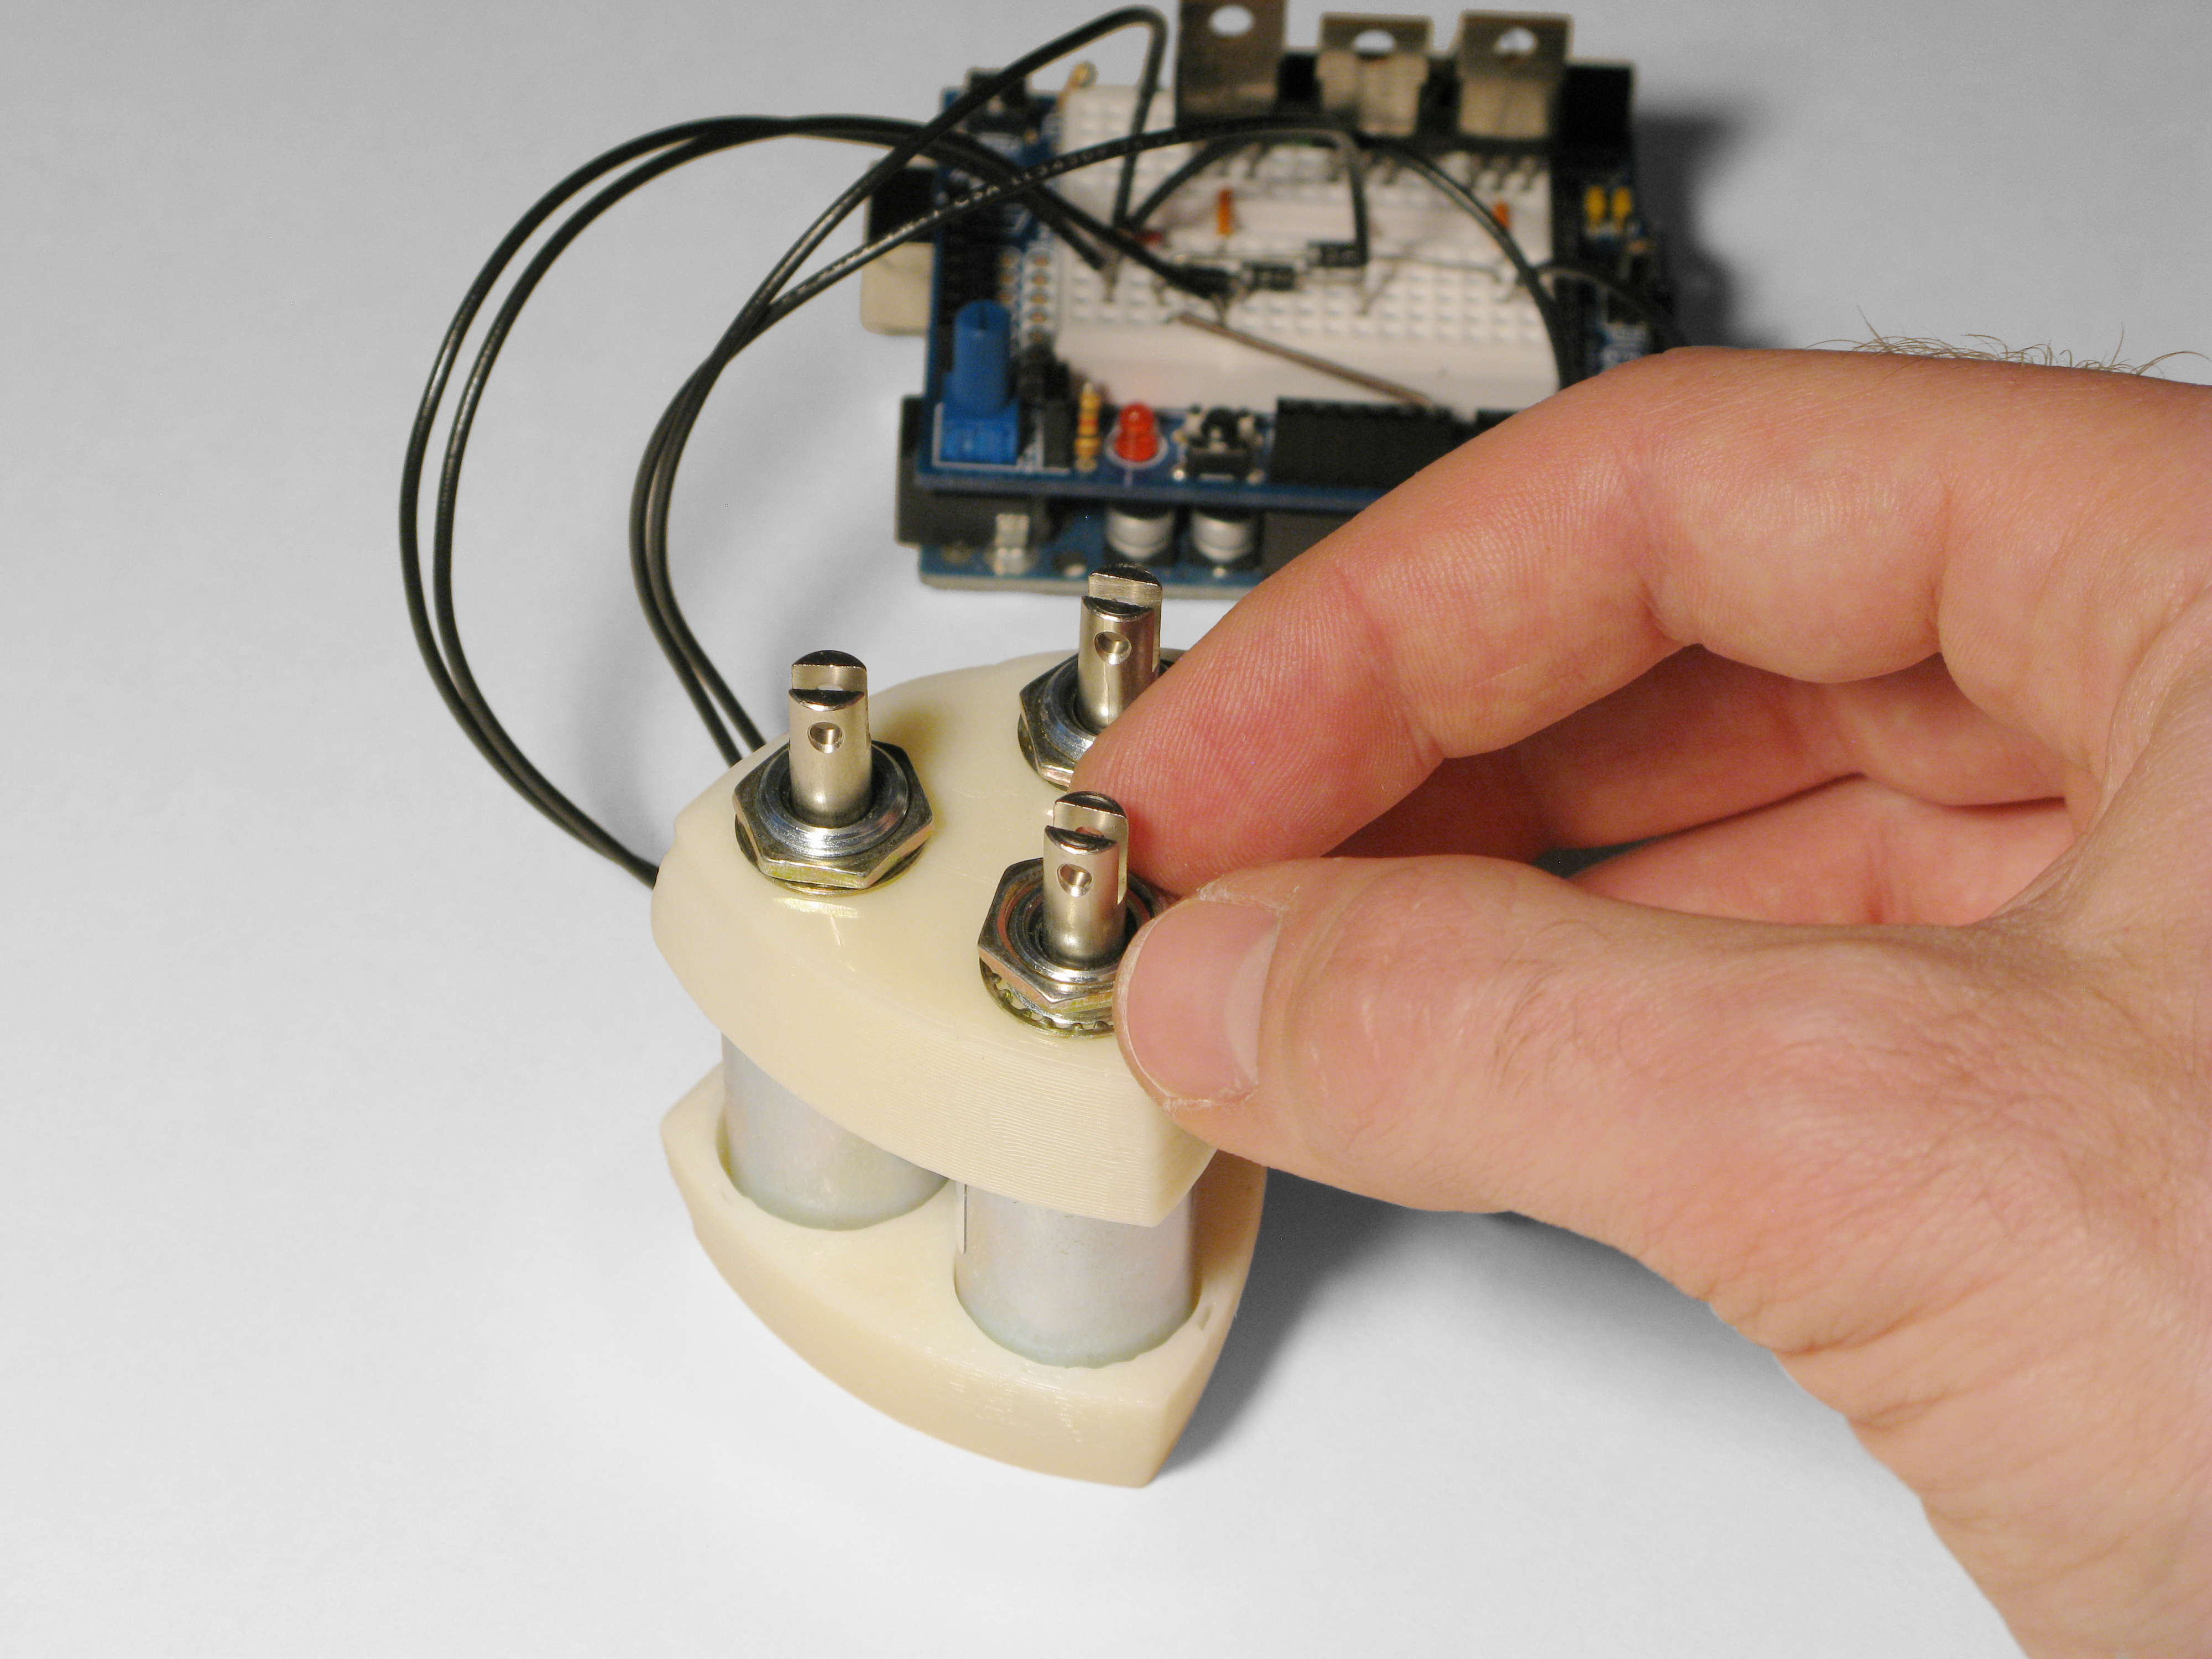
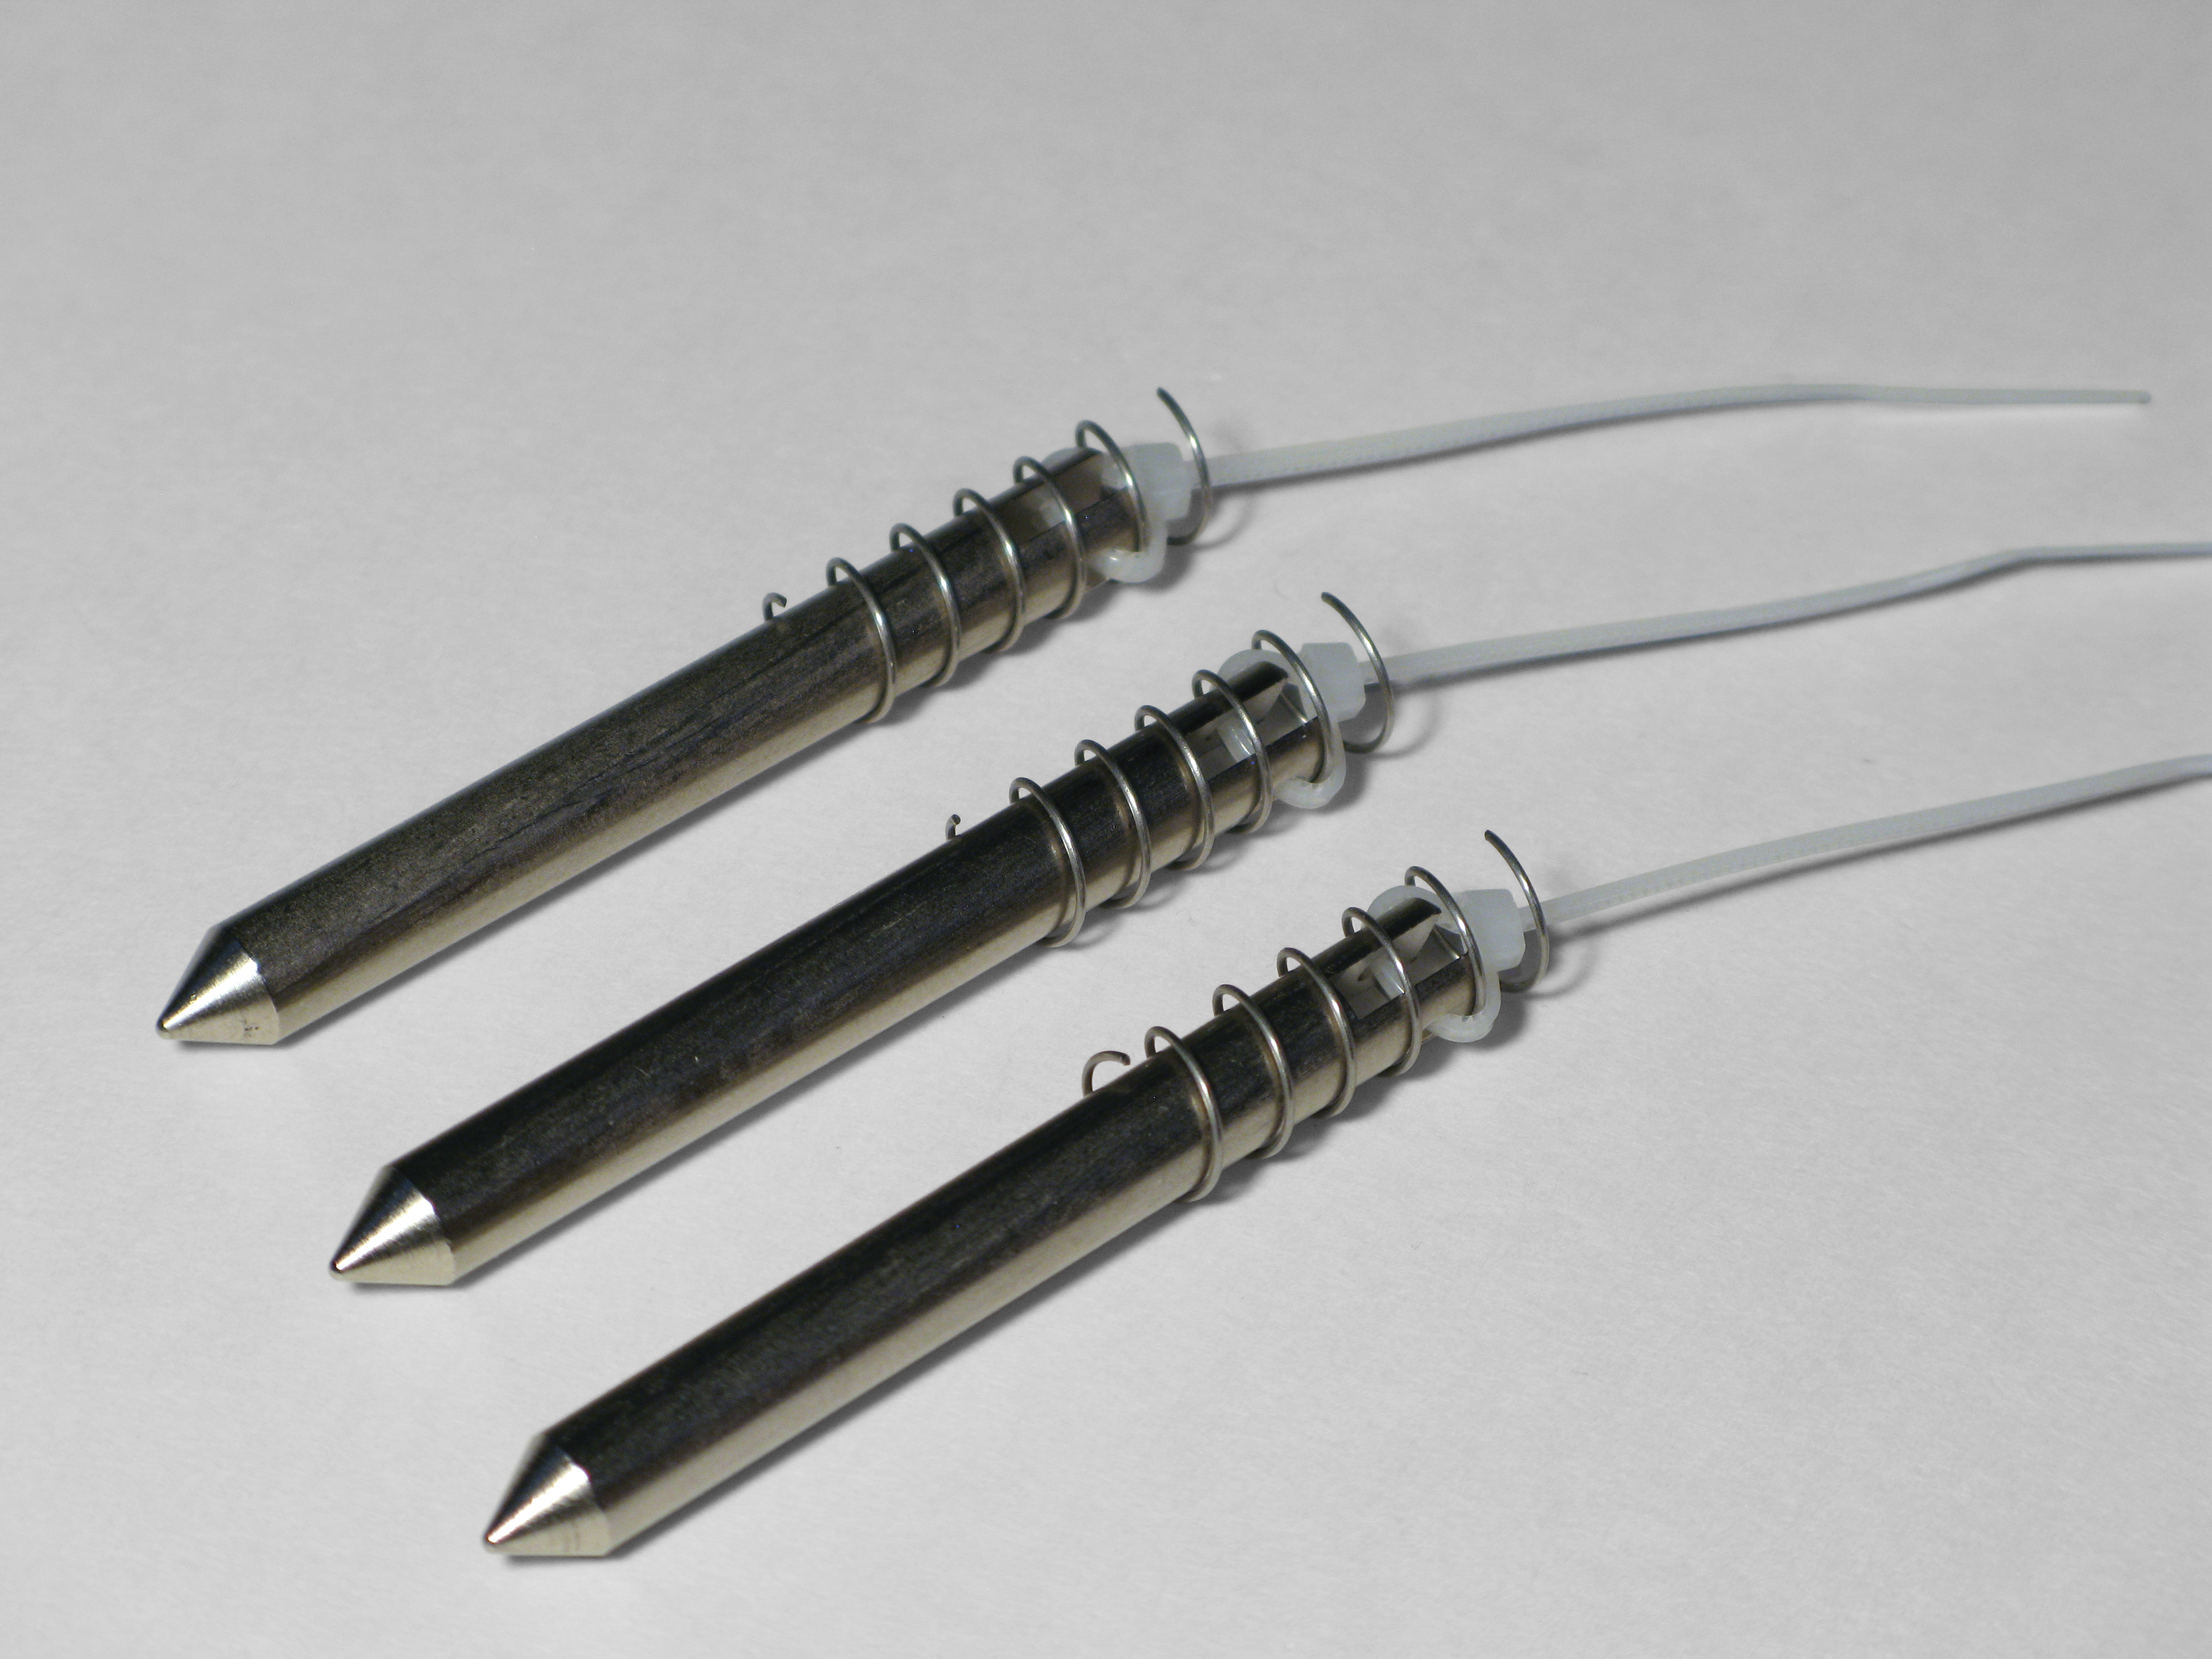
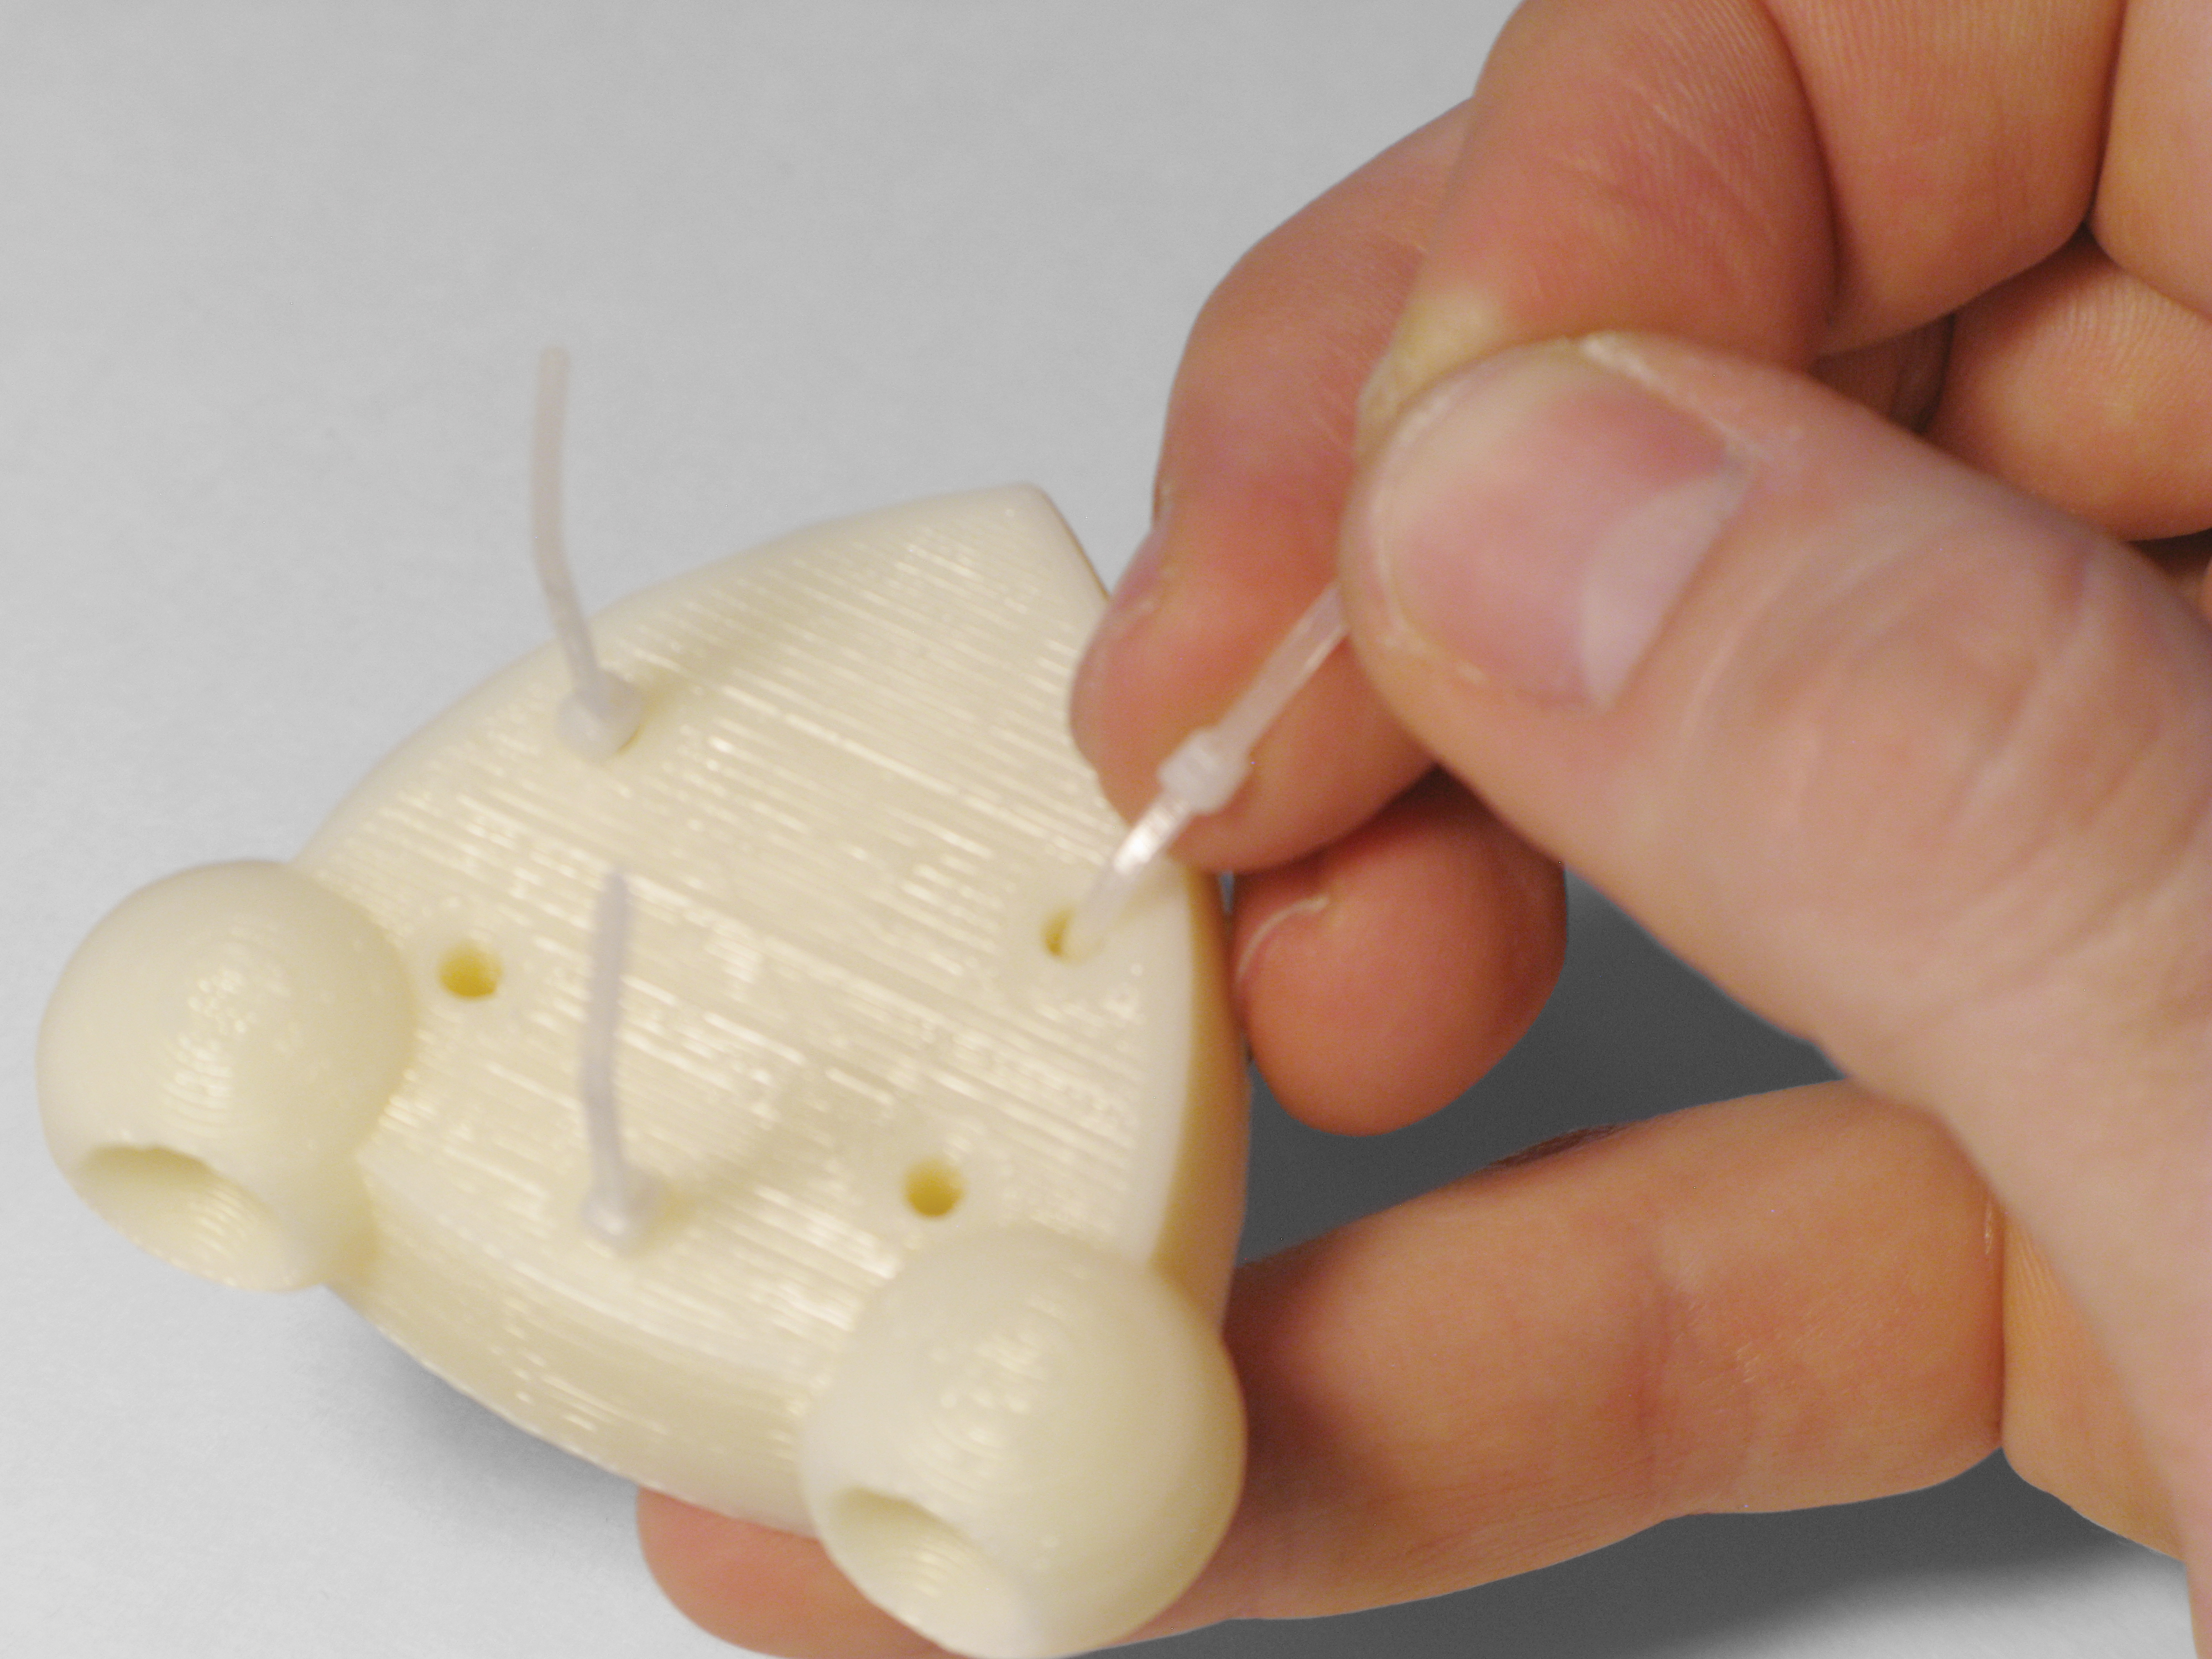
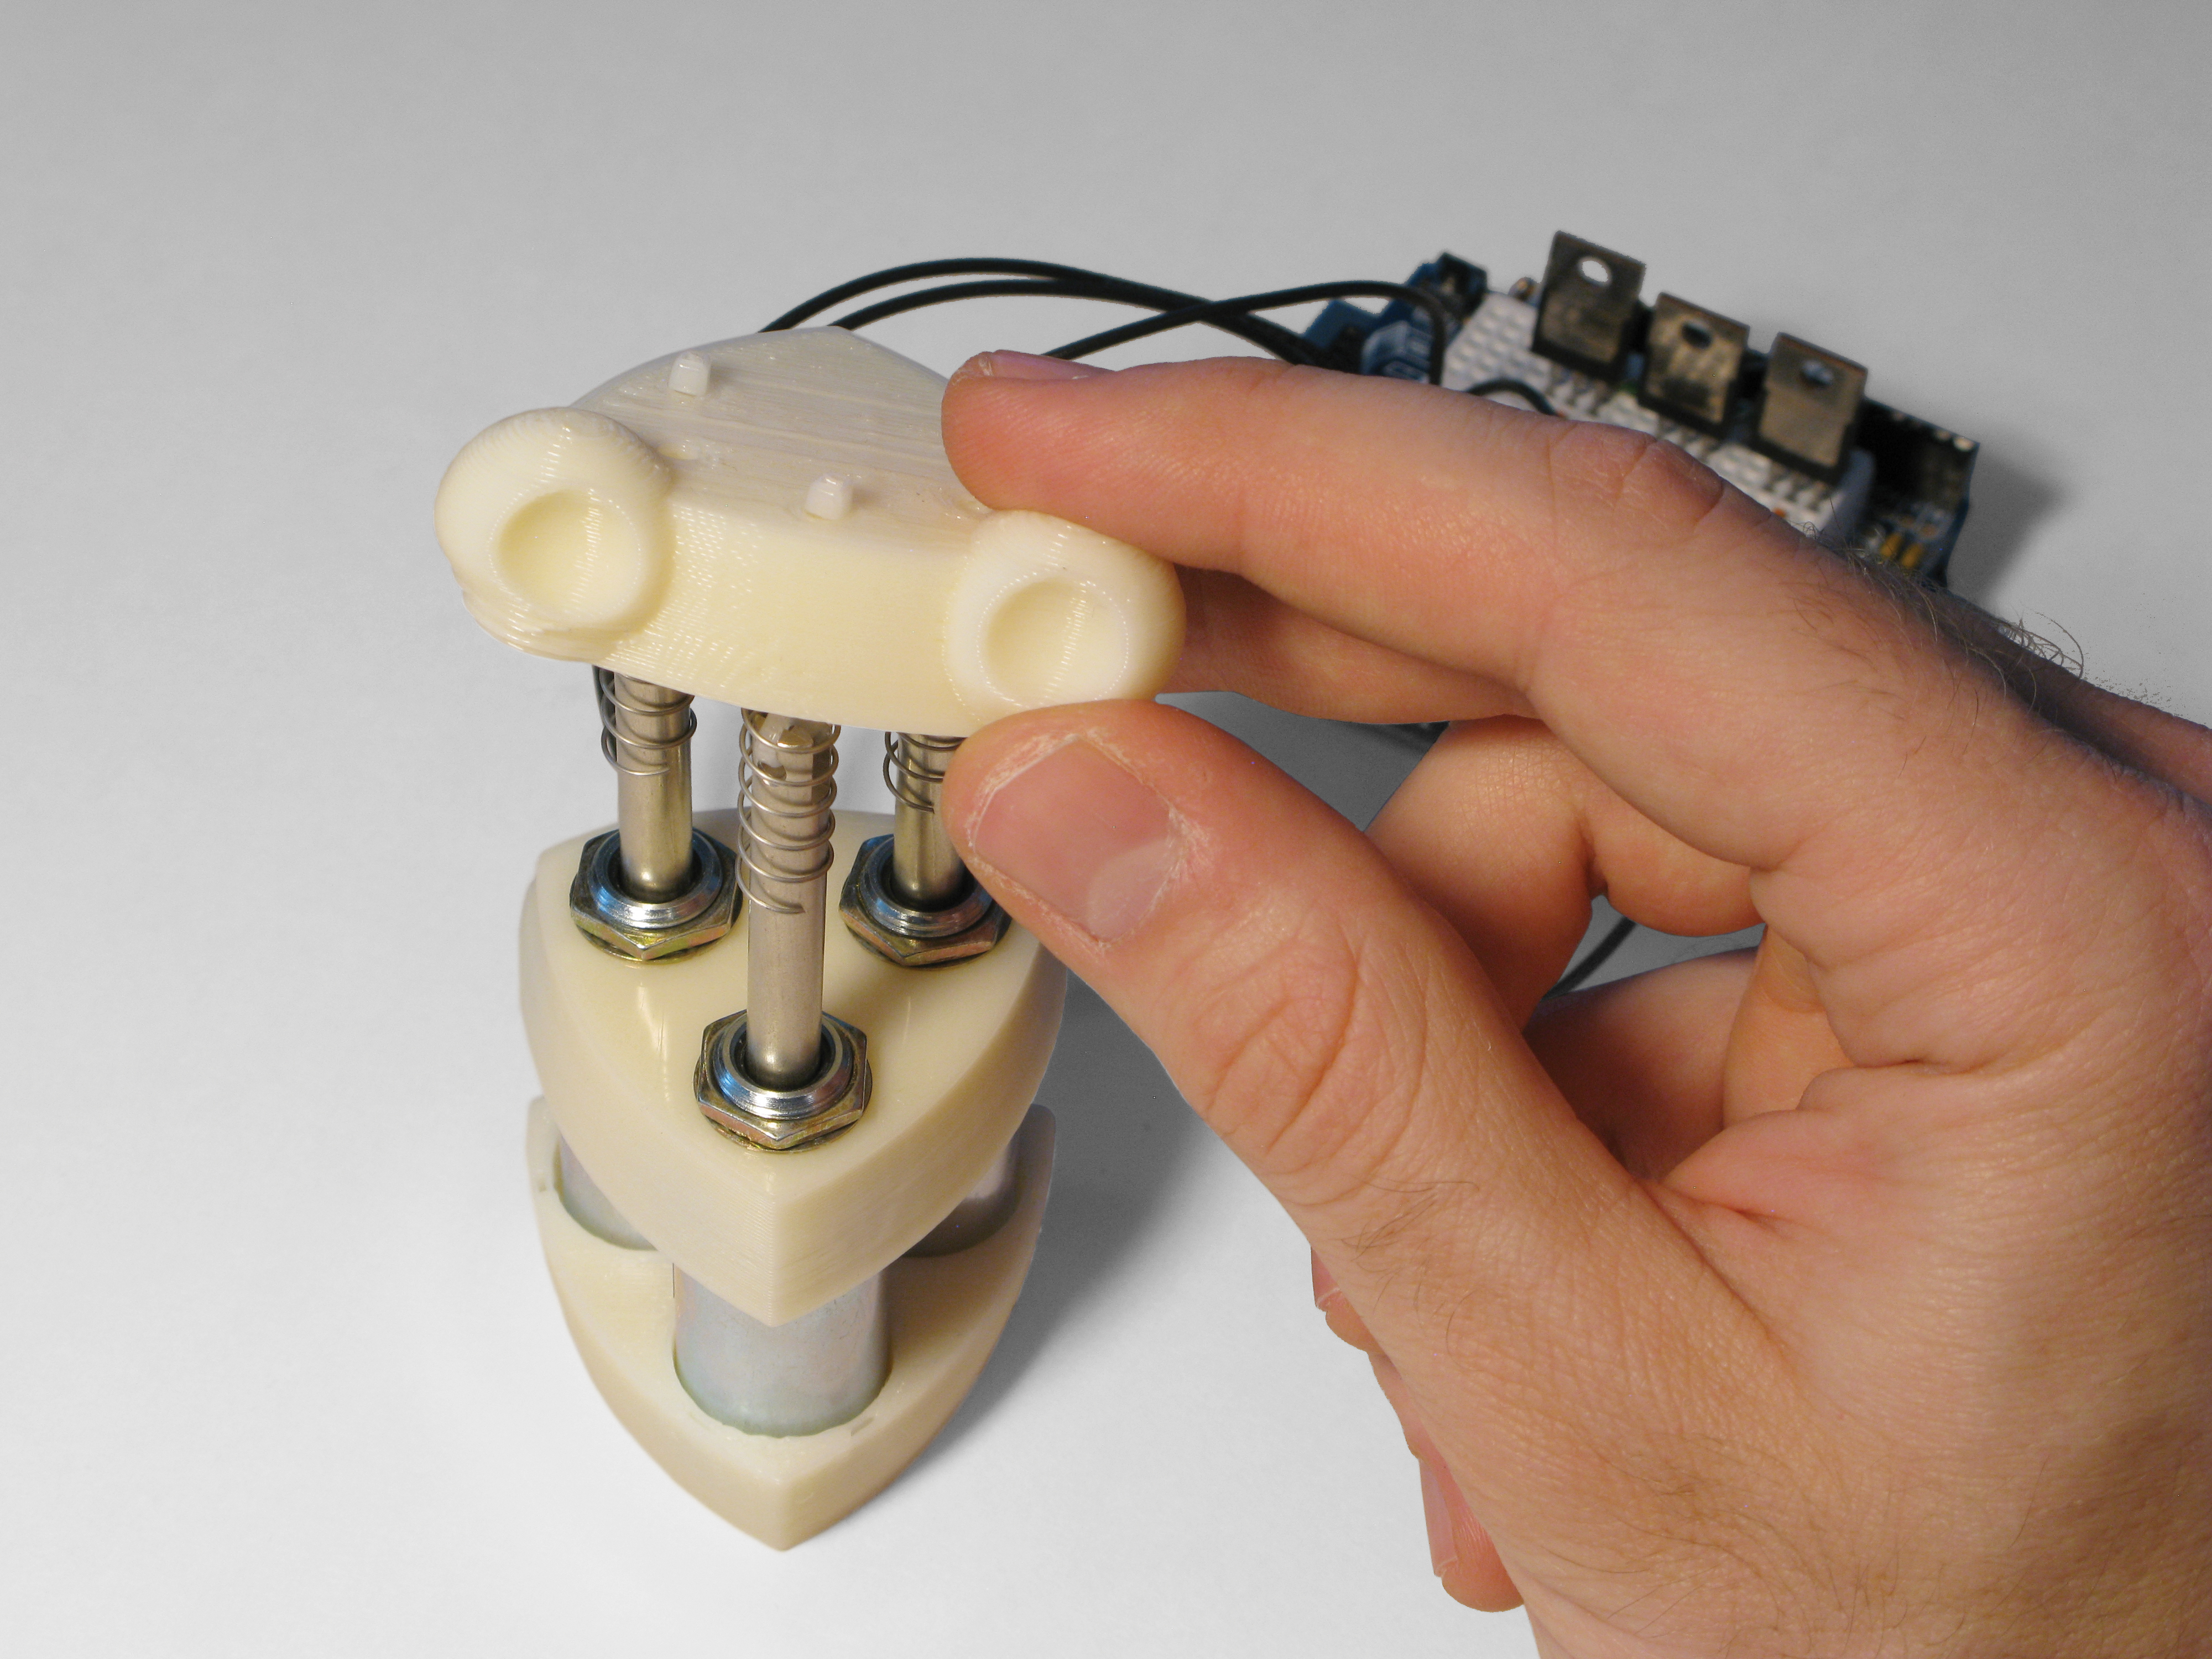
A solenoid is an electromagnet that pulls a rod (or “plunger”) inside its coil when current is passed through. Spazzi’s physical form is extremely simple; for his lower half, 3 solenoids stand parallel to form a triangle sandwiched between 2 plastic parts — a base and a waist. The plungers run up through the top of the waist and hold up the robot’s plastic head, extended by compression springs.
The 3 plastic body parts are based on the Reuleaux triangle — a shape with various interesting properties and uses (search online for more info). I made these parts on a 3D printer, but you could improvise your own body and head parts from any material, including cardboard. The core of the robot is just its assembly of solenoids and springs.
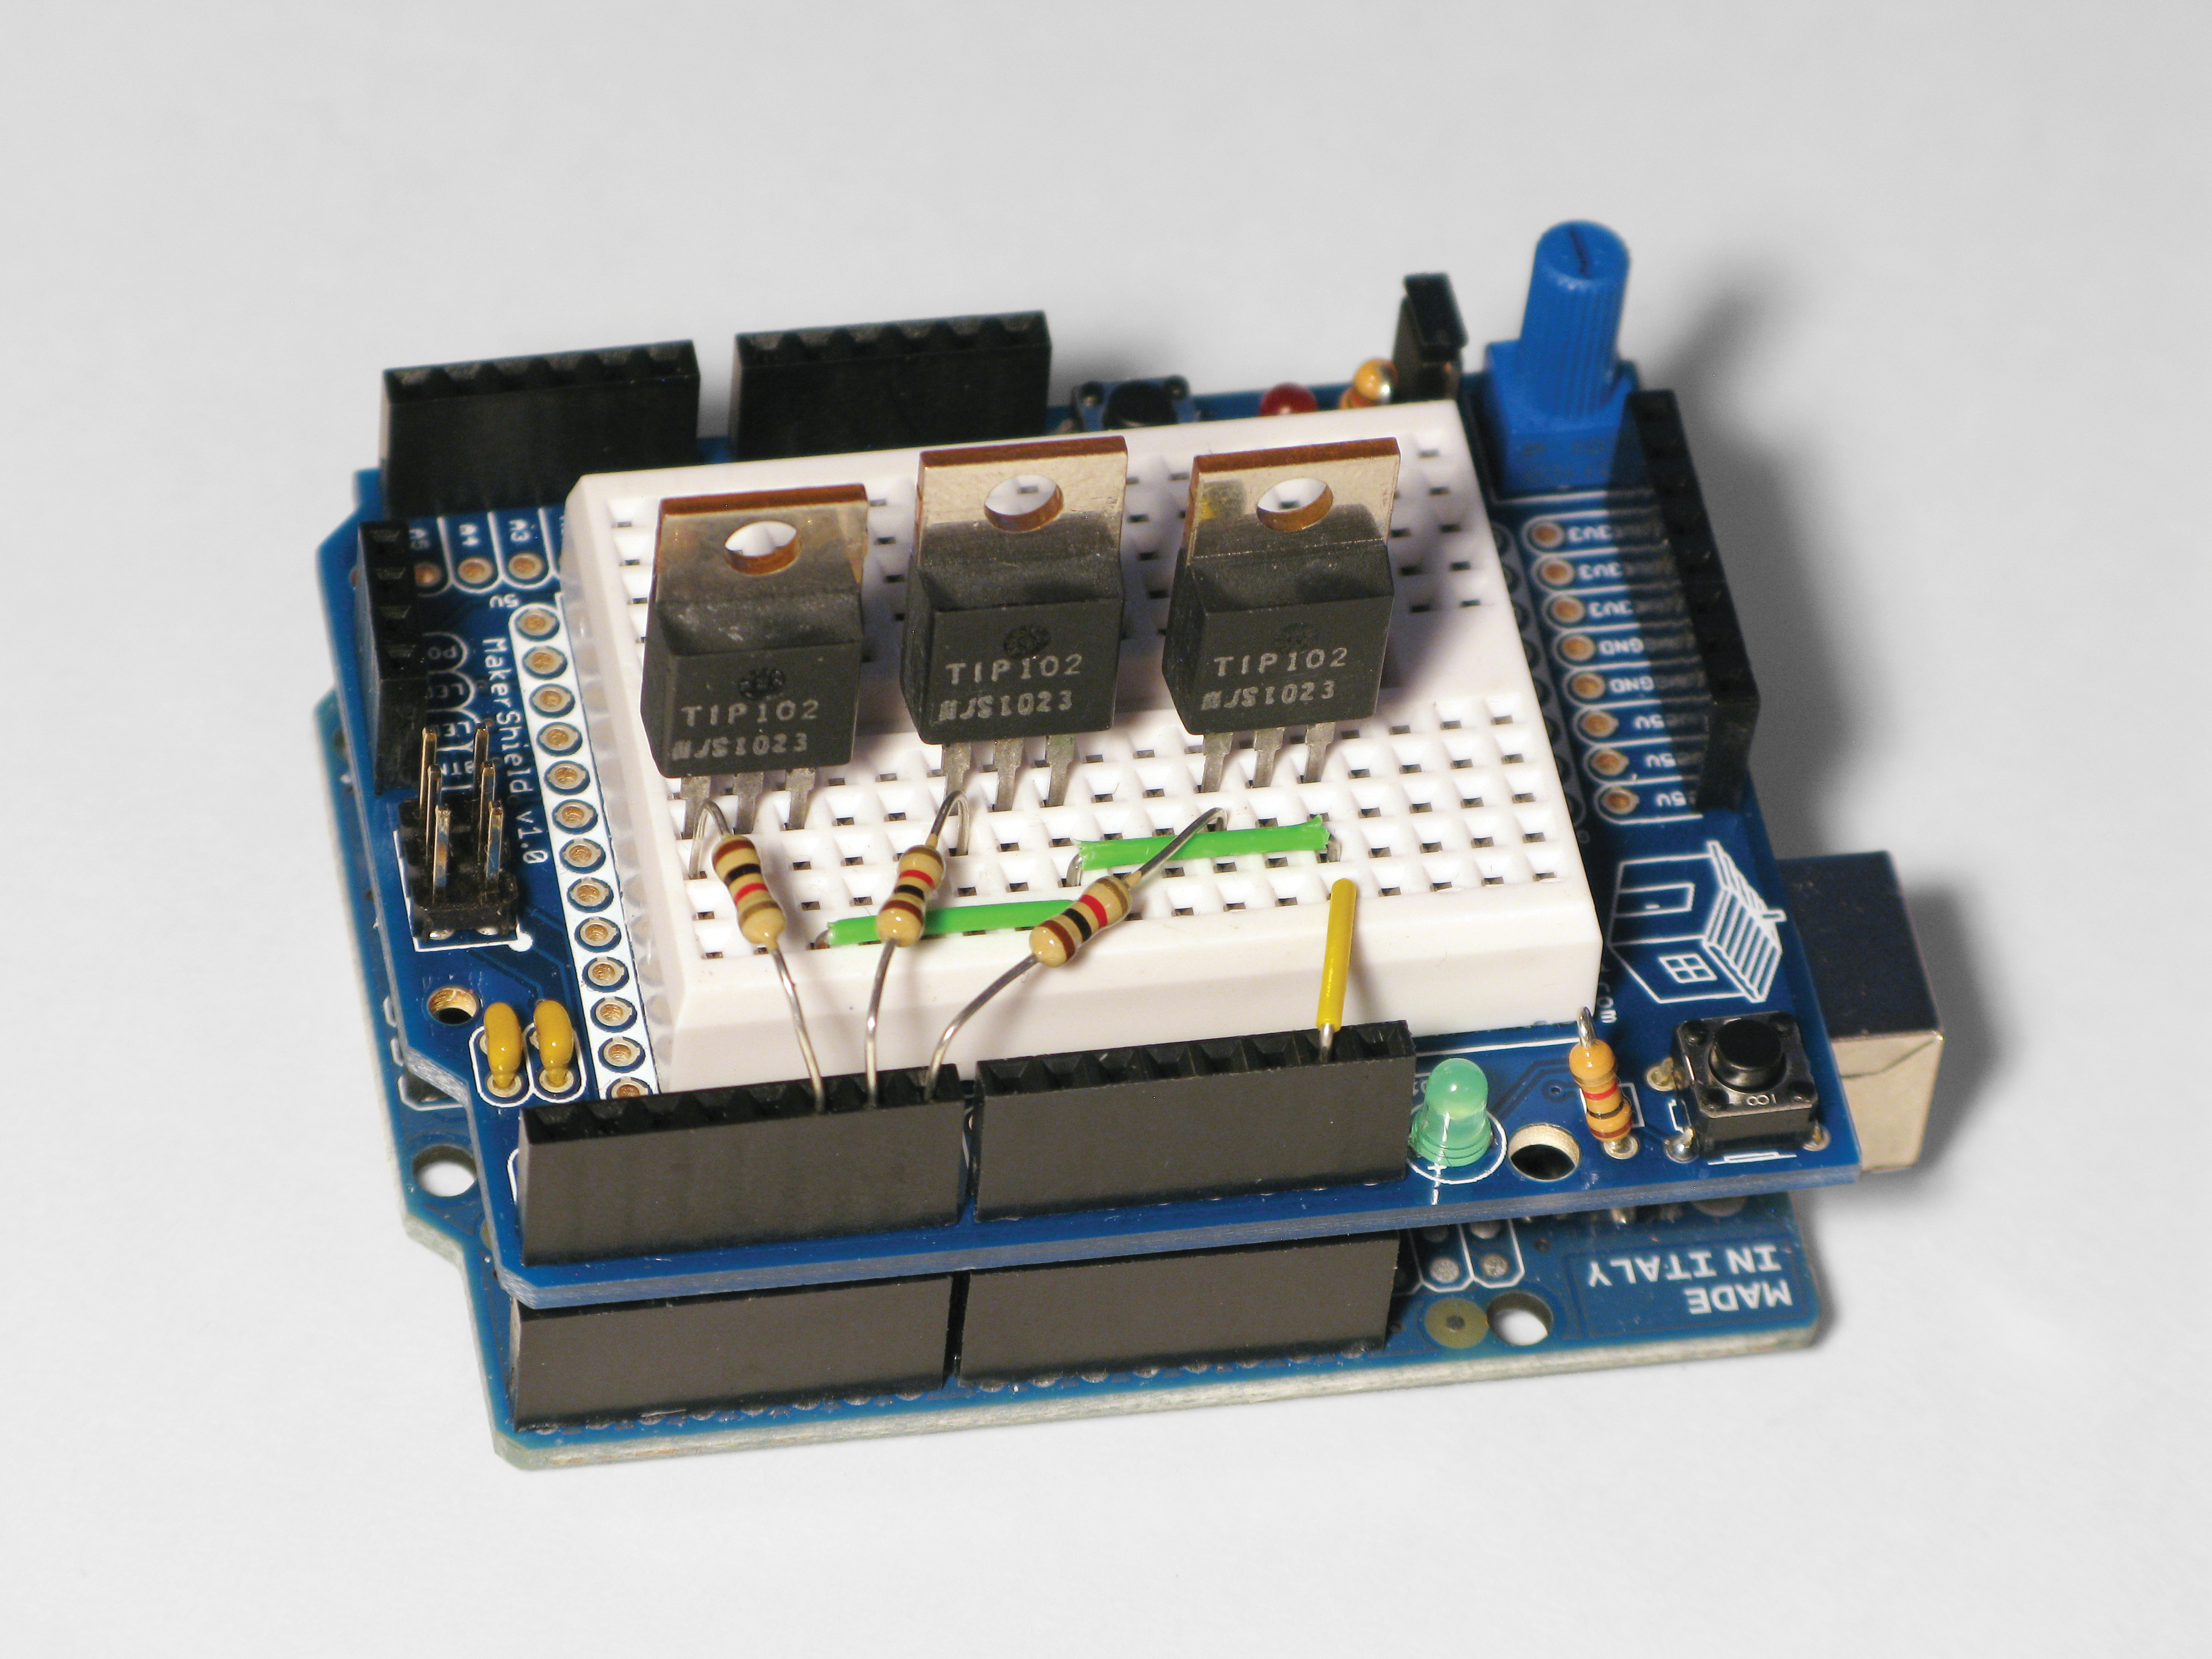
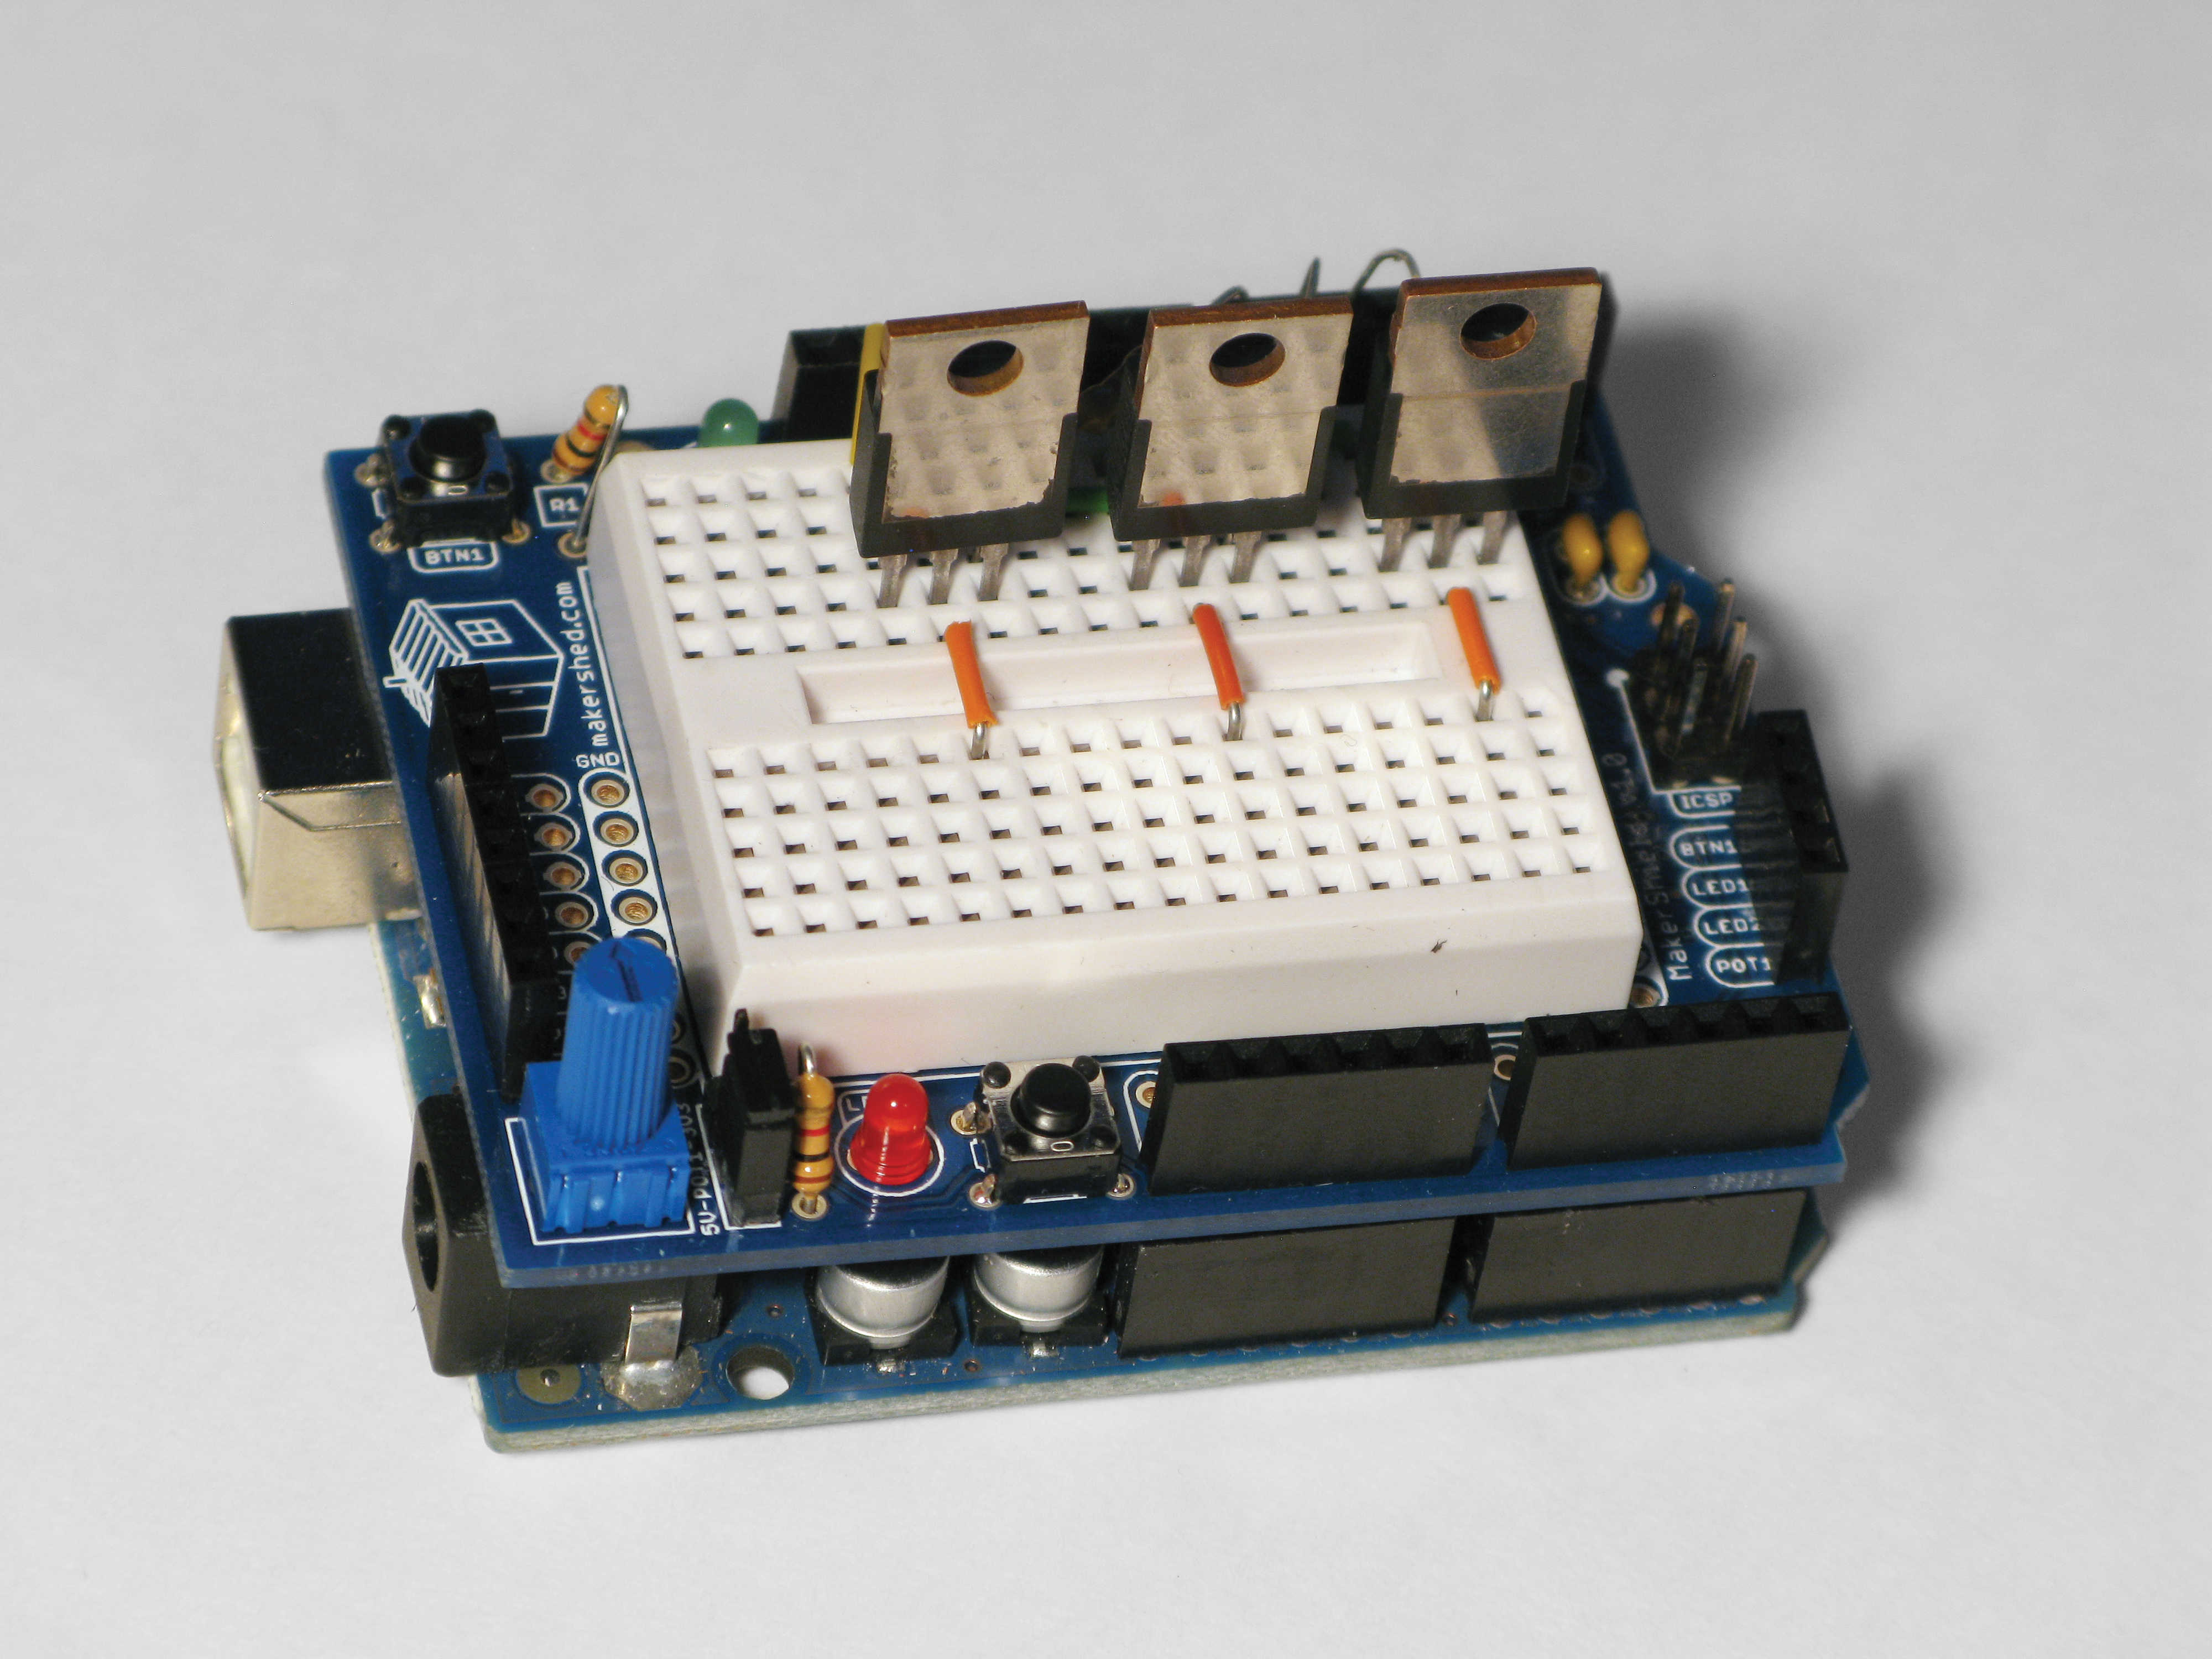
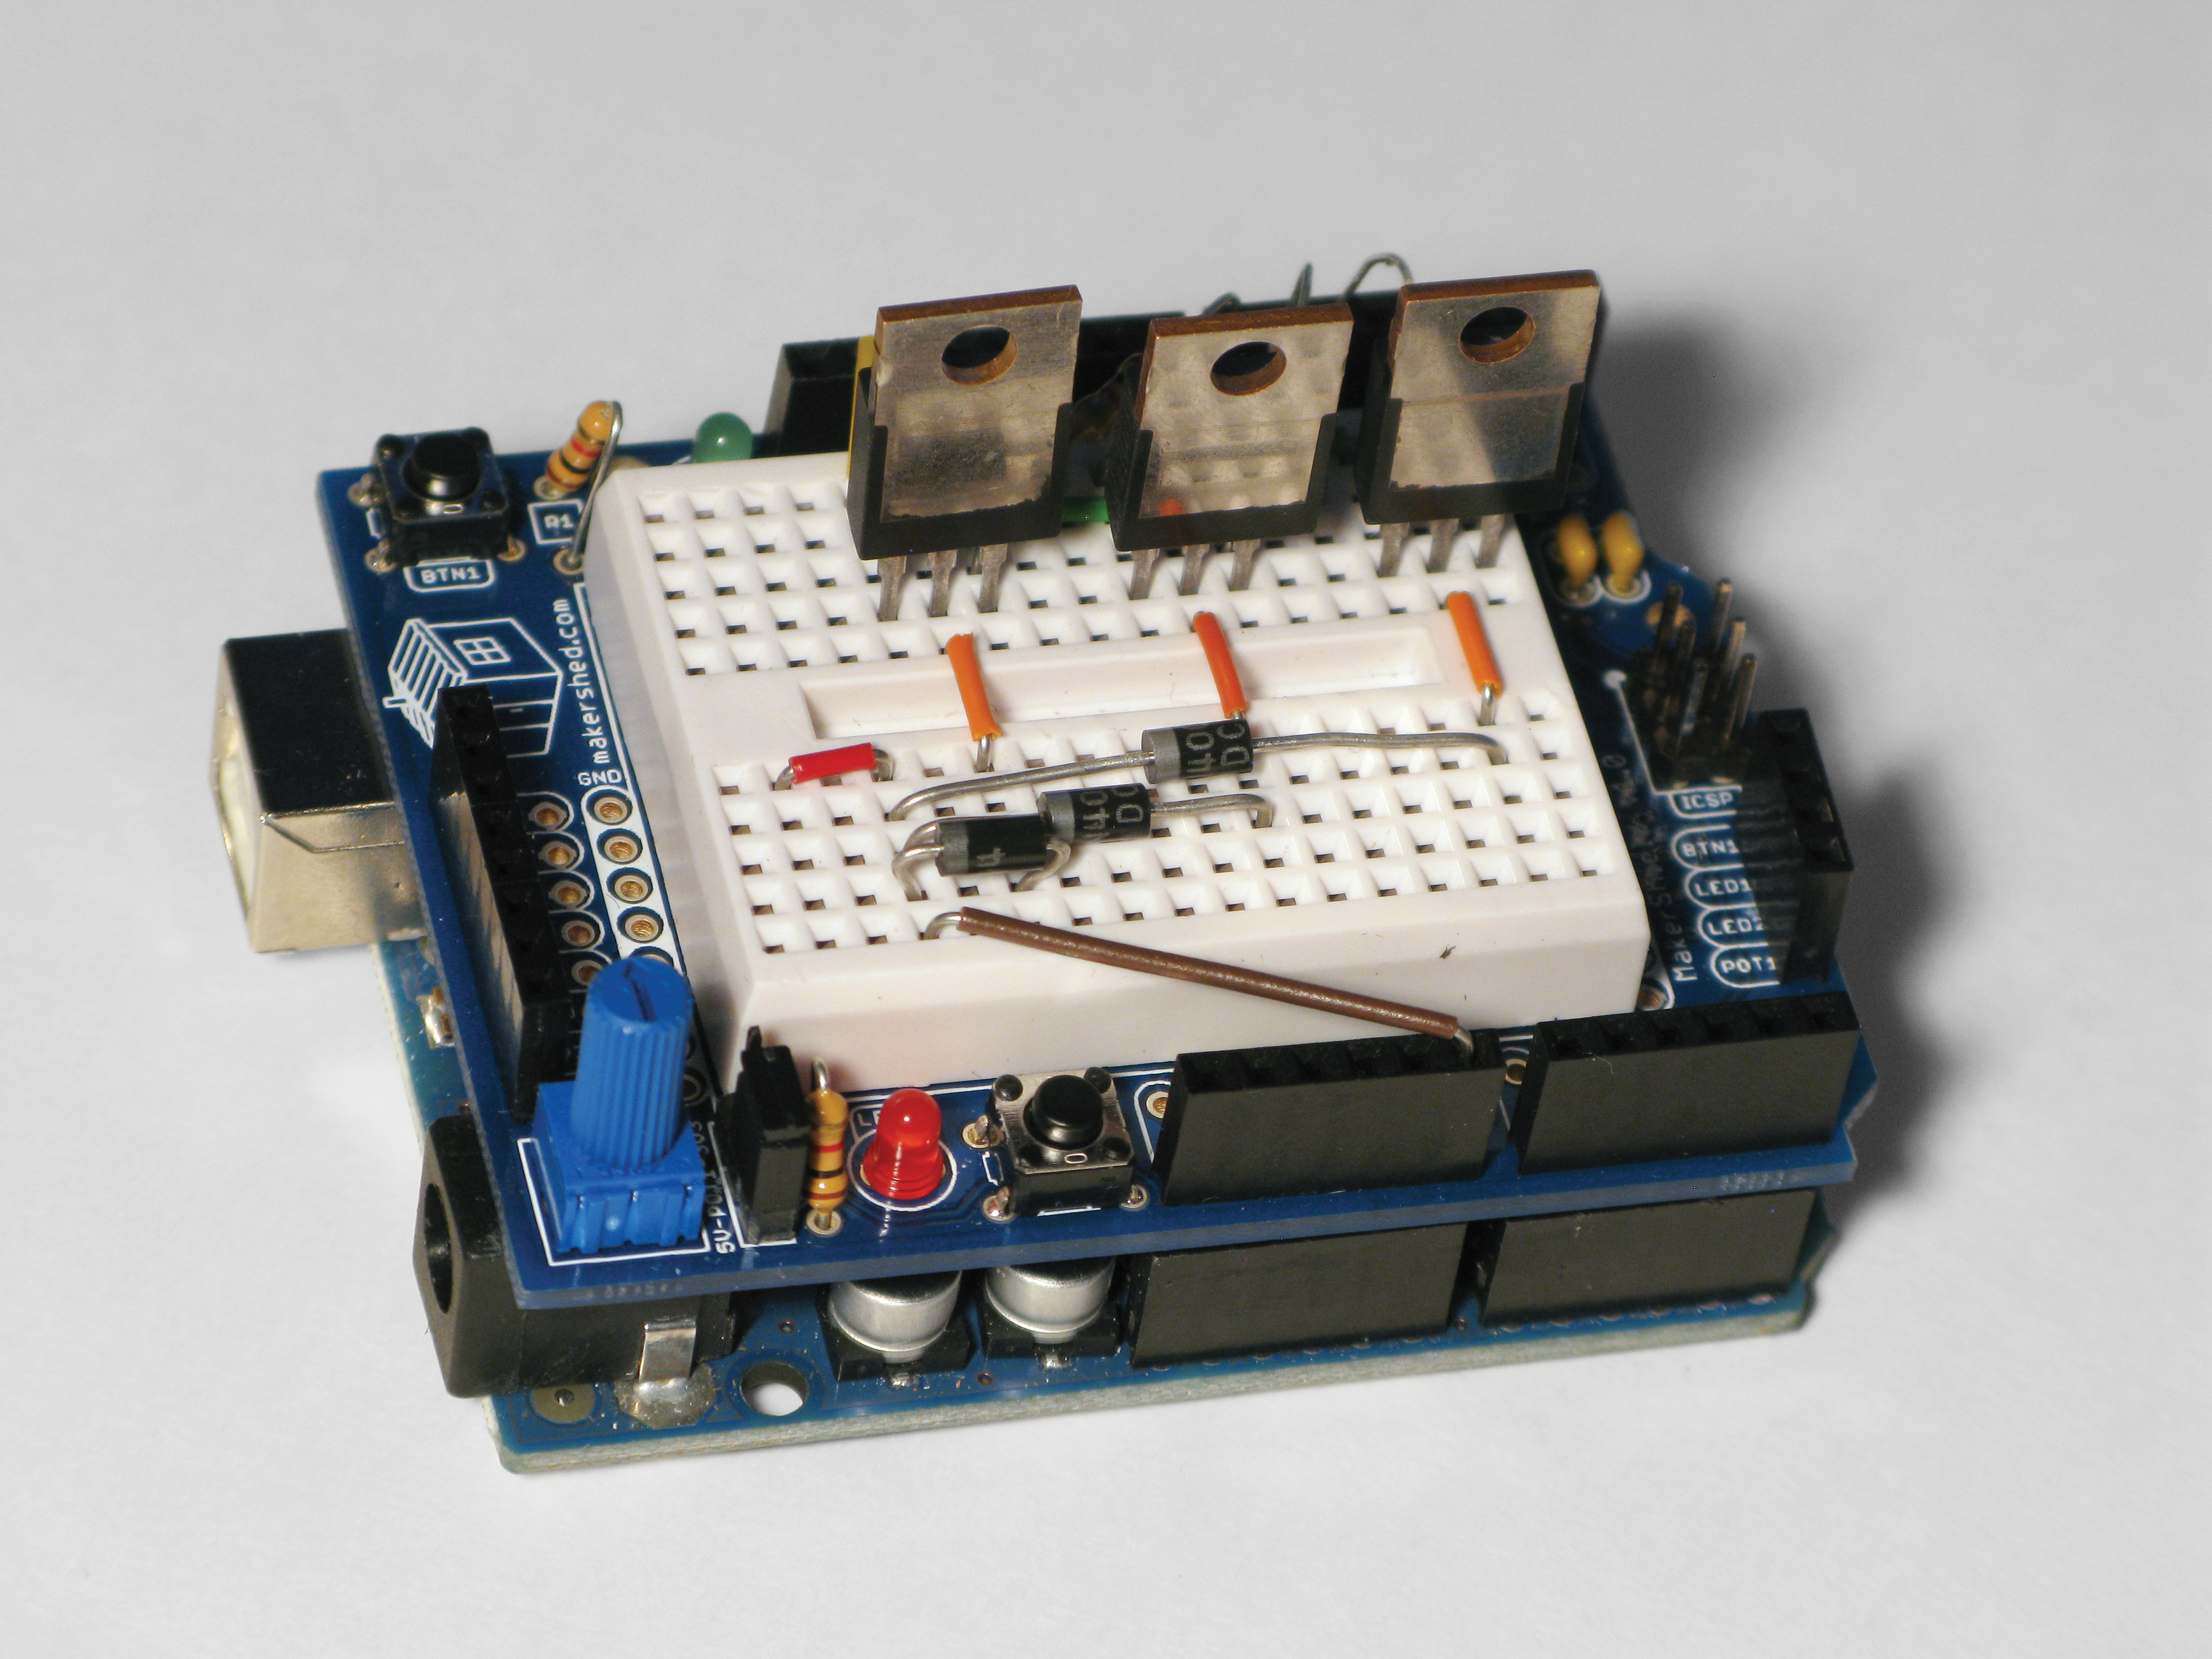
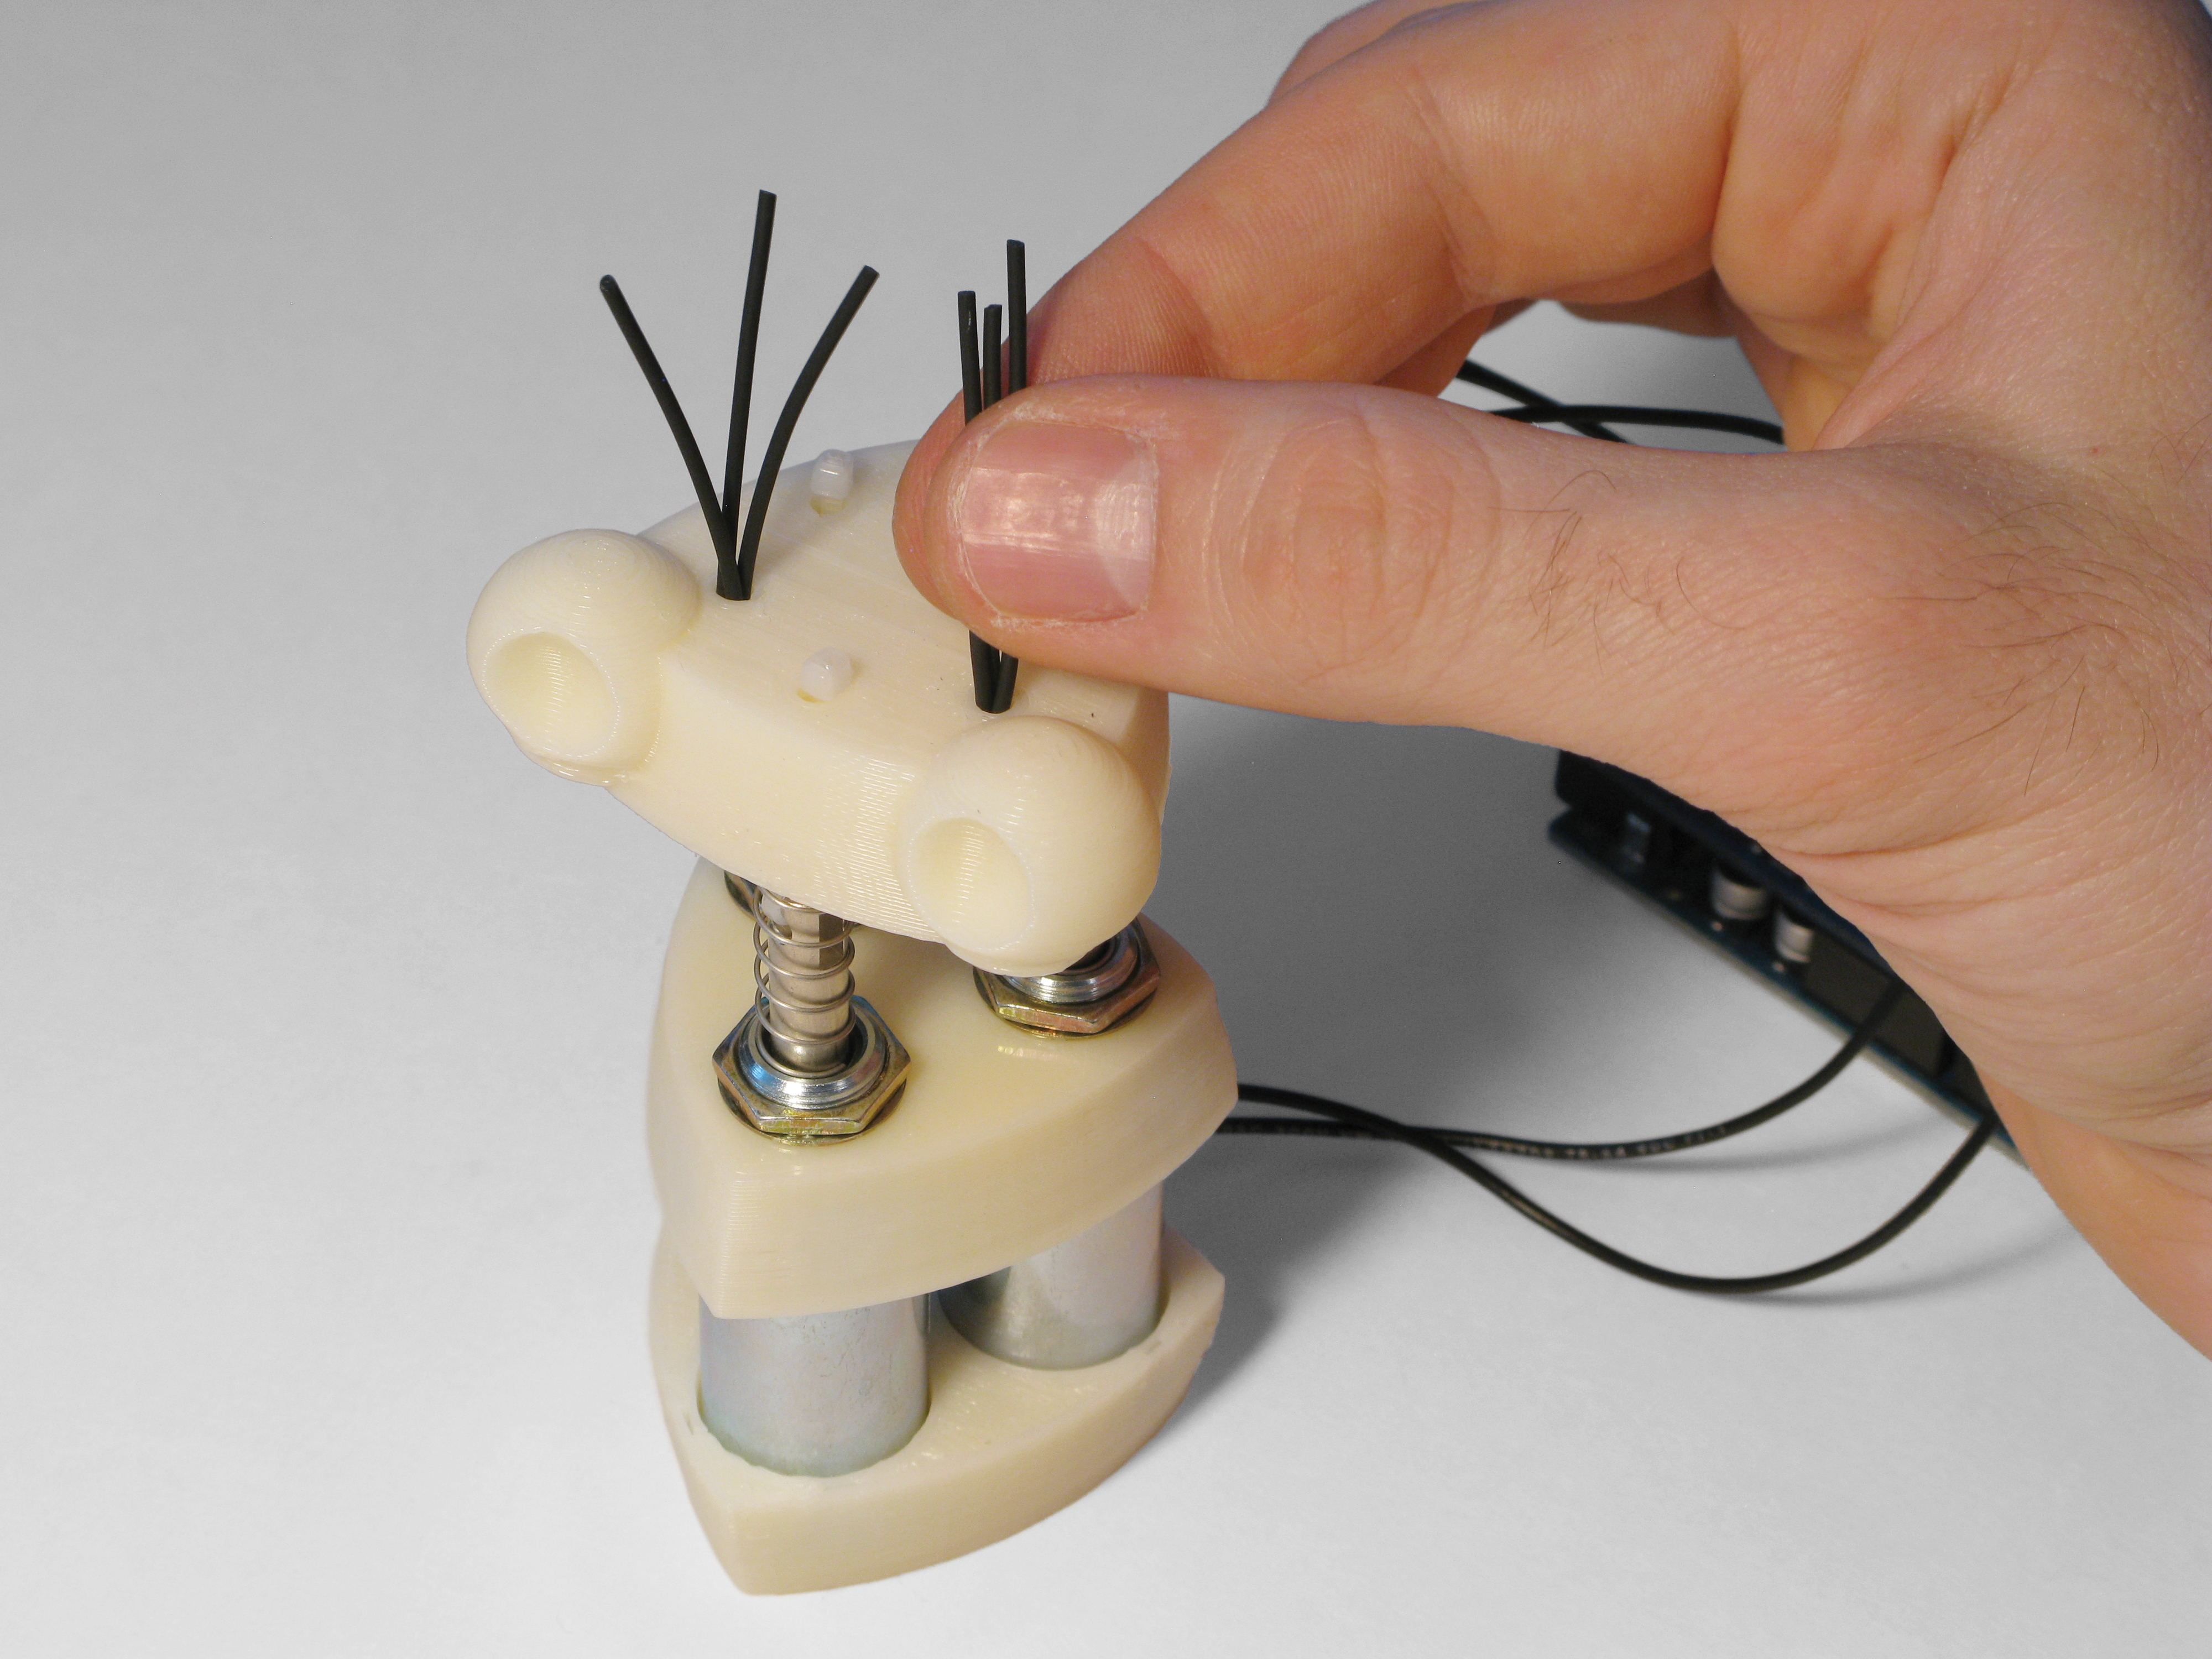
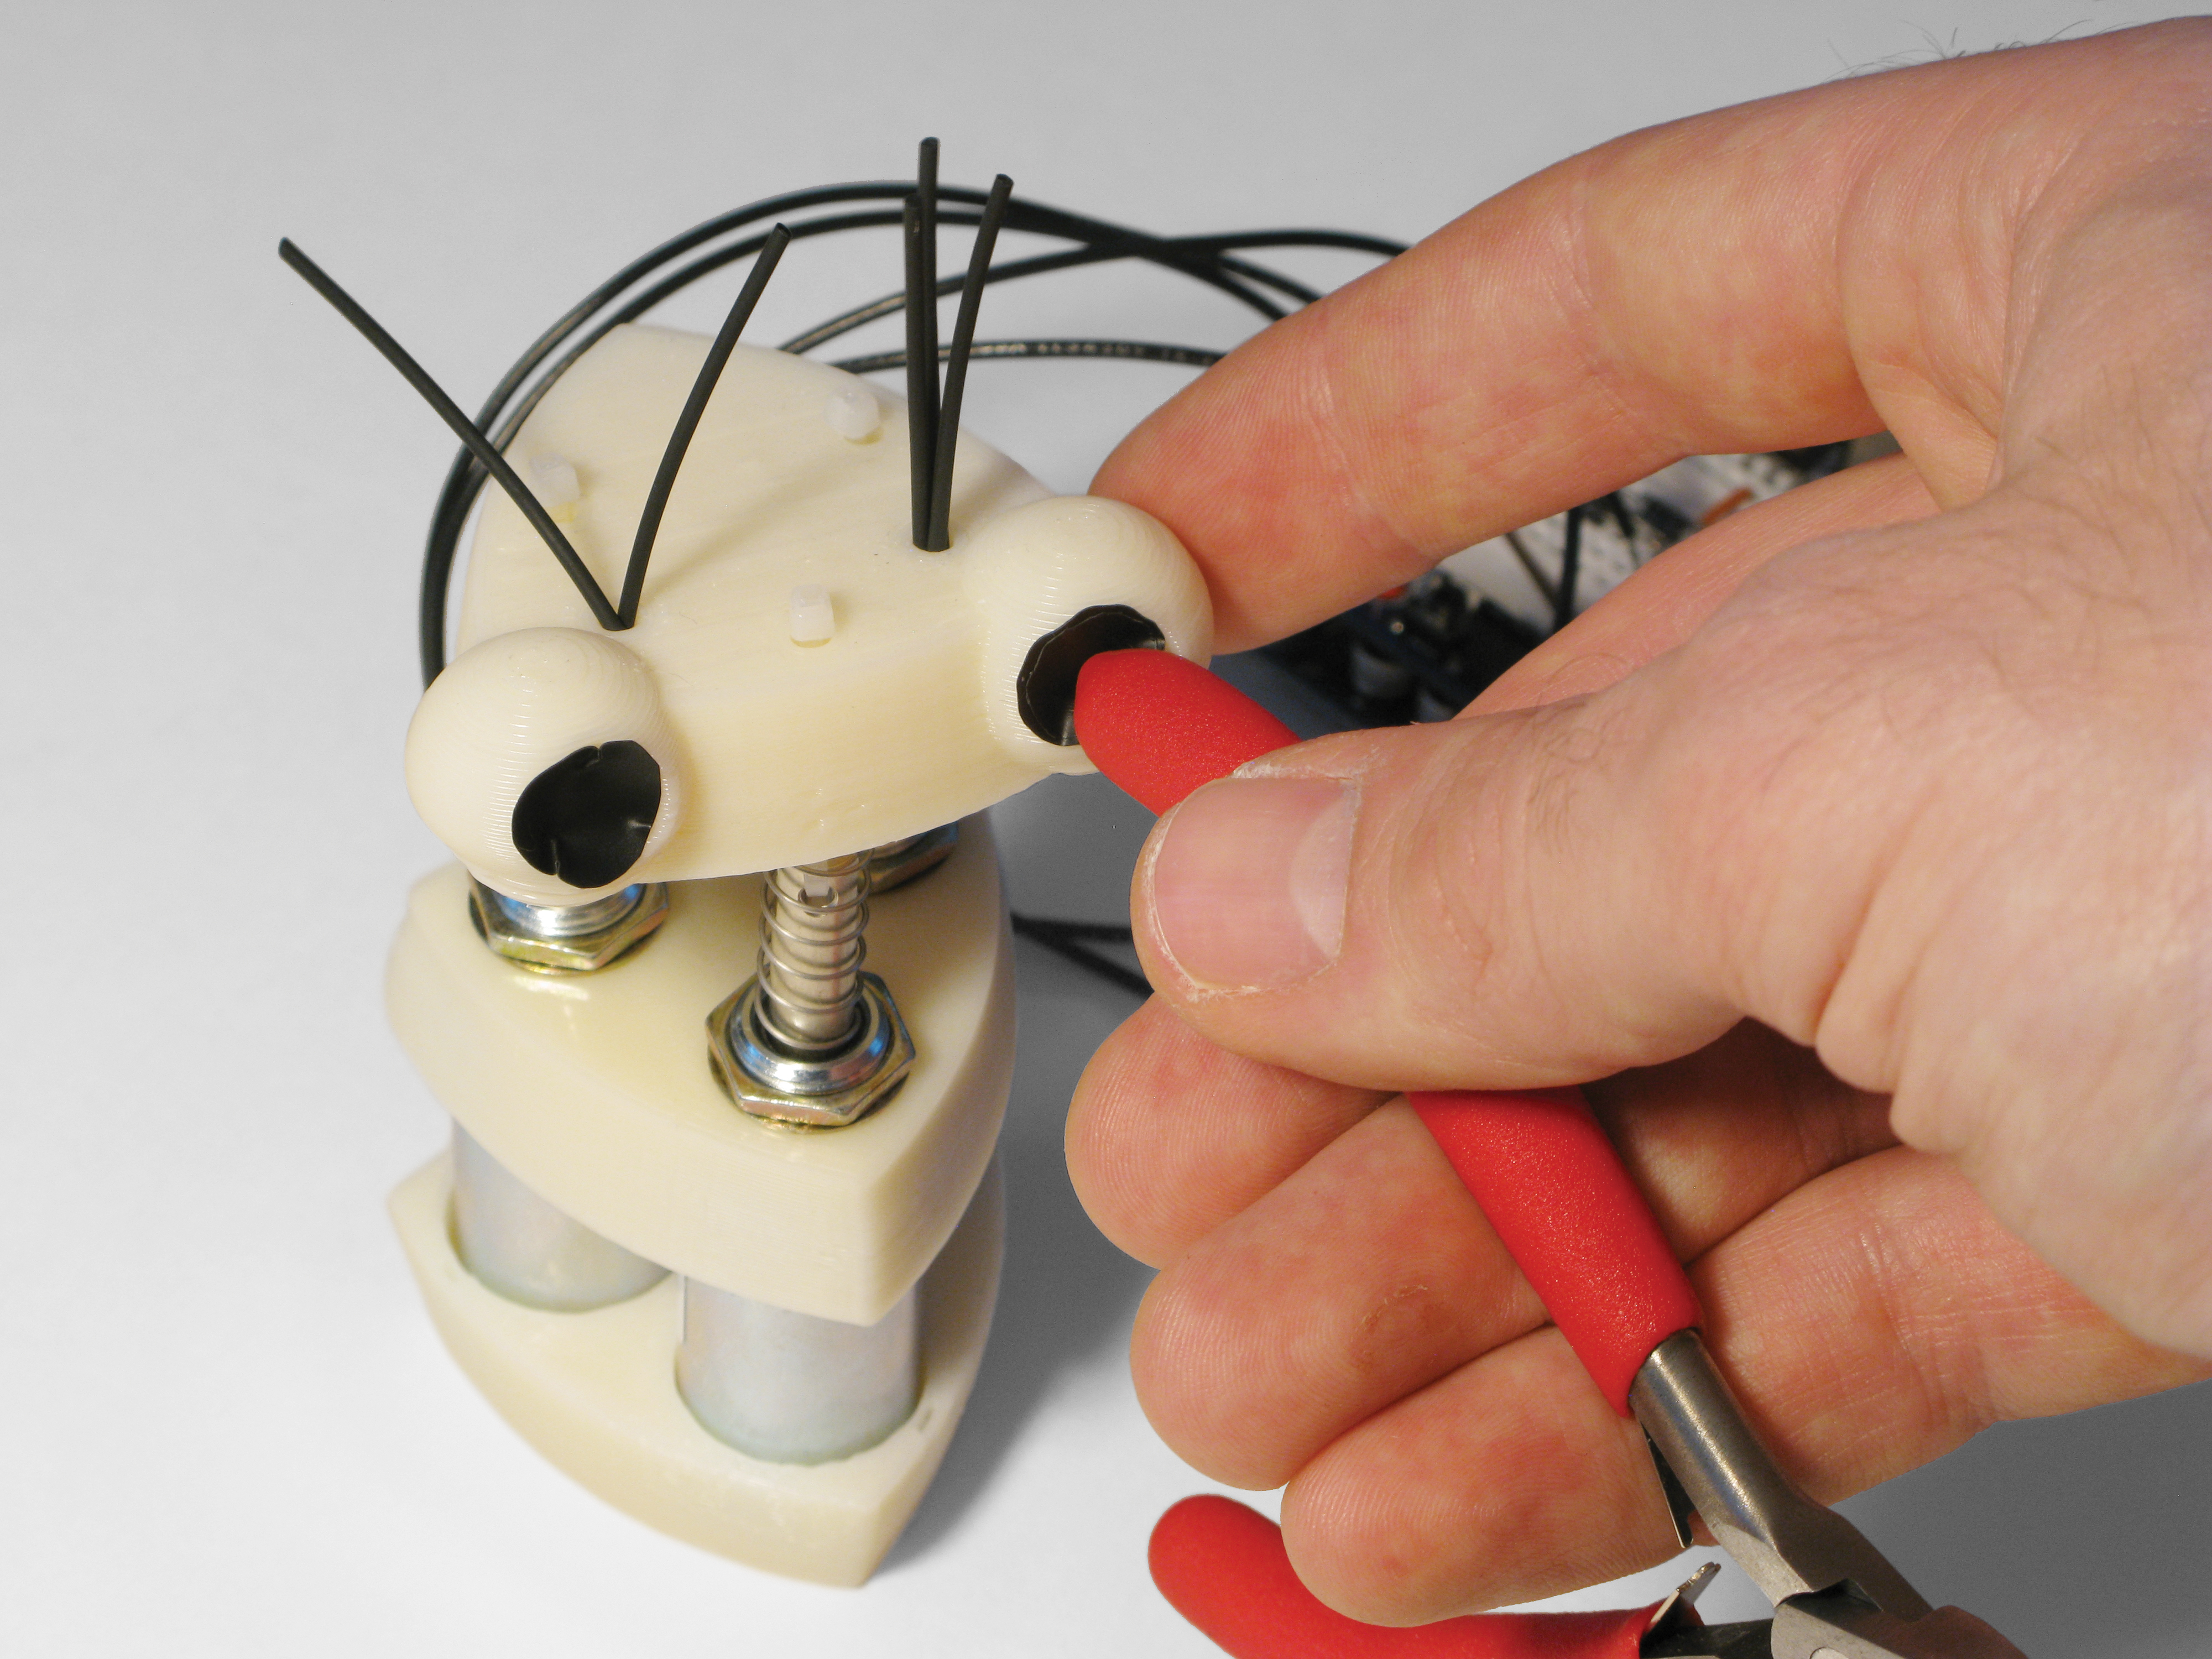
Solenoids are binary: assuming they can draw sufficient power, they are either fully compressed or fully extended. A transistor connected to a digital pin on the Arduino drives each solenoid by supplying 12V from the power supply when its pin is set HIGH. The front solenoid makes the head nod up and down, and the 2 rear solenoids make it lean back to the left or right.
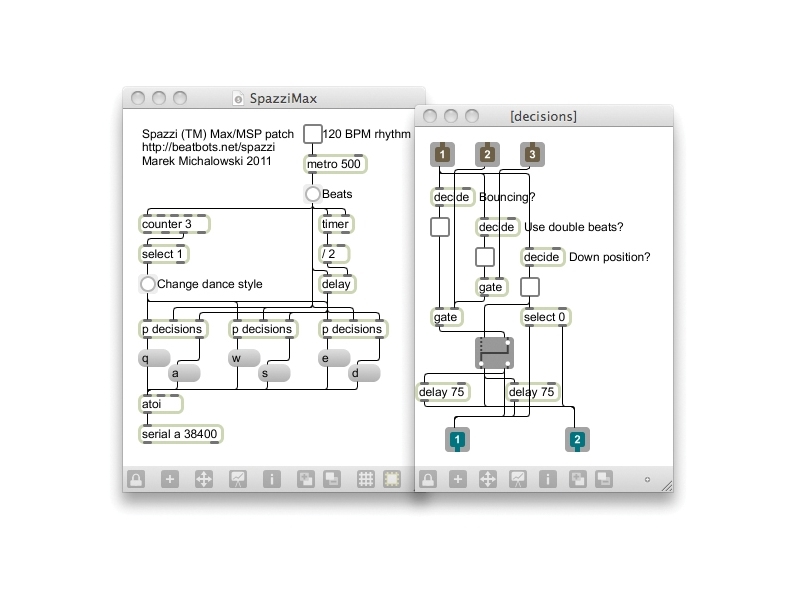
With its 3 solenoids, Spazzi can move to just 8 different positions. But this limited repertoire produces surprisingly rich and varied movement when the activation and frequency of the solenoids are varied over time. This is performed by Max/MSP or Pure Data (PD) software on a computer, which sends on/off commands to the Arduino over a USB/serial port in response to music or other inputs.
Make Spazzi dance with the parts and code listed here, and then after that, you can choreograph his moves however you want!
See http://makeprojects.com/v/27 for recommended suppliers, prices, and other sourcing information.
Spazzi parts and code files (includes Spazzi.maxpat):
https://cdn.makezine.com/make/27/SpazziPa…
https://cdn.makezine.com/make/27/SpazziSo…
NOTE: To save time and money, pick up the MAKE Spazzi Electronics Bundle (item #MSSPZ from the Maker Shed and Jameco: http://www.makershed.com/spazzi, which includes: Arduino Uno microcontroller, MakerShield, mini breadboard, jumper wires, transistors, resistors, and diodes.