Make: Projects

TrollLight

Give your Troll doll a glowing hairdo.

TrollLight

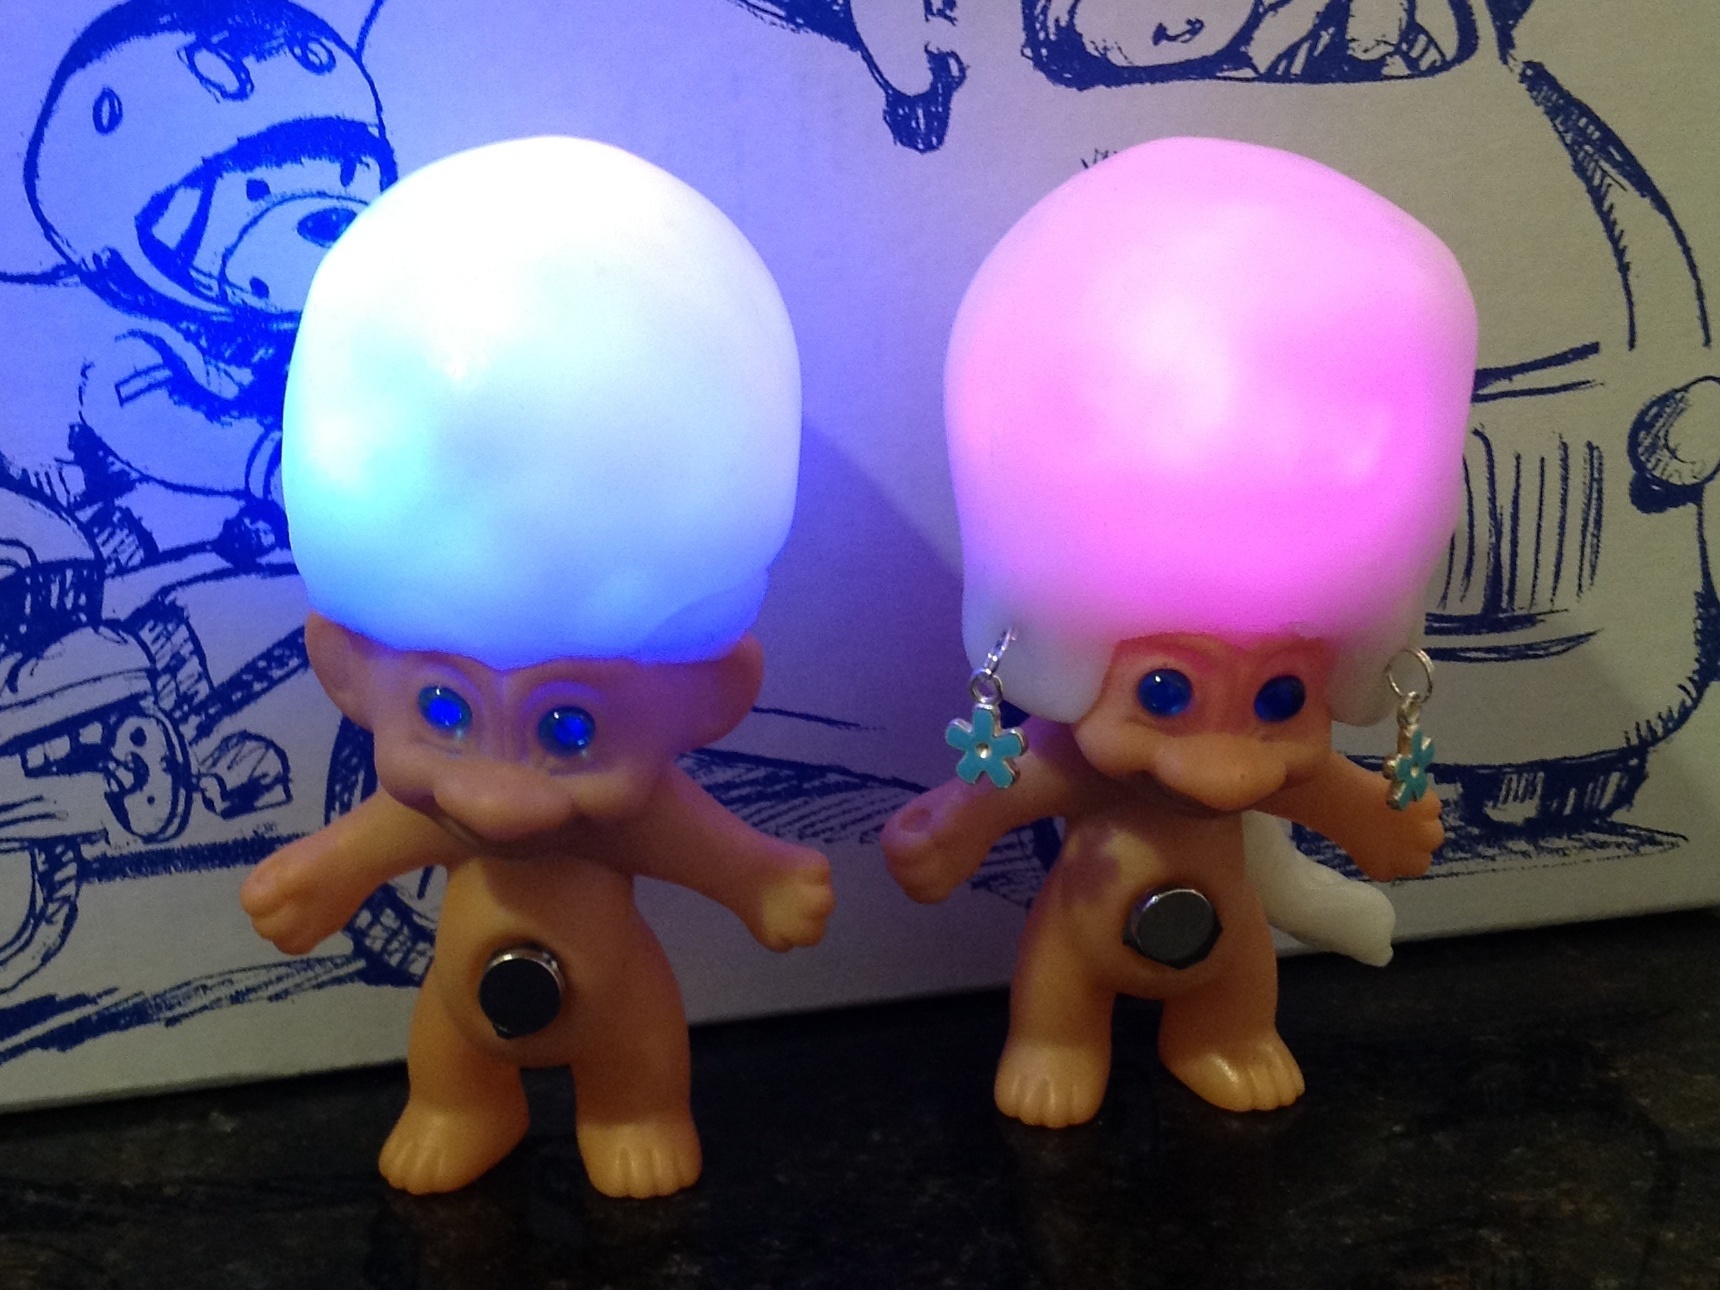
Trolls are cute! You can update your Troll so that it lights up with LEDs! They can then be used as nightlights, bath toys, Christmas ornaments or Halloween decor. Learn to use the new polymer material called ShapeLock!

Steps

Step #1:

Next
TrollLight
  • Purchase troll (smallest troll works best=> ~3" plastic body) and pull hair off.

Step #2:

Next
TrollLight
  • Afterhair is removed from troll, add pennies to weigh down the troll. 4 pennies fit nicely in the troll trunk.

Step #3:

Next
TrollLight
  • Place LED sphere on Troll head so that button is accessible on back of head. Decide which button position works best for your finger size.

Step #4:

Next
TrollLight
  • Heat about 4 Tablespoons of ShapeLock in a ceramic (plastic will not work) cup of water for two minutes. Use a metal spoon (plastic will not work) to flatten and elongate the material. Make it as thin as you can.

Step #5:

Next
TrollLight
  • ShapeLock hardens quickly so you may need to reheat it for 2 minutes before you apply it to the LED sphere. If the material is transparent and the correct size to wrap around the sphere, you are ready for the next step.

Step #6:

Next
TrollLight
  • Wrap the soft ShapeLock material around the LED sphere with your hands (exercise caution since it may be hot). Ensure that the LED button is exposed before securing the head onto the Troll body.

Step #7:

Next
TrollLight
  • Quickly orient the ShapeLock around the LED sphere and Troll head so that is it is securely attached by kneading the material to areas near the edge of the Troll head.

Step #8:

Next
TrollLight
  • As you see in this image keeping the LED sphere button clear of plastic is critical. Once the plastic hardens it is very tedious to remove it.

Step #9:

Next
TrollLight
  • If the head is not to your liking (or too heavy for the troll), do not put the head into the microwave! This will destroy the LED . Microwave(~2 minutes) a cup of water separately. Then soak the LED sphere in the hot water to soften the polymer and knead off the polymer one softened layer at a time. You may need to repeat this step multiple times.

Step #10:

Next
TrollLightTrollLightTrollLightTrollLight
  • You can use the belly button area to glue a magnet or jewel. I like magnets since I can hang small notes on him with other magnets or belly button jewelry. A 8mm magnet will fit perfectly in his belly.

Step #11:

Next
TrollLight
  • Apply a drop of glue using a glue gun and place the magnet in his belly button before the glue hardens.

Step #12:

Next
TrollLight
  • Remove residual glue with wet rag or sponge before it hardens.

Step #13:

TrollLight
  • Your Troll is all dressed up now! Pick his LED color by pressing the LED button multiple times and he is ready for his date.

Leave a Reply

Fill in your details below or click an icon to log in:

WordPress.com Logo

You are commenting using your WordPress.com account. Log Out / Change )

Twitter picture

You are commenting using your Twitter account. Log Out / Change )

Facebook photo

You are commenting using your Facebook account. Log Out / Change )

Connecting to %s

%d bloggers like this: