This project is a companion to the Skill Builder article “Pixel Knitting” all about hacked knitting machines, featured in Make: Vol. 77. Pick up a copy or subscribe today for more great articles and projects.

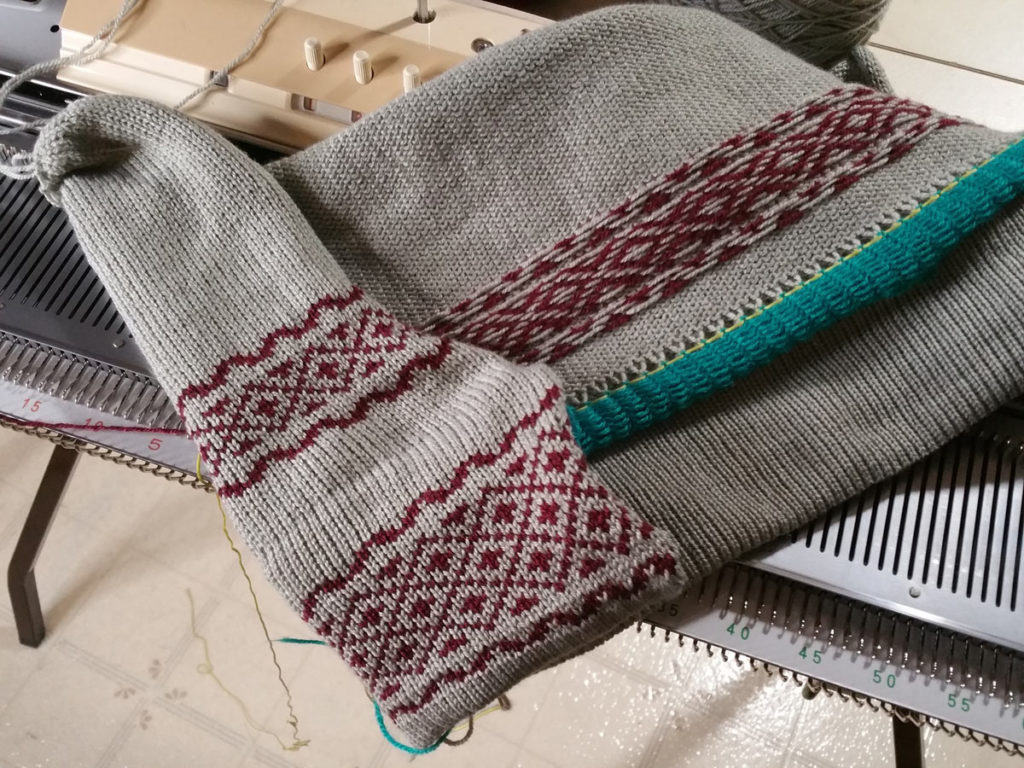
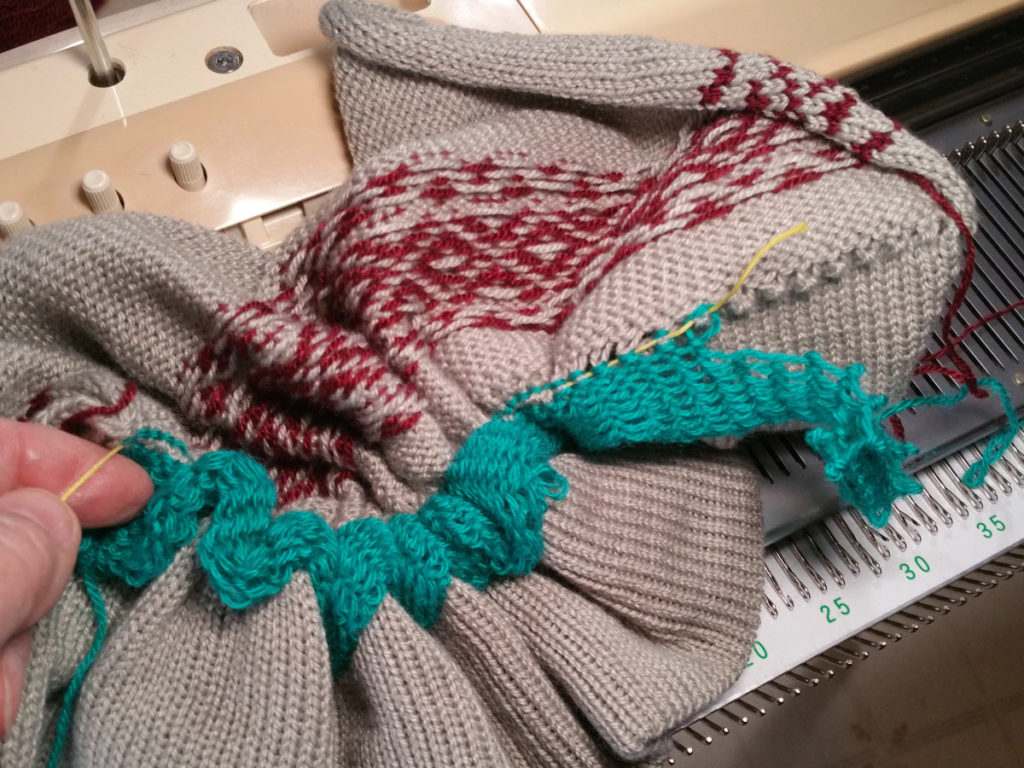
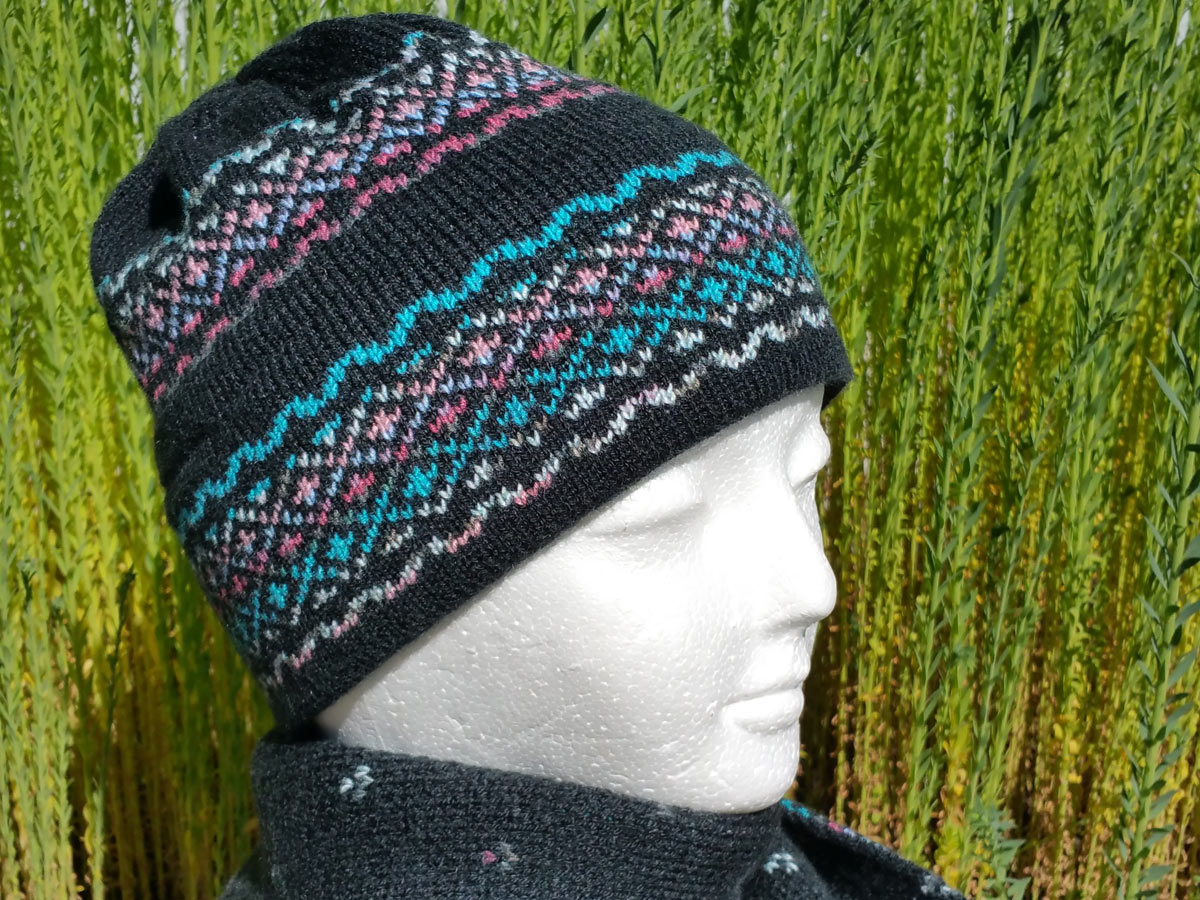
Here’s a great early project for your hacked knitting machine. No ribber required for this one, the hat has a deep double layer hem. The top is slightly shaped by reducing the number of stitches by half, so the gathers at the top are not too bulky.

The hat is knitted as a single strand on the single bed machine. It makes a fairly lightweight fabric — this won’t be the warmest hat you’ve ever owned — but you can make a warmer version by using a heavier yarn (see Materials below).

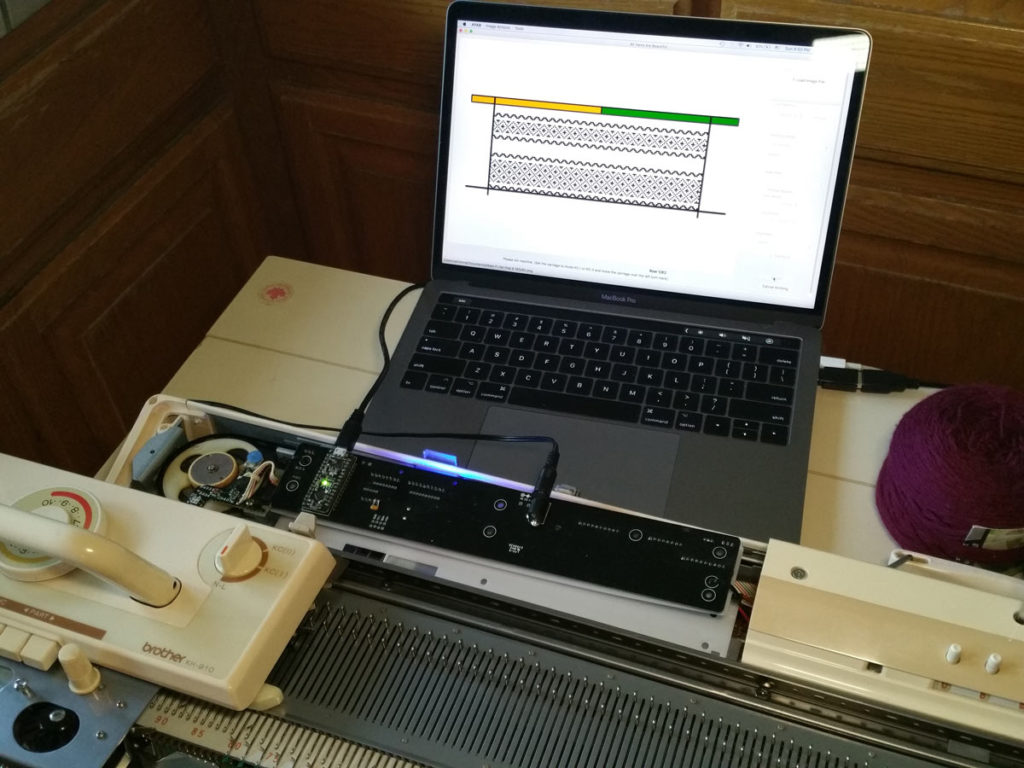
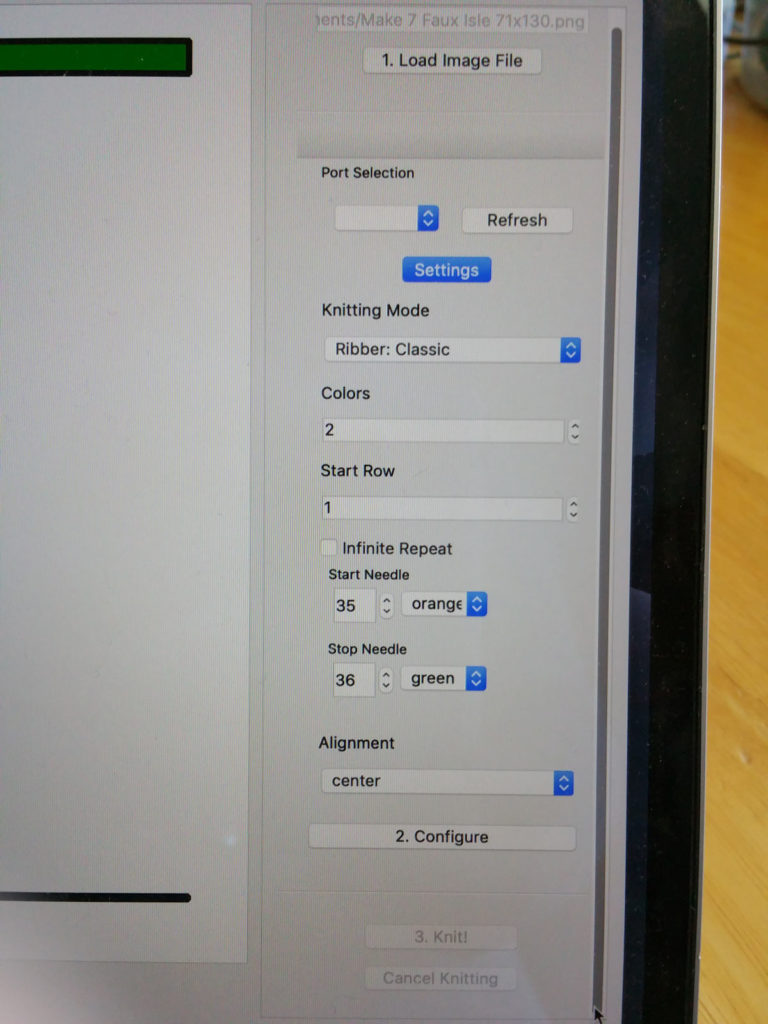
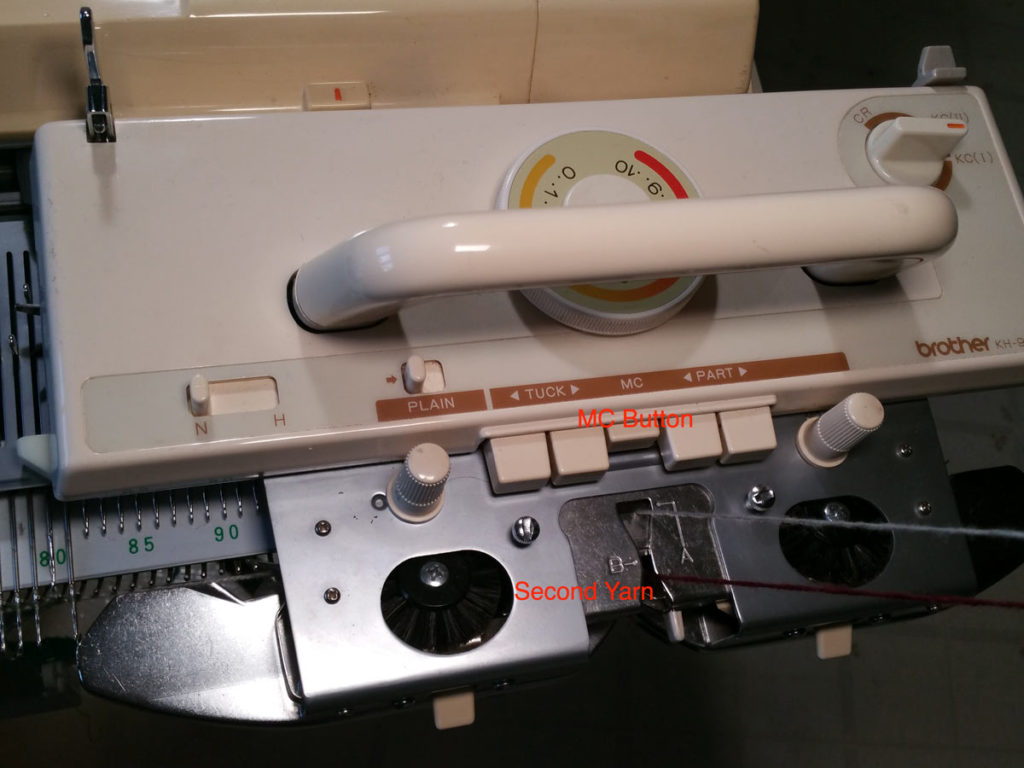
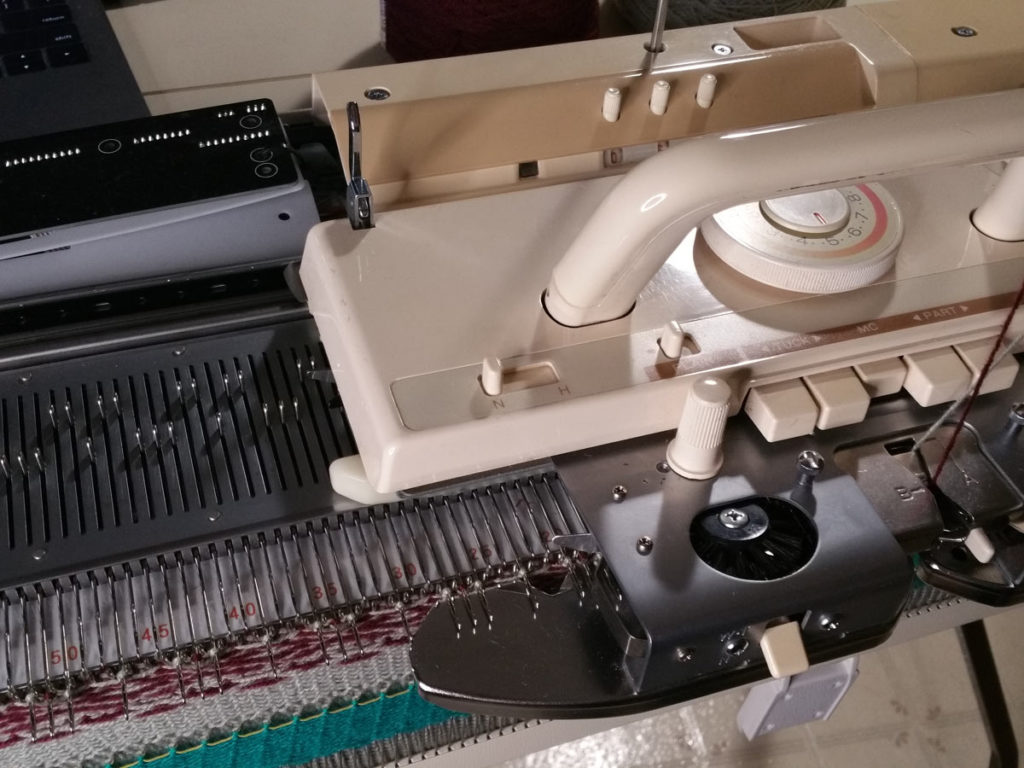
The article in Make: Vol. 77 describes two different ways to hack these 1980s Brother knitting machines. The All Yarns Are Beautiful (AYAB) hack (ayab-knitting.com) is shown here; you could make the same project with img2track as well — only the part about downloading the pattern and starting to knit it is different.

We’re starting after you have installed the AYAB hack and checked that it works. And we’re assuming that your knitting machine is in reasonable working condition, and has had a fresh sponge bar installed.

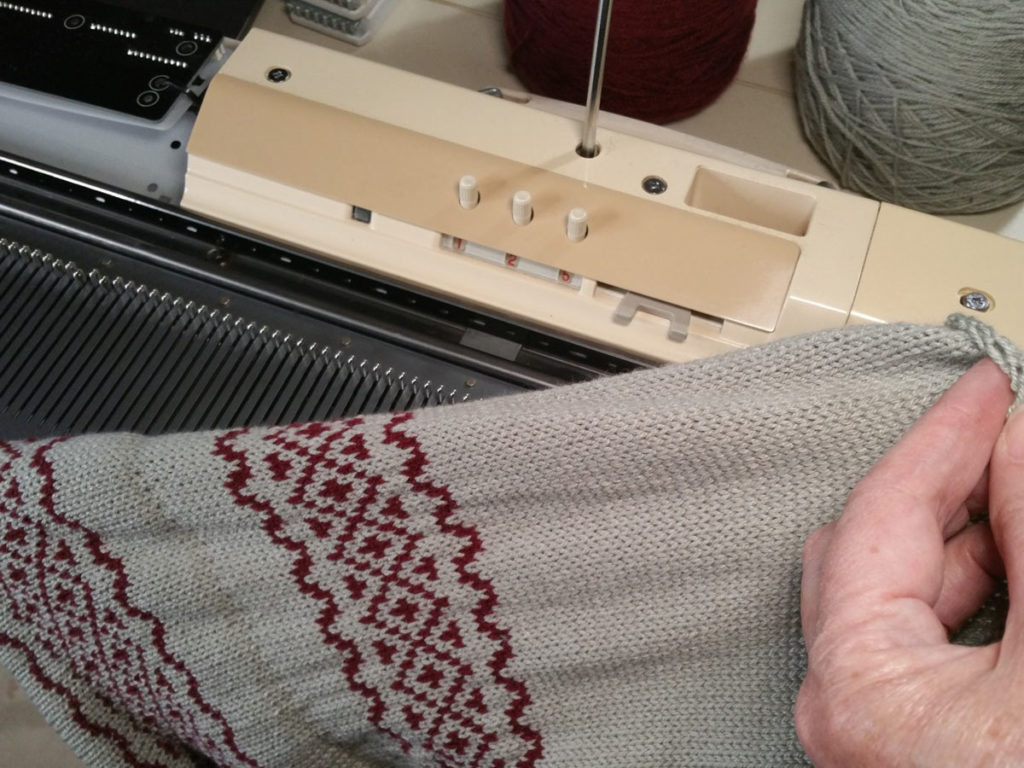
The steps are spelled out in detail, with the new machine-knitter in mind. As with any new skill these steps may initially seem daunting but will soon become second nature. Photos show the gray version, because black doesn’t show well in photographs.

You can also read about about installing and using AYAB in my Make: Project entry for knitting a puppet.

GAUGE: 32sts × 40 rows at dial setting T5.
MEASUREMENTS: The sample fits an adult head 58cm or 22.75″, measured horizontally just above the eyebrows. The mannequin head is about 20.5″ and without a wig it’s a little bit loose on her. For a smaller size remove 8 stitches and the main pattern will still line up at the seam.

Figure A. All these except the ball winder should come with your knitting machine.

Abbreviations (also defined when first used):

  • COL — Carriage on Left
  • COR — Carriage on Right
  • RC=000 — Set the row counter to zero
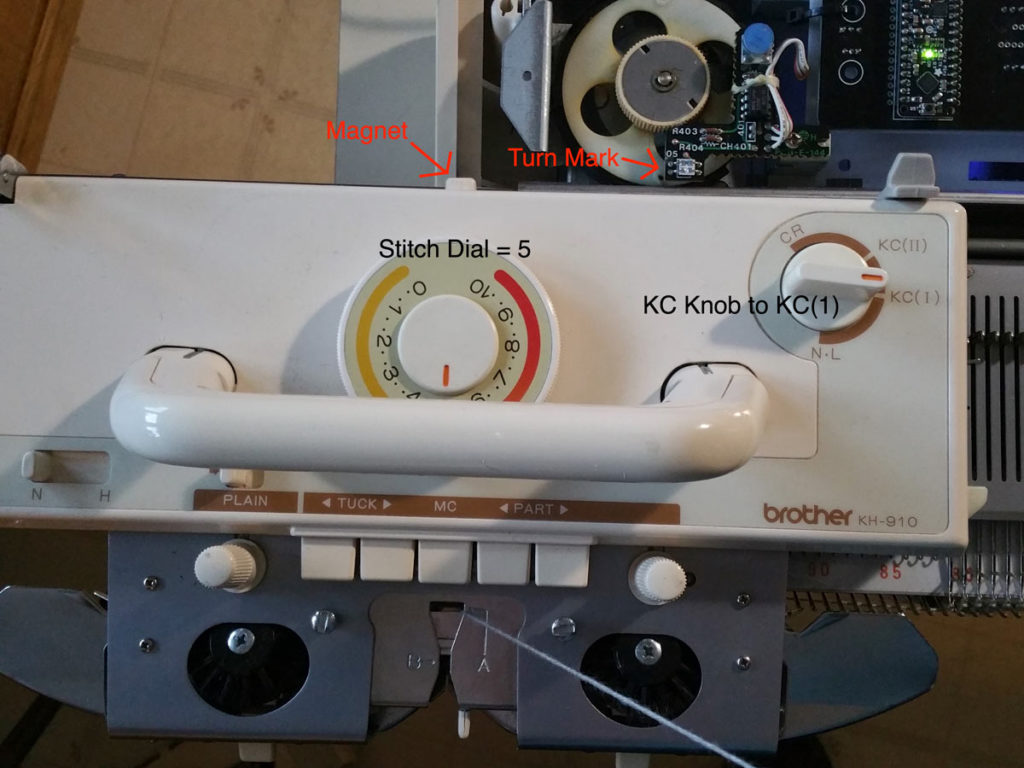
  • T5 — Set the Tension dial (Stitch Size dial) to 5

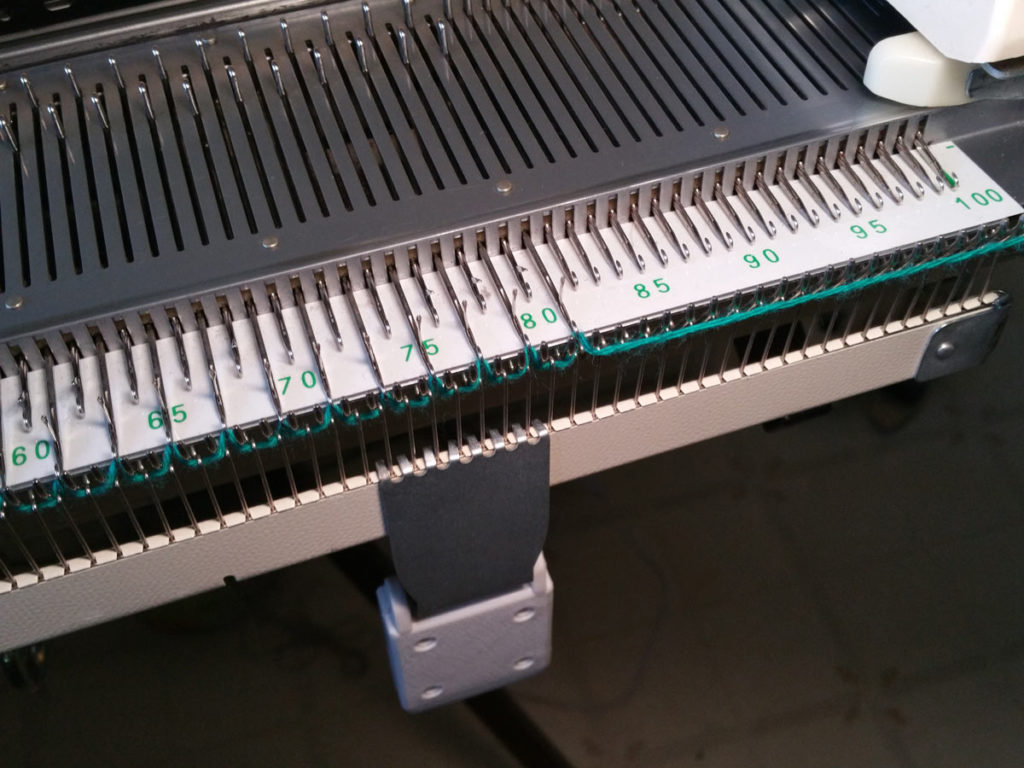
For your first try, you could follow the whole set of instructions but on only 50 needles, L25–R25. This will be your combined gauge swatch and practice piece.

Figure B. Winding the Yarn.

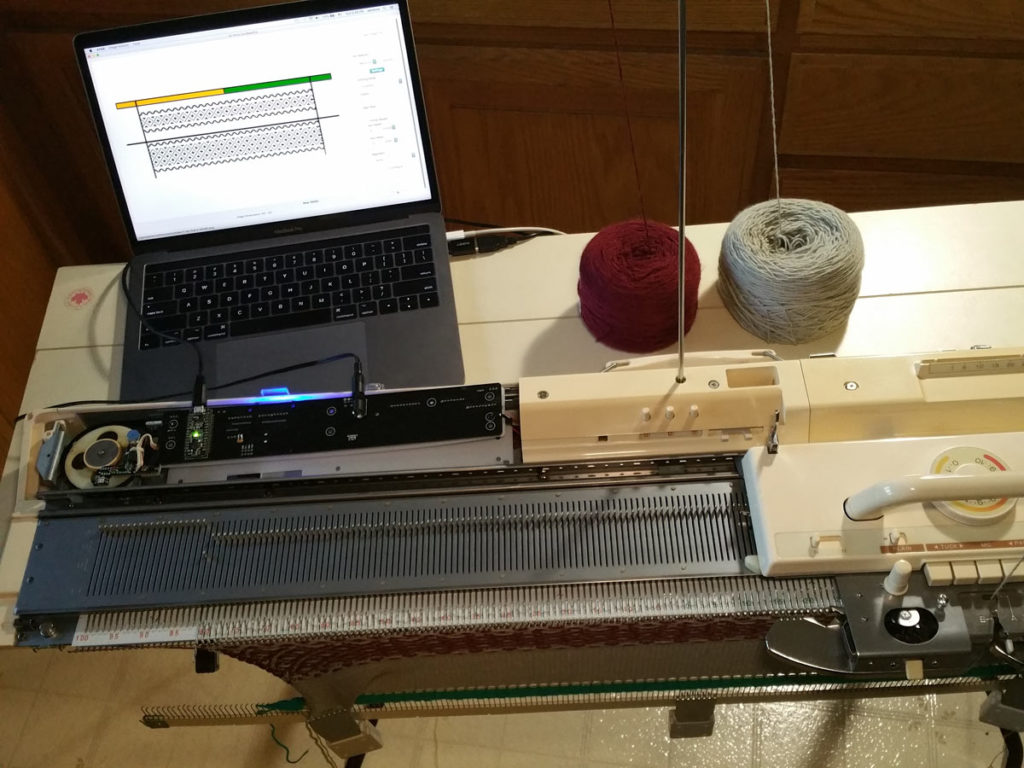
Before you start, wind your yarn into a cake (Figure B). Or you can prop the ball of yarn vertically and pull from the middle.

Project Steps

Set up the pattern in AYAB

Plug your computer into wall power and set it to no screensaver and never sleep, or at least not for a few hours.

Figure C

Download the pattern file Make-77-FI-Hat-162×62.png (Figure C above), and save it in the Documents/AYAB patterns folder. Plug in the USB cable and turn on the power. (The interface has a power brick, or if you have the shield version of AYAB you need to turn on the power to the knitting machine.)

Launch the AYAB software, select Load Image, and navigate to the file you just saved.

If you’re knitting the full 162-stitch width you don’t need to change any settings. If you’re doing a sample piece, set the Start and Stop needle positions to Left 25 and Right 25.

Figure D

We’ll leave the computer waiting while we start with some plain knitting. The first sections will be the cast-on then the inside of the hem which has no patterning. The carriage is set for plain stockinette: the KC knob on NL, and no front buttons in use. The mast’s tension settings can be left at their center position throughout.

Cast on

Figure E. Selecting alternate needles

Bring 162 needles forward to B position, then push alternate needles back to A (Figure E).

Set the carriage’s Tension dial (aka Stitch Size dial) to 3 (T3).

Figure F. Casting on.

Thread up the waste yarn and knit across (Figure F).

Hang the cast-on comb and two or three claw weights.

Stay on alternate needles, don’t bring the rest of the needles forward yet.

Knit 12 rows of waste at T3, ending with carriage on right (COR) if you’ll use ravel cord, carriage on left (COL) if not.

Figure G. A row knitted with ravel cord.

Optional, knit 1 row of ravel cord. COL (Figure G).

Knit the inside of the hem

Set RC=000 (set the row counter to 000).

Thread up the main yarn, still on T3, still on alternate needles: Knit 1 row.

Figure H. Bring the rest of the needles forward.

Now bring the rest of the needles forward to B, check that you have Left-81 – Right-81 (Figure H).

Set the carriage dial to T4.

Knit 39 rows, RC=40 COL (the row counter now reads 40, and we’re on the left).

Figure I. After the first row on all 162 needles.

Knit outside of hem, first band of pattern

Set the carriage dial to T8 and knit 1 row. This is the fold of the hem.

Set RC=000 (set the row counter back to 000).

Set the stitch dial back to T4.

Knit 7 rows, COL.

Set the carriage KC Knob to KC1.

Set the carriage dial to T5.

Check that the magnet on the back of the carriage is outside the left turn mark (Figure J).

Figure J

Figure K

In the AYAB software, click Configure, then click Knit (Figure K).

Move the carriage so the magnet crosses the turn mark and stop for a moment — there should be a multiple-beep sound to indicate that the first row is ready. This delay is only needed on the first row.

Knit across and STOP on the right; it has knitted one more plain gray row and selected for the first pattern row.

Figure L

Thread in the contrast yarn and press in the center front button, labeled MC (Figure L). (If your machine has a split center button, press in just the top section.)

Hold the tail of the contrast yarn down for the first few stitches, and knit across.

Now we can just keep knitting the pattern, but watch out for the all-background rows as follows:

After 3 more rows (Software says Row 5) you’ll see the first all-background row: all needles are at B except the two end needles. Before you knit this row and the next one, manually push the selected end needles back to B (Figure M). Knit these rows slowly, as the unused yarn can sometimes catch in the brushes. Or you can remove the contrast yarn from the carriage for these two rows, and put it back afterward.

Figure M

Keep going, watching for the two more background-only rows at 24 and 25, until no pattern is selected at row 28 in AYAB. COL.

When row 29 is showing on the AYAB screen, click Cancel Knitting in AYAB. Push back the two end needles (Figure M), and switch the KC knob to NL.

Unhook the contrast yarn.

Still on T5, knit 8 rows, or until RC=42 (Figure N and Figure O).

Figure N. First color pattern done.

Figure O. End of the first pattern section.

Lift the hem

Figure P. Lift the hem.

Move the claw weights onto the side of the fabric that’s away from you, lift up the loops from the first gray row, the row after the ravel cord, and hang them on alternate needles all across (Figure P). Start with the first bar on the right, it goes onto the third needle in, #79. The very end stitch goes on 81. Continue across; it’s normal to be at least one short when you get to the other end.

If the cast-on comb came off, rehang it into the waste knitting that’s now hanging towards you. Or abandon the comb and use more claw weights.

Set the carriage dial to T7 and knit one row.

Set the carriage dial back to T5.

Knit the upper section with the second band of the pattern

Knit 5 rows, COL.

In the AYAB software, set the Start Row to 37.

Click Configure, then Knit.

Move the KC knob to KC1.

Bring the carriage past the turn mark, stop and wait for the multiple-beep as before, then continue across.
COR, only the end needles were selected this time. Push the end needles back to B, no other changes and knit back across right-left.

Now it has selected needles and it’s time to thread up the contrast yarn and don’t forget to press the MC button.
(We restarted with a background-only row so that we can resume the contrast yarn on the side where we last used it, the left. AYAB has to start on the left, so we gave it one last plain row.)

Figure Q. Upper pattern in progress.

Continue knitting, looking out for the all-background rows as before, at 41/42 and again at 52/53 (Figure Q).

After row 56 has been knitted and all needles are selected to B, set the knob to NL, remove the contrast yarn.

Figure R. Ready for crown decreases.

Knit 34 rows plain, or until about RC=90 for a standard fit hat (Figure R).

Or knit to about 120 rows from the hem for a slouchy hat.

Shape the top

Figure S. Decreasing alternate stitches all across.

Use a transfer tool to lift alternate needles onto their neighboring needle and push the unused needles back to A (Figure S).

Figure T. Knit last four rows on alternate needles.

Set the carriage to T3 and knit 1 row.

T2 and knit 1 row.

T1 and knit 1 row.

T0 and knit 1 row (Figure T).

If you’re right-handed, end COR, lefties will probably prefer starting this next step from the left.

Cut the yarn leaving about a yard for gathering and sewing. Or if this might be an experiment that you’ll unravel, don’t cut the yarn, thread a double strand into your needle.

Figure U. Take stitches off onto a sewing needle.

Thread the cut end onto a tapestry needle (blunt sewing needle) Bring the machine’s needles forwards so that the stitches are behind the latches, and lift the stitches off one by one (Figure U).

Figure V. Just off the machine.

If you’re using a wool yarn that might break when you pull to gather, run a second stronger thread with it.

Or if you’re a hand knitter, take the live stitches off onto a knitting needle, then you can do another row of knit two together before gathering the top.

Figure W. Removing the ravel cord.

Pull out the ravel cord and the waste yarn will drop off (Figure W).

Figure X

Pull the knitting vertically to help it settle to its natural size after being stretched on the machine (Figure X).

Finishing

Gather the top as tight as it will go and secure it. You can cover the remaining small hole with a button or pompom, or sew across it a few times to close it.

Sew in the ends from the contrast yarn used in the hem next, weaving them into the edge or back into the knitting.

Figure Z. Hand sew the seams using mattress stitch.

Figure Aa. Line up the pattern carefully.

Then sew the seam by hand using mattress stitch, lining up the pattern and the hem. Sew from the outside, one stitch in from the edge (Figure Z and Figure Aa). Put the needle under one or two bars on one side, then cross the gap and do the same on the other side, then pull it close but not too tight. If you’re new to mattress stitch, look on YouTube.

Figure Bb. Add permanent slouch by gathering along both sides of the back seam.

Conclusion

On Facebook, search groups for “Machine Knitting”, “Img2track - For Machine Knitters”, and “AYAB All Yarns are beautiful Strickmaschinen knitting machine”.

On Ravelry (free account required), find groups about general machine knitting — ravelry.com/groups/machine-knitting, specific to AYAB — ravelry.com/groups/ayab, and specific to img2Track — ravelry.com/groups/img2track---for-machine-knitters.

Also see Becky Stern's original hack: beckystern.com/2010/11/02/hacking-the-brother-kh-930e-knitting-machine